Pages
10.31.2013
10.25.2013
Last minute Alice work
Today is opening night for girl child's theatre group's musical production of Alice in Wonderland. Have I mentioned that it is sold out for the first weekend and last I heard the second weekend only has a couple seats left. I think I've matched girl child's rehearsal time hour for hour in costume making for this one. I'm working on last minute repairs and touches for the cast. Girl child is... watching a movie before she naps. Hmmm. I'm looking forward to napping next week while she's performing for the school crowds.
10.21.2013
White Rabbit Ruff
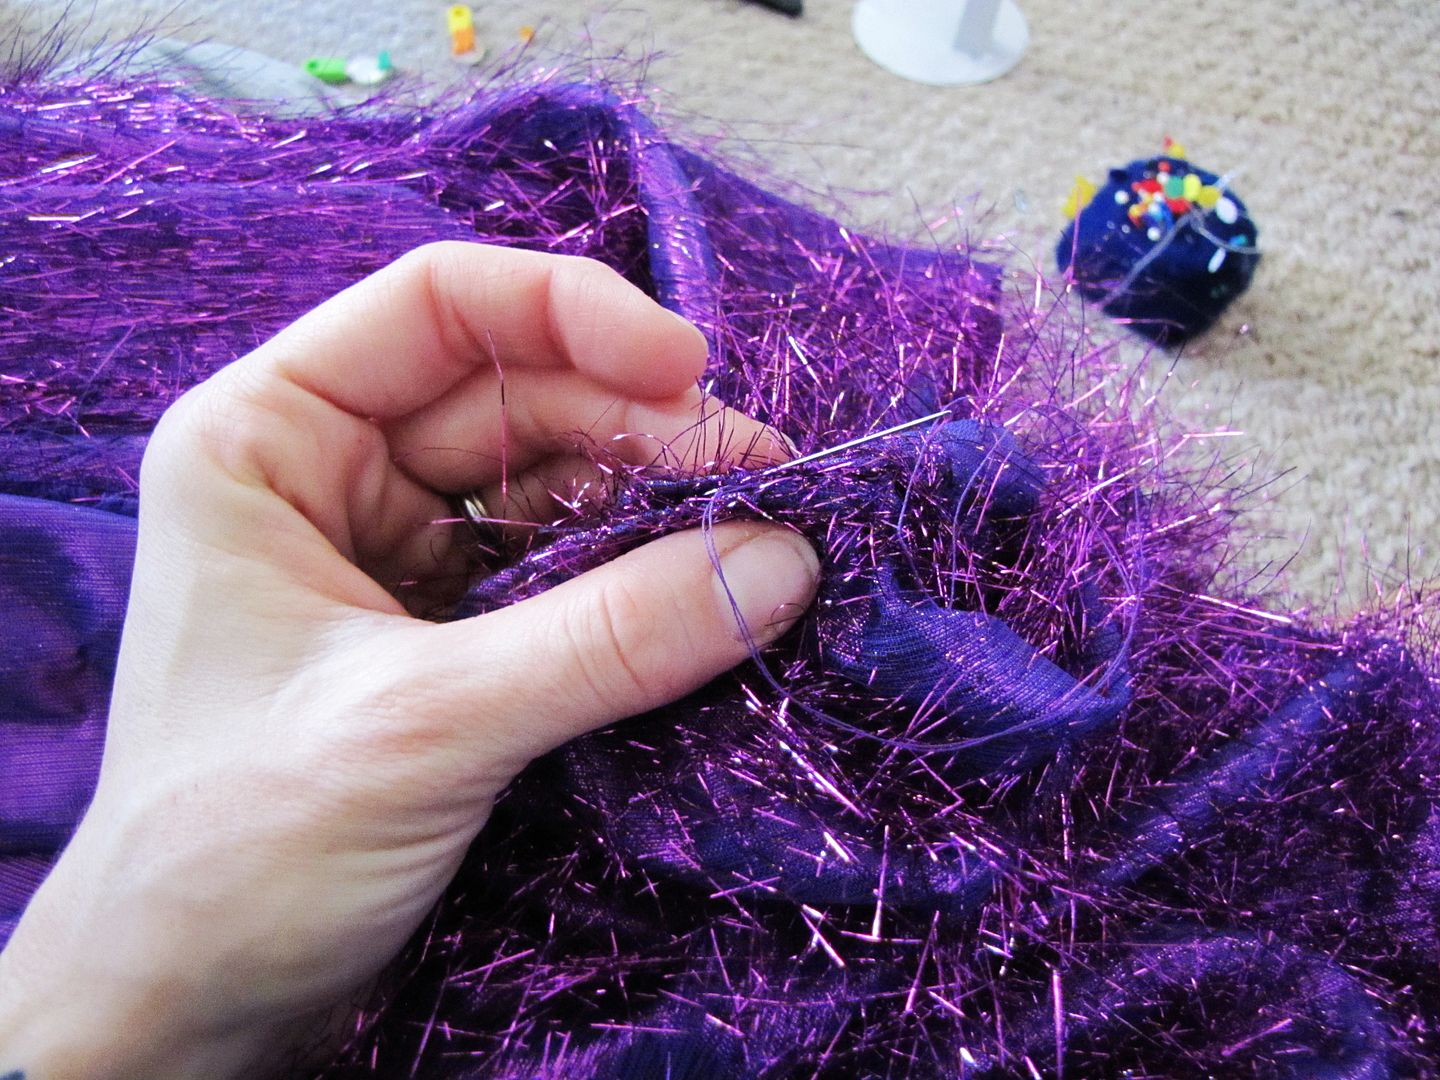
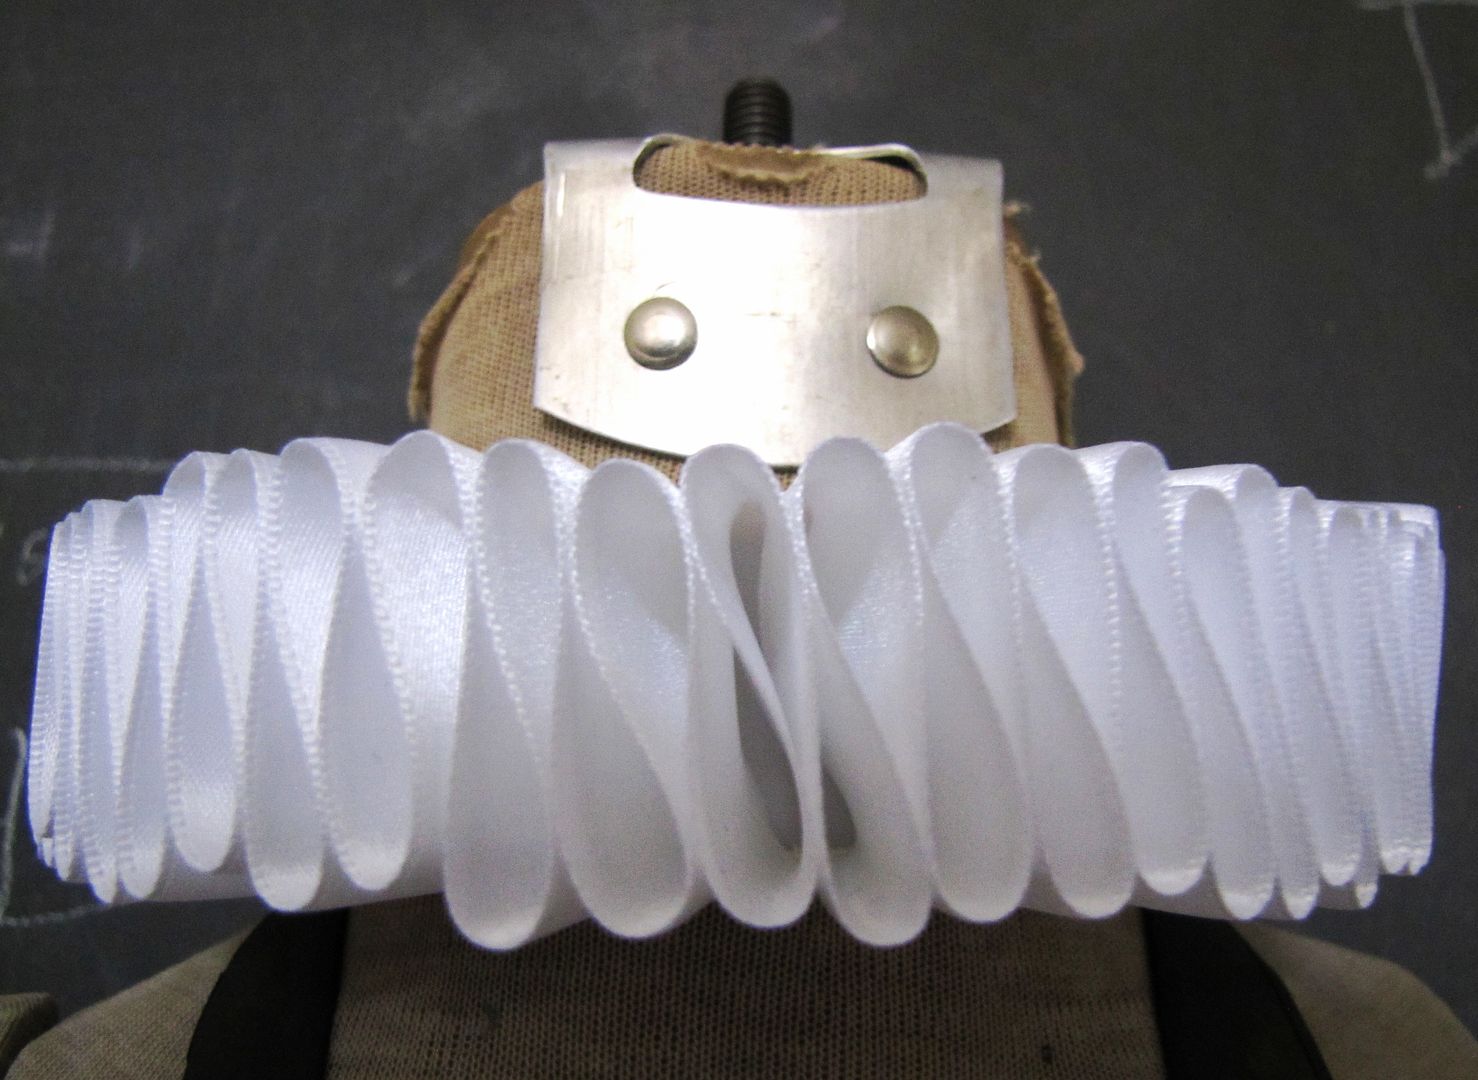
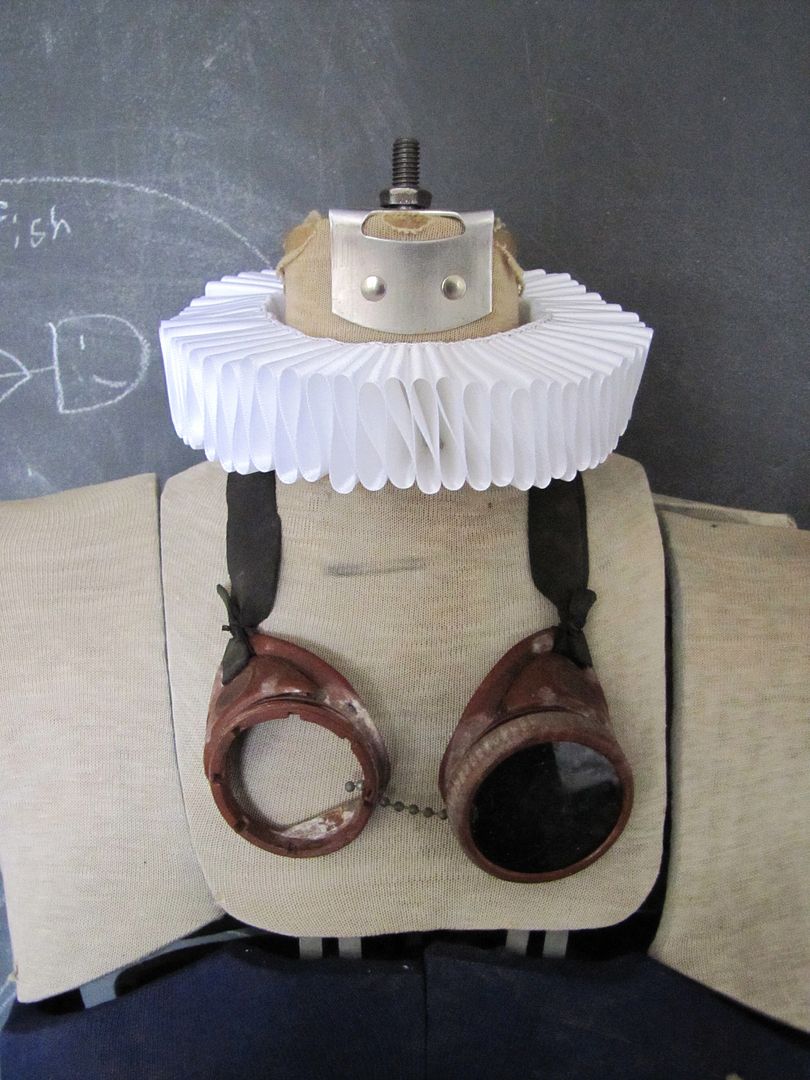
I will admit, this one had me a bit worried. The hand sewing was labourious. There were moments when I wasn't at all sure it was going to work. But then it did.
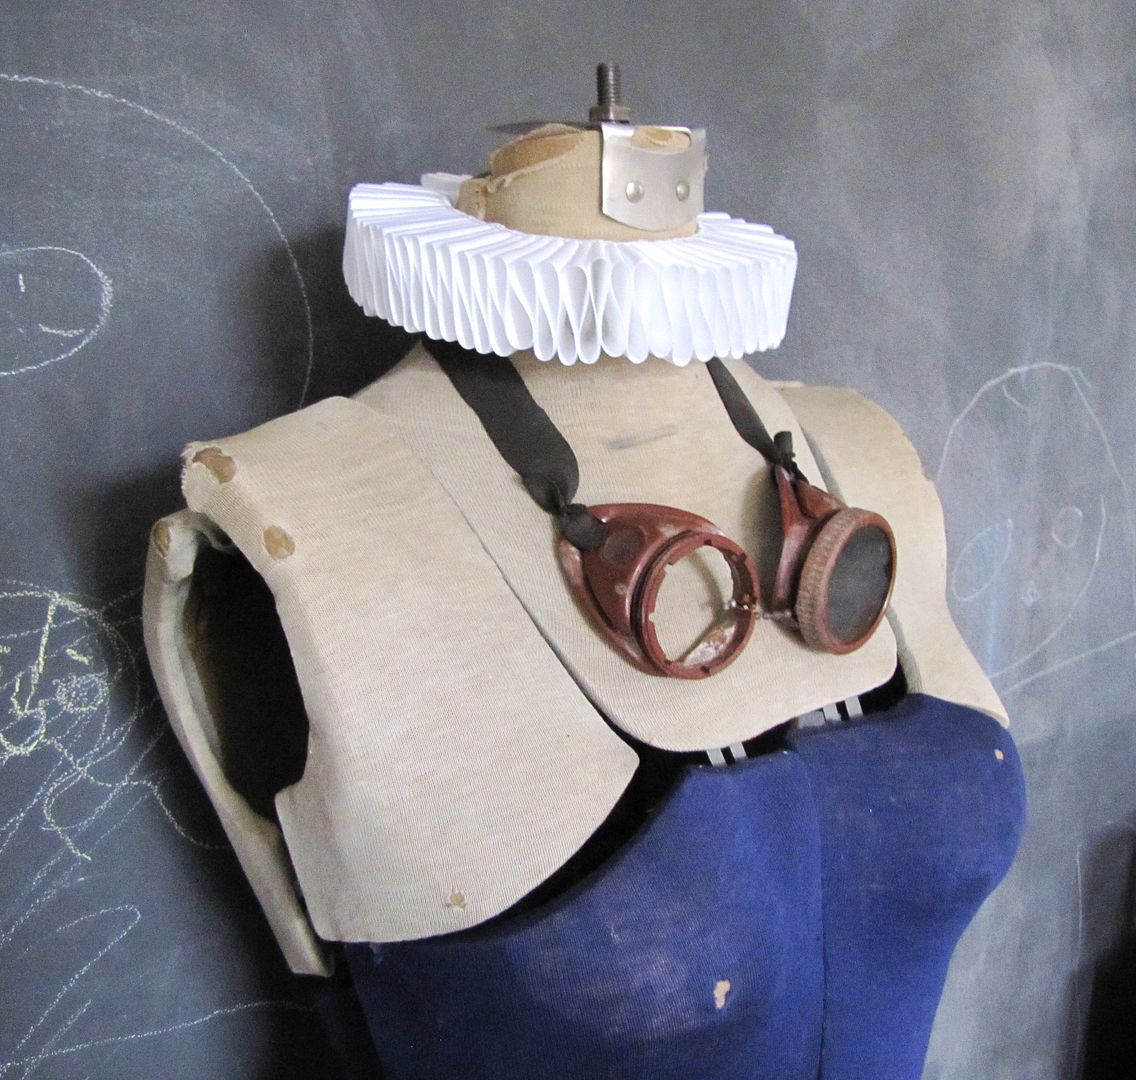
The White Rabbit in the Alice in Wonderland production needed an Elizabethan style ruff. Of course. The rest of the play has a Victorian steampunk vibe to it, but I guess the Whiter Rabbit is a romantic. I still haven't figured out exactly where the Bali dancers come in, but for me to know all is not my job. I just sew what I am told to sew.
I used this video tutorial to help create this ruff. Overall, I used six yards of 1.5 inch wide satin ribbon total.
I can't really imagine where I would ever wear one, but it's temping to make another in green to match my eyes. Surely ruffs are about to come back into vogue, any day now?
10.20.2013
script bags
My sewing machine has been sitting on my kitchen table nearly all week. Most of my projects have been for girl child's theatre group's Alice in Wonderland production that opens this Friday, but I also managed to get in a couple almost non-stage related items.
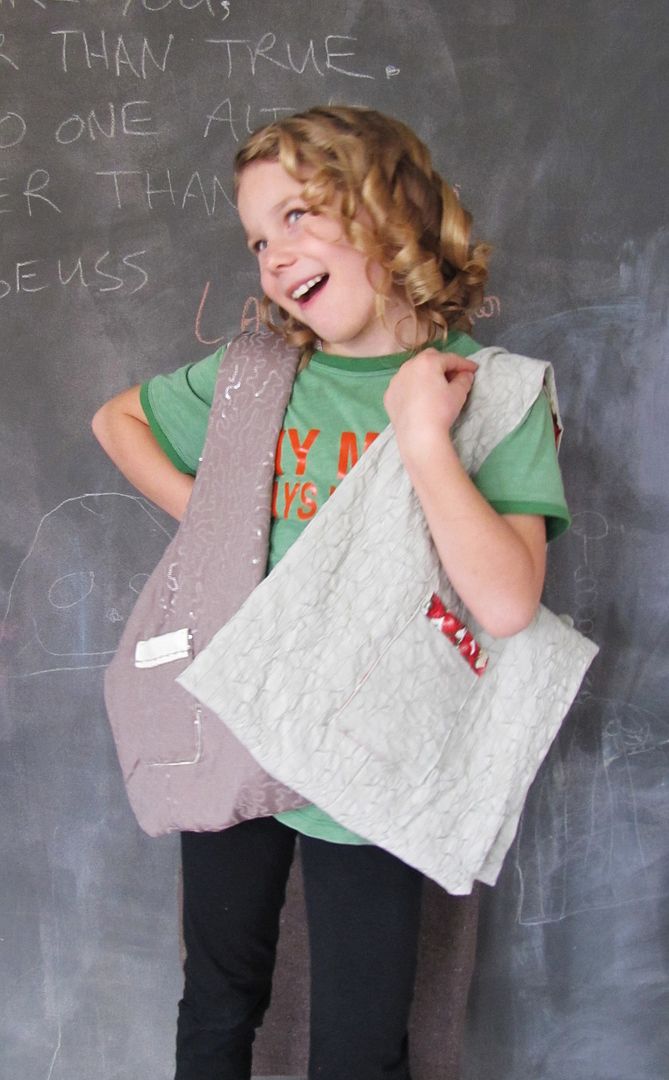
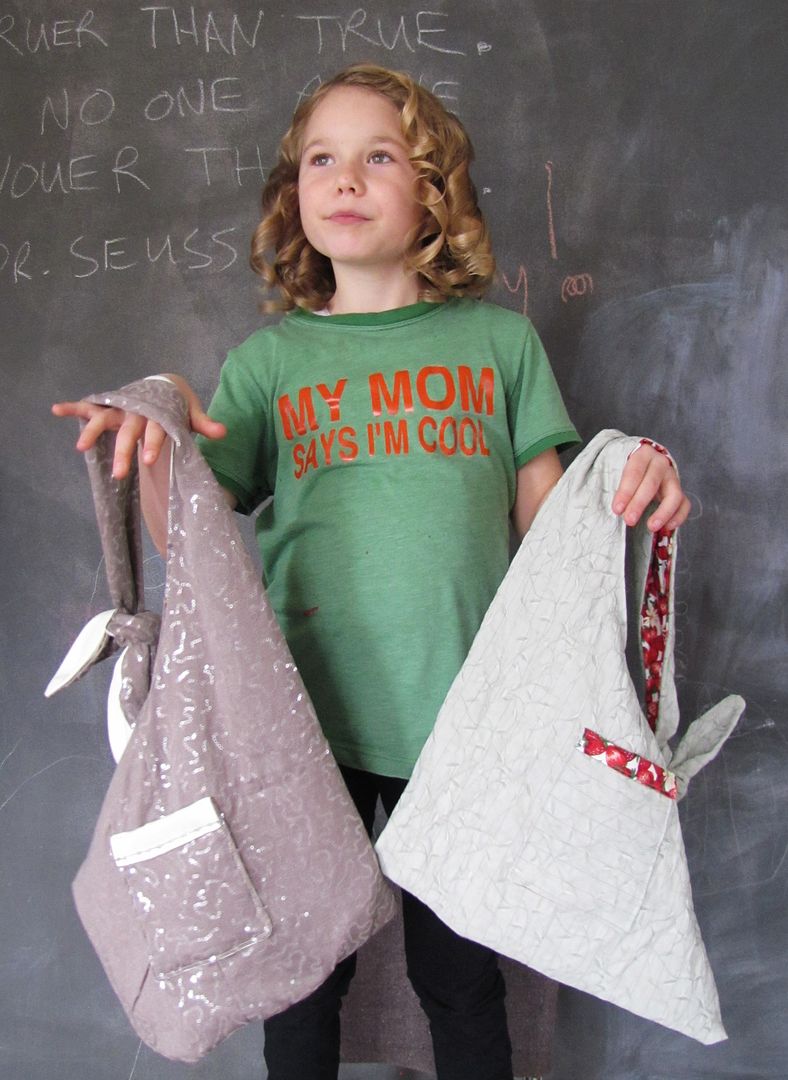
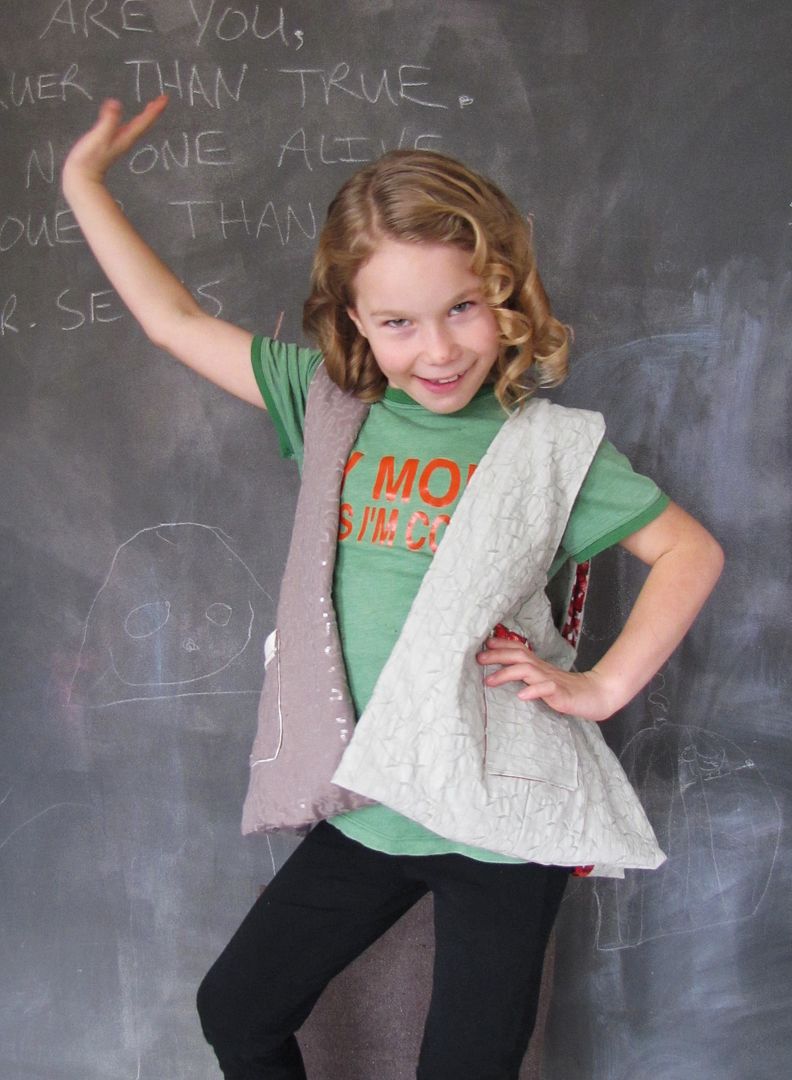
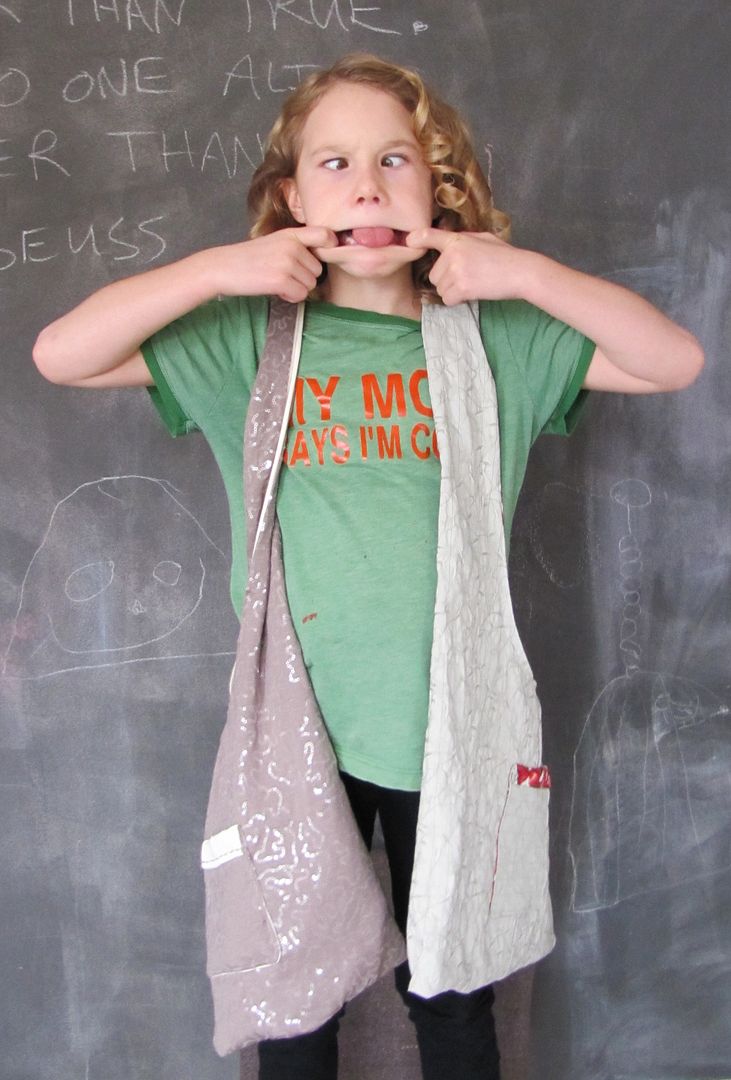
I made a bag each for two young actresses, daughters of the costume madame, to keep their theatre things in - script and song book, pencil for revisions, water bottle and snacks. Girl child has a similar one she uses and works quite well for the purpose.
Because she's such a doll, girl child agreed to help me photograph the bag. Which is really grand of her, since she obviously hates being in front of the camera.
I have plenty more to show you, mucho steampunk and Victorian goodness, as I find time. Rehearsal week started tonight and will continue until opening night on Friday. Then there will be three shows before anyone gets a day off. There is eleven shows in total. That is five to eight hours a day at the theatre for the next two and a half weeks. Which is amazing if you consider that over seventy kids in this production are putting in nearly full time hours and still have the energy to sing and dance with tremendous energy. Those kids, they blow me away.
I cannot do such things. One day in and I'm ready for bed. Plus I have glue gun blisters (common costume room trauma) and need some rest before I can face the gun again.
I will be posting random pictures of the costumes and the childs on my Tumblr if you are interested in keeping up on some of the action. In the meanwhile... zzzzzzz....
10.18.2013
the case of the vanishing tutorials
So. It's true that you really appreciate something until it's gone. Such as years of Blogger working really well until it suddenly decides it doesn't want to store your old posts anymore.
There seems to be some problems with the pictures on my some Indietutes classic tutorials, including the peasant blouse tutorial, I'm very sorry to say. The hooded cape has disappeared all together (thank you to the reader who sent me a link to the cached page so that I could possibly recreate it).
Now. What to do about the increasingly unstable blogging platform here? The Man thinks I should put it all into a more transportable and sturdy format, maybe pdfs that can be downloaded? What do you think? Anybody want to give me some ideas how to improve the accessibility of these tutorials?
********************
Update: I'm a blogger ninja. I've redone the hooded cloak tutorial for y'all and though the pictures of the pattern pieces are a bit different, they are actually improved, as are the instructions. I've learned a bit in the past six years of writing tutorials and pattern instructions so, hey, it's all good now.
Let me know if there are any more missing pictures on posts. I am not only a blogger ninja, I am also a Windows Paint wizard.
10.16.2013
window art with wax crayons
We're going to call this a mini-tutorial. What it is is a project that boy child can get right into because it involves:
1. Dismantling crayons
2. Tools that heat up
3. Scary monsters - if you so desire
And anything that gets the boy child involved in craft and art is exciting to me.
Materials:
- wax crayons of various colours
- wax paper
- an iron you don't mind getting a bit grubby with wax
- craft scissors
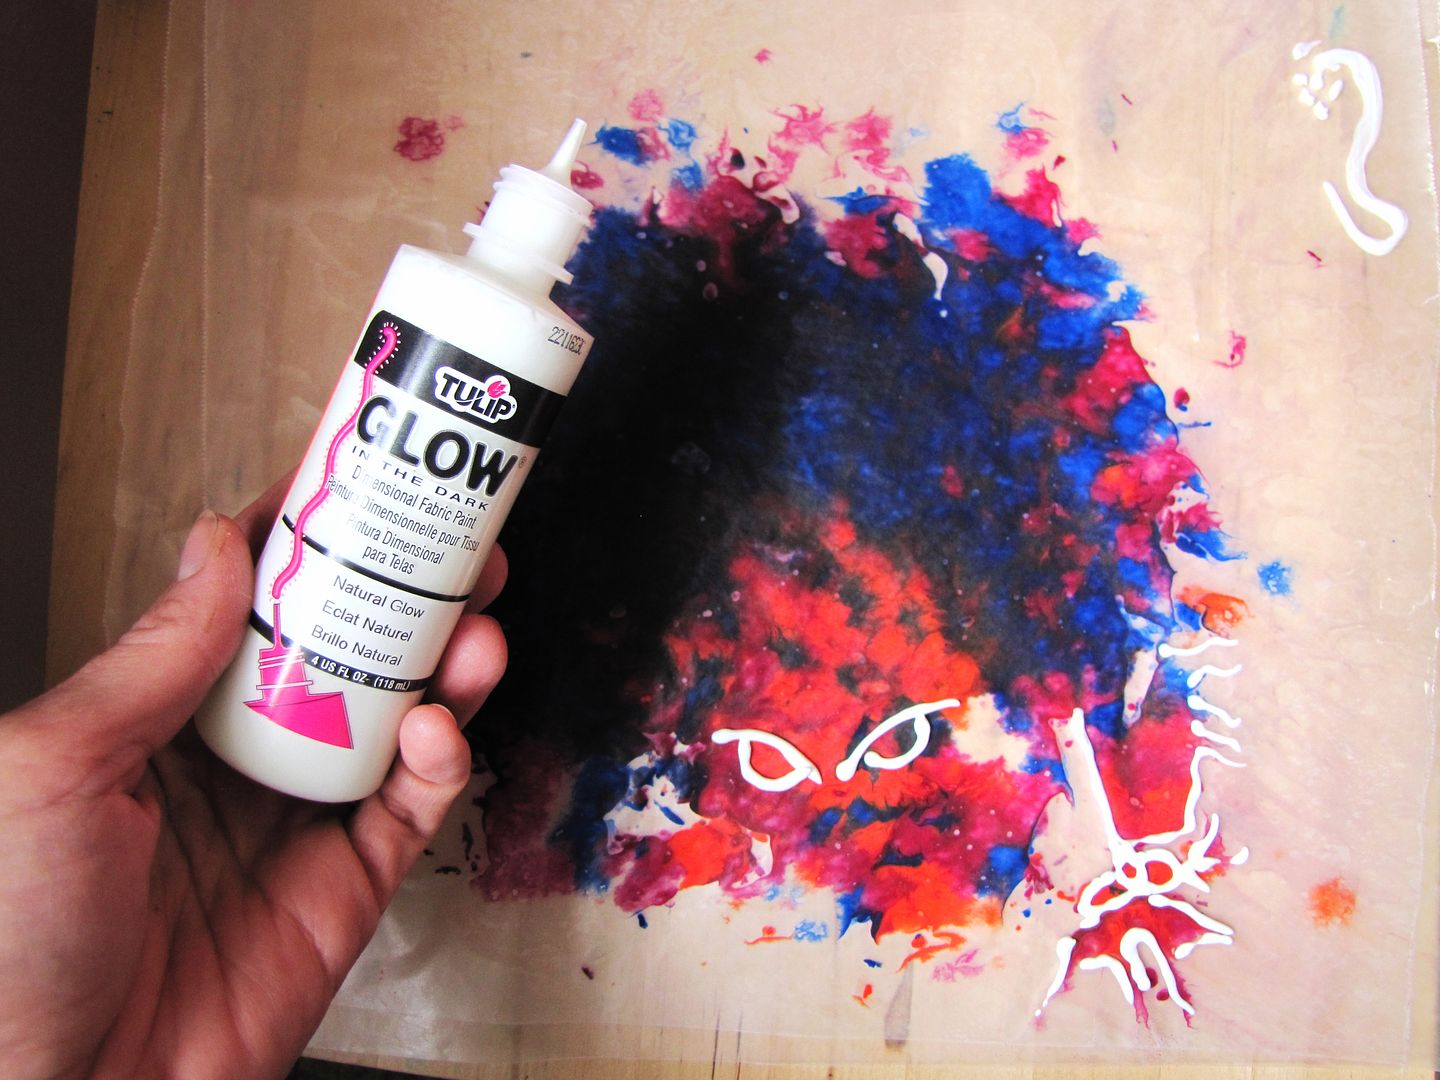
- optional: permanent marker, puffee or 3D glow in the dark fabric paint
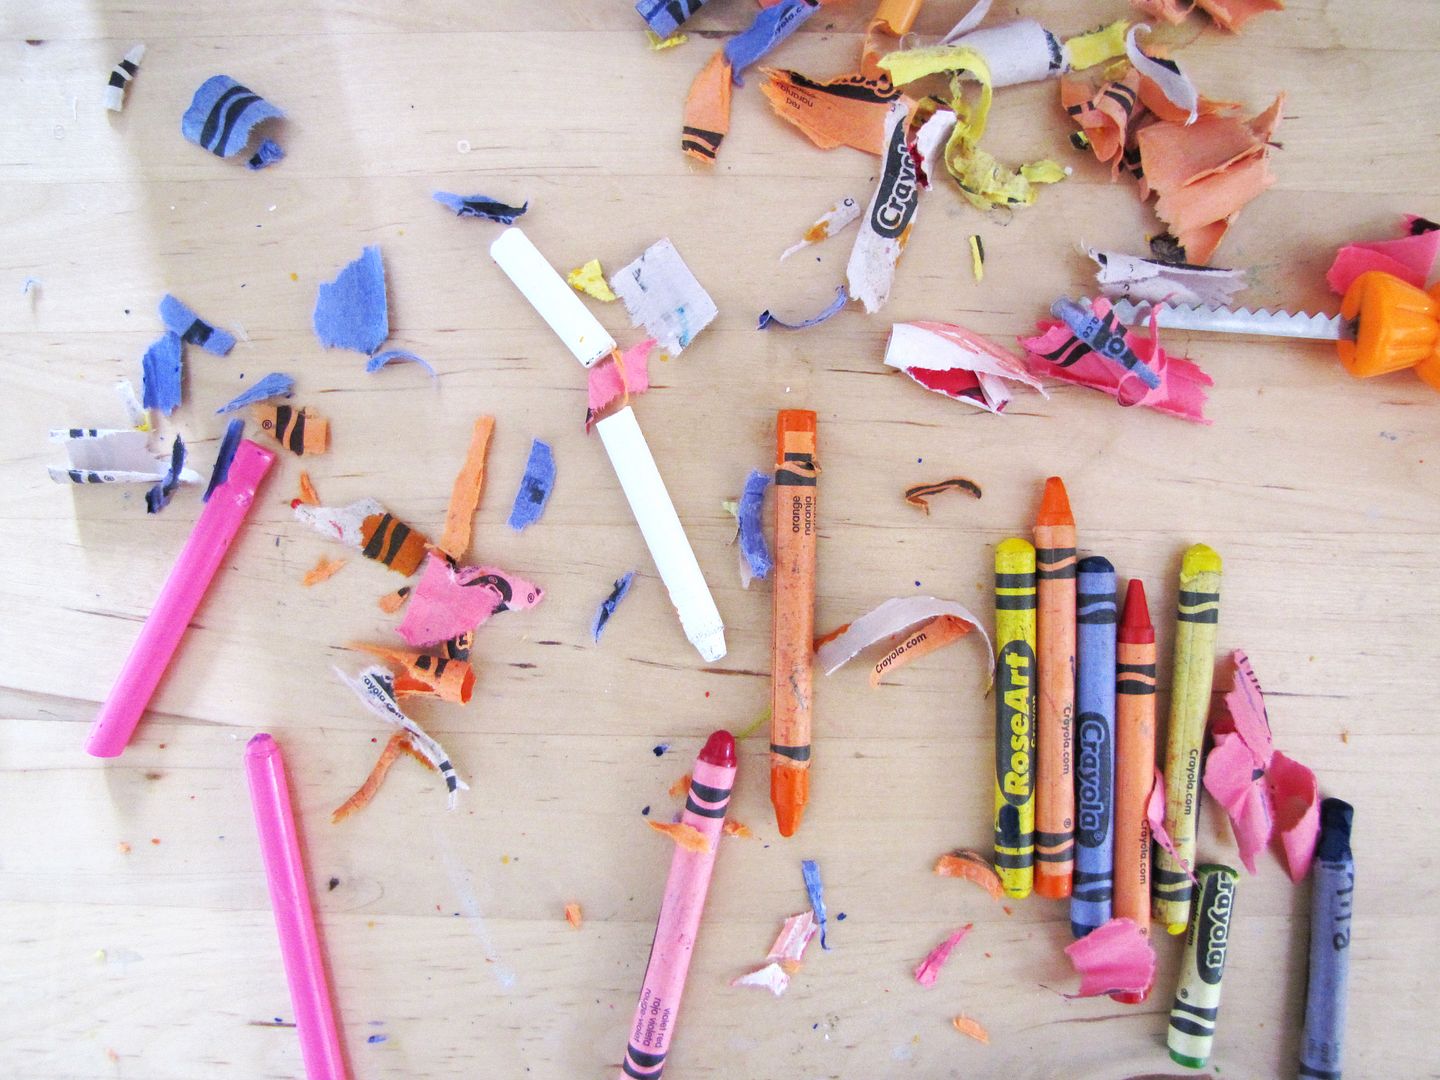
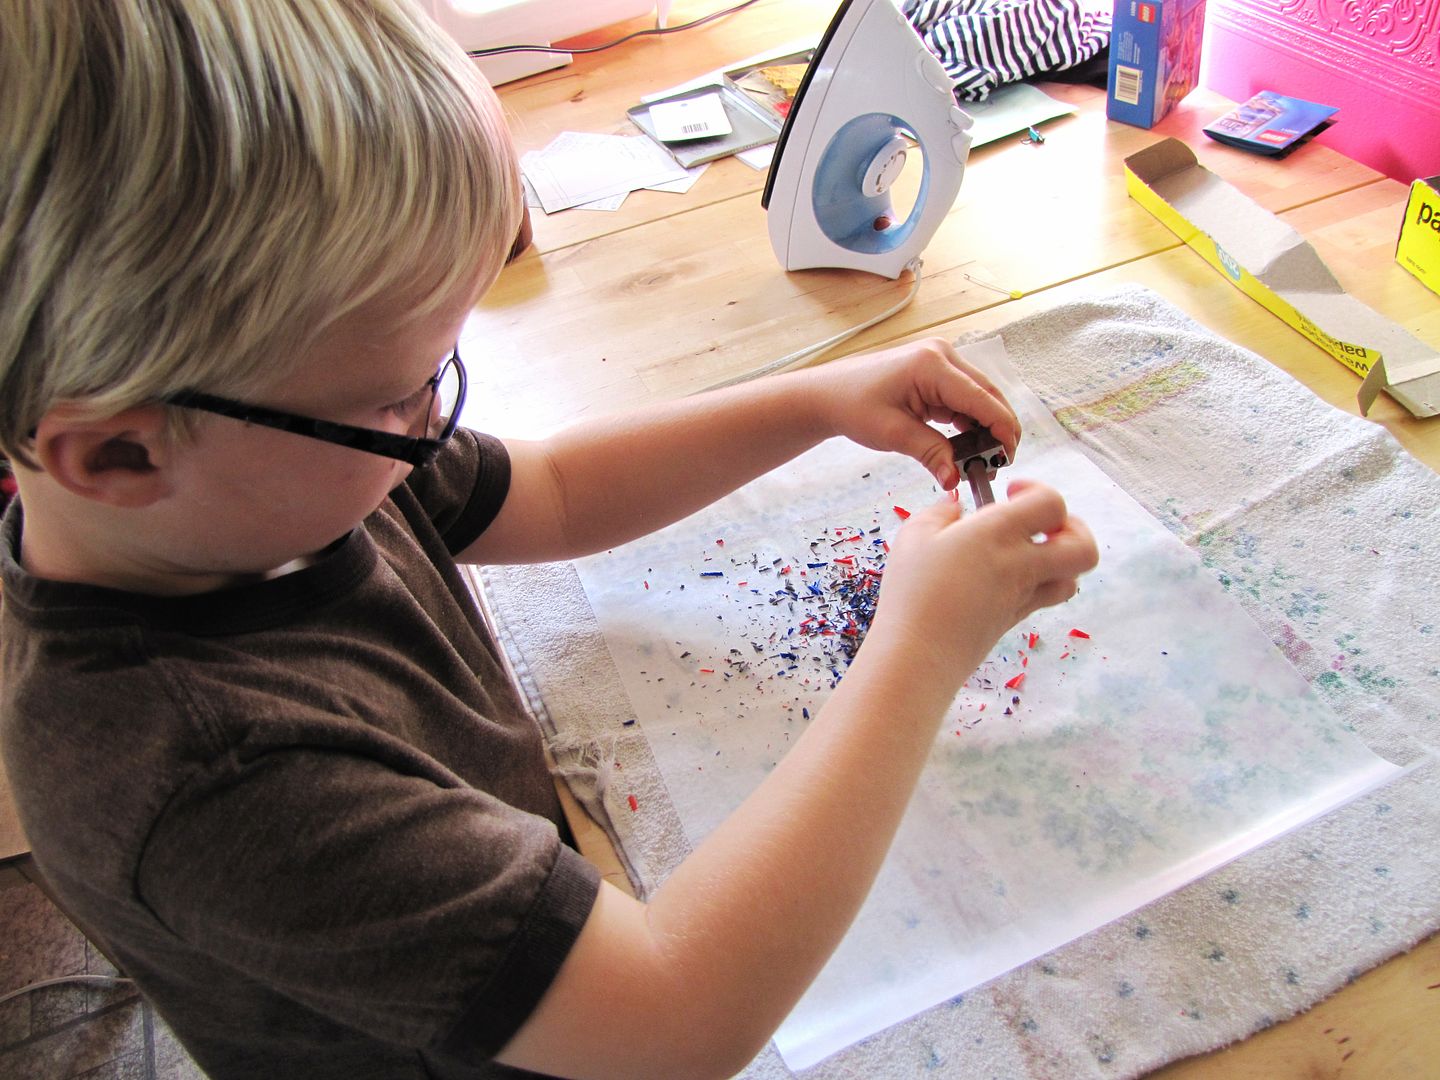
First step is to remove the paper from crayons (some of us are really good at this part).
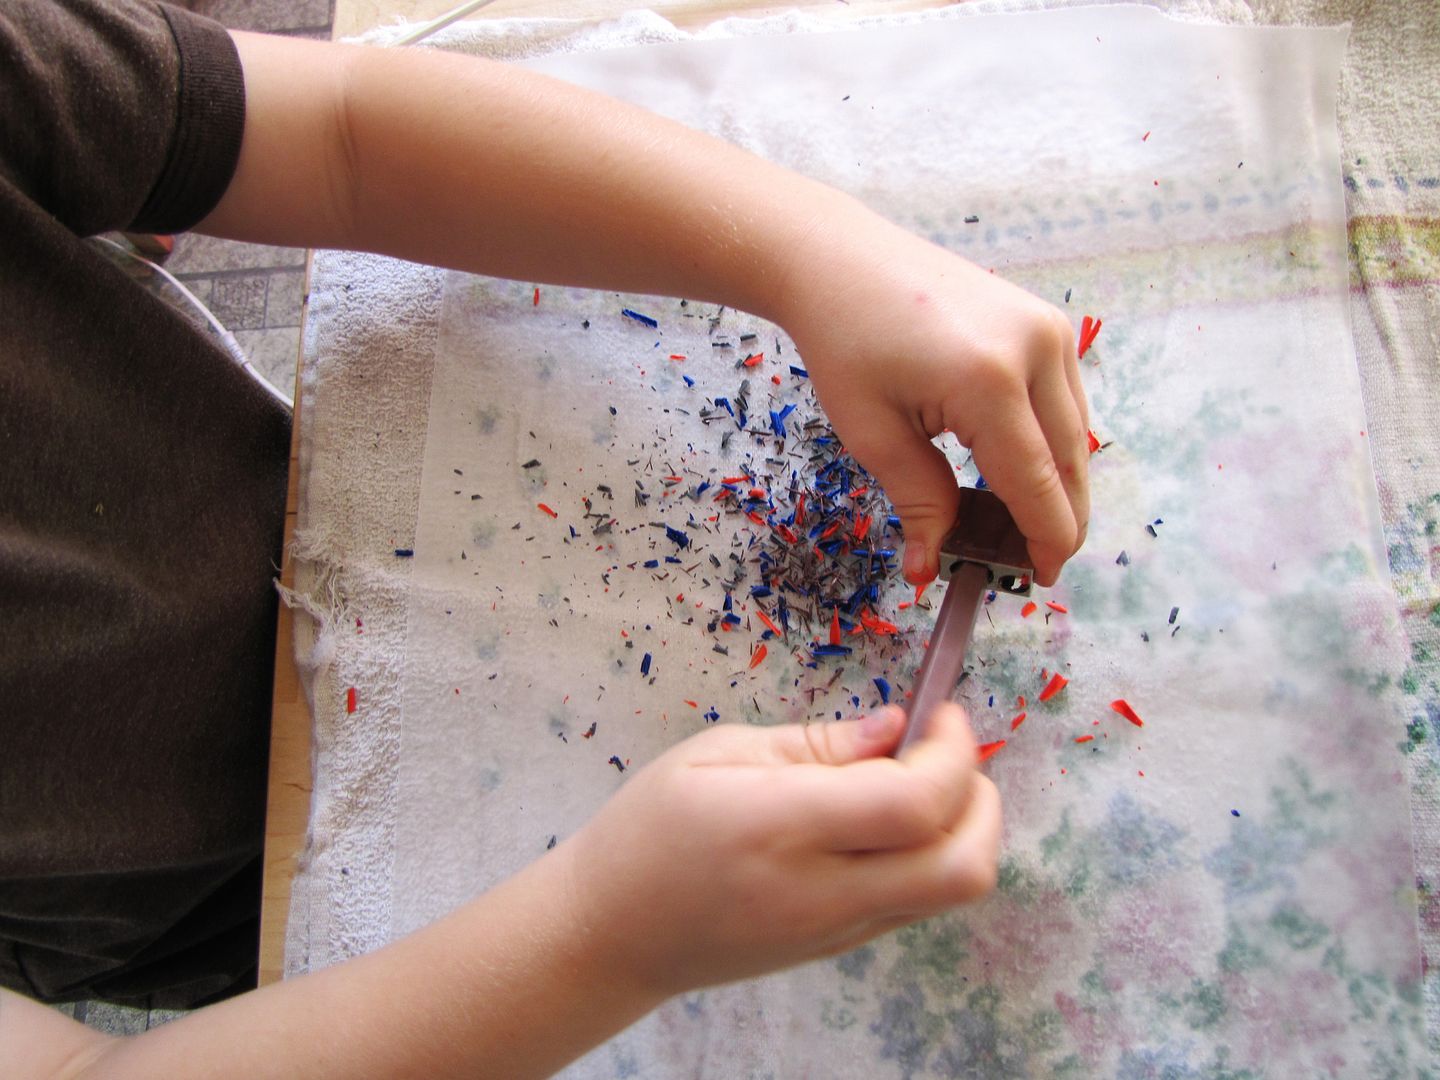
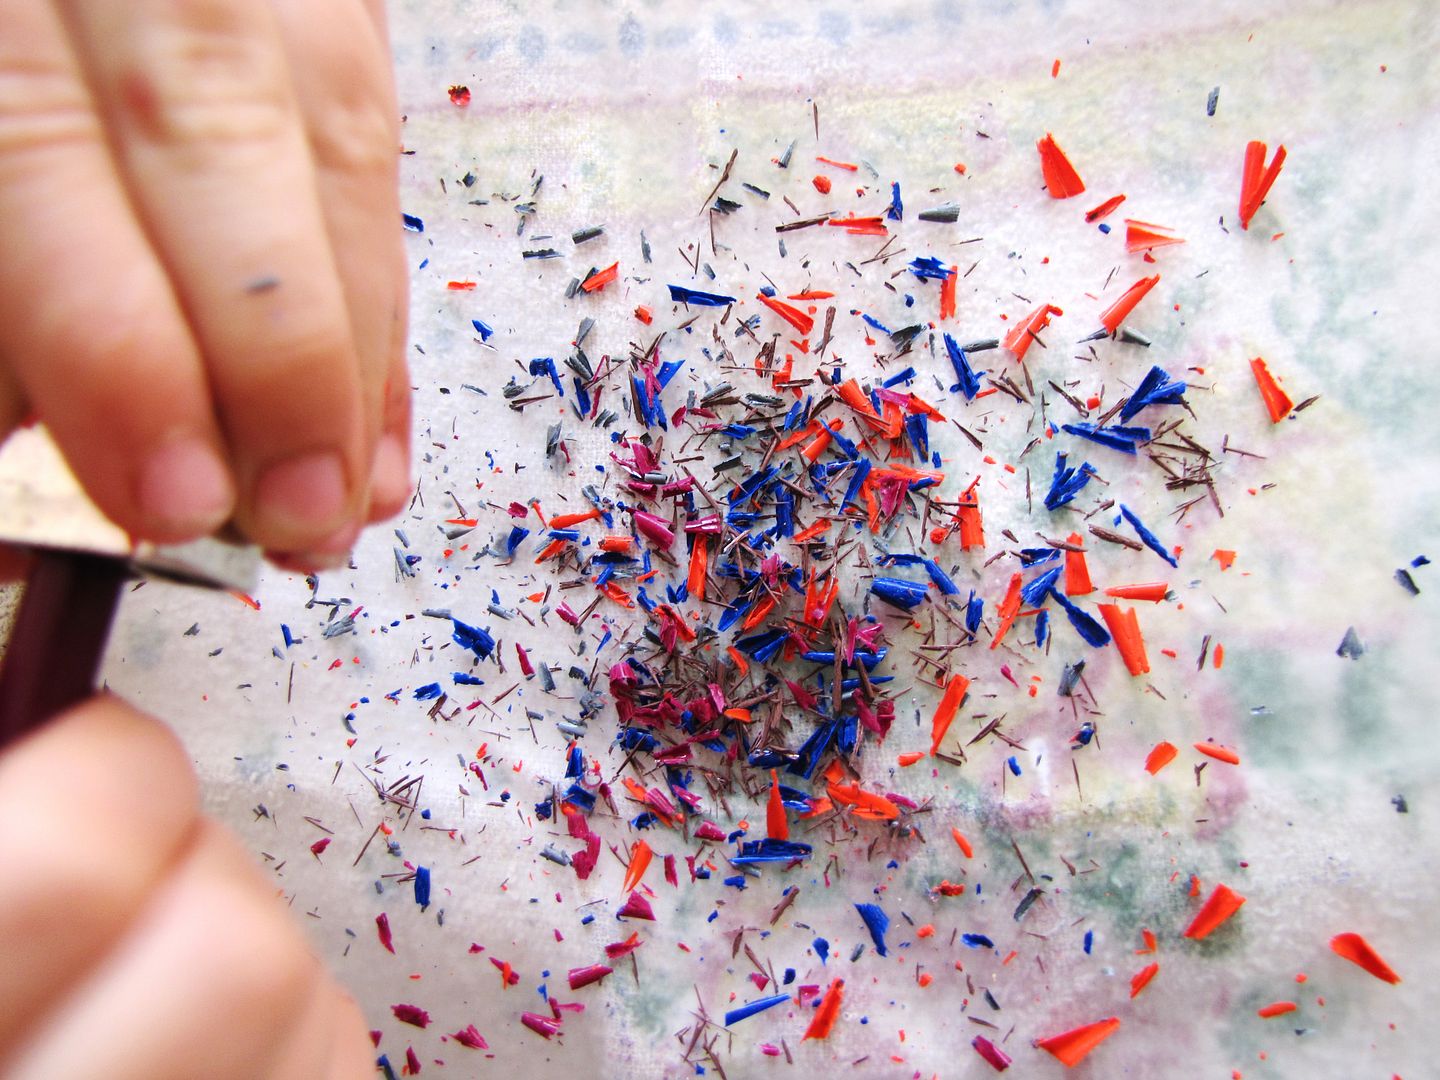
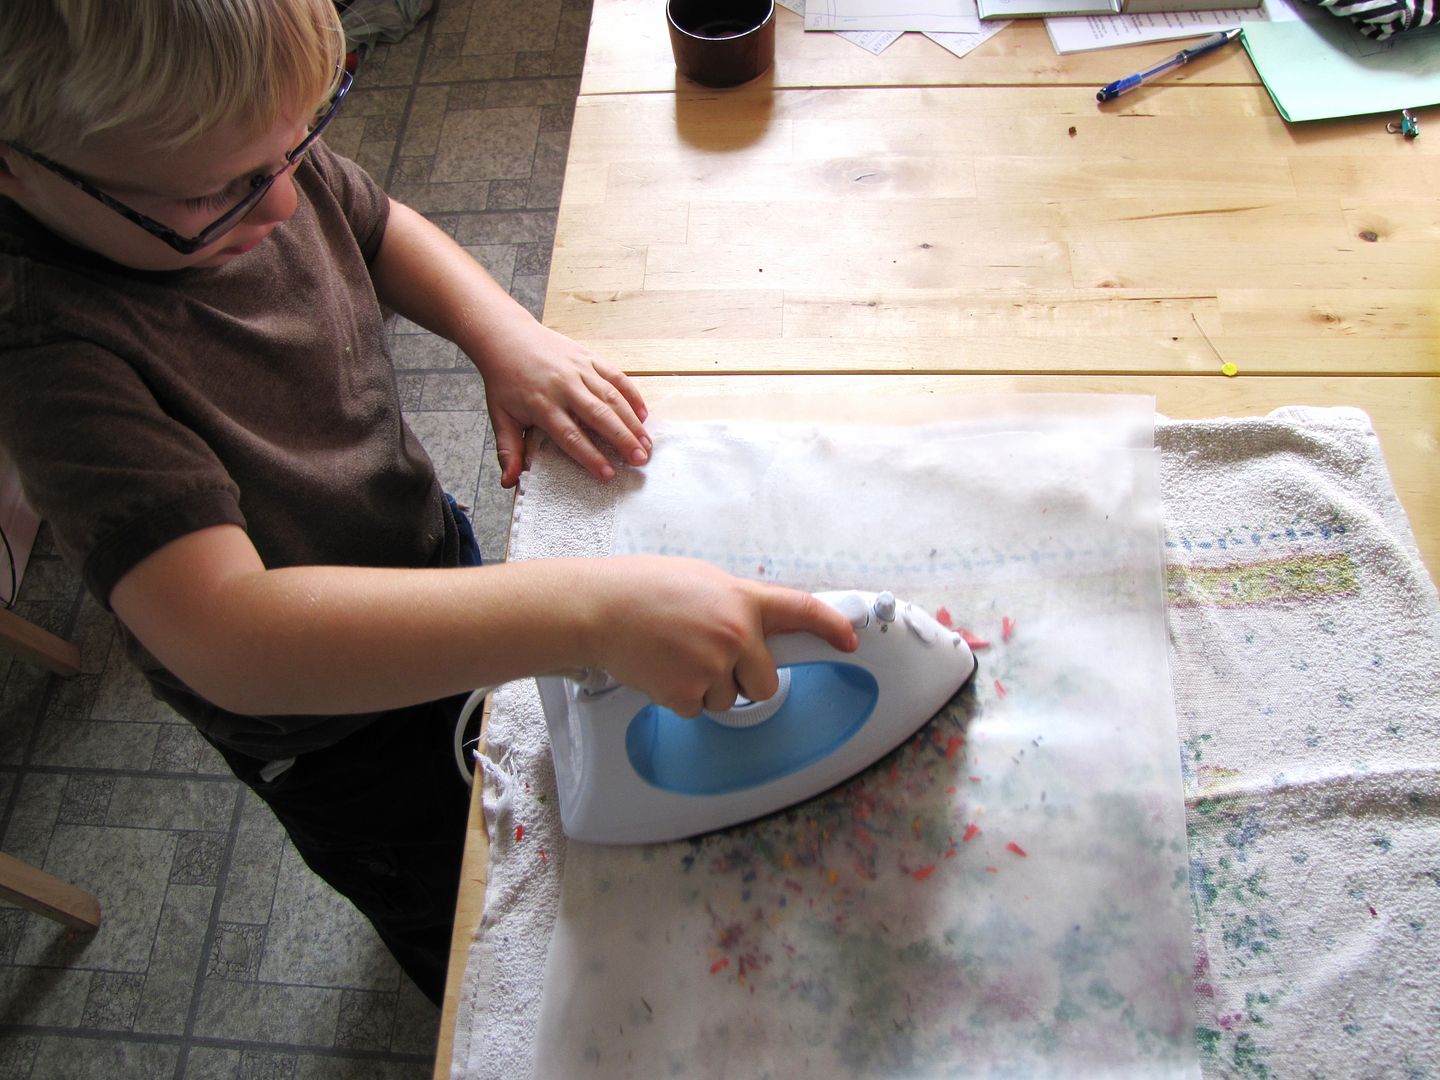
Use your sharpener (one with a larger hole in it will be helpful) to flake the crayons onto a sheet of wax paper.
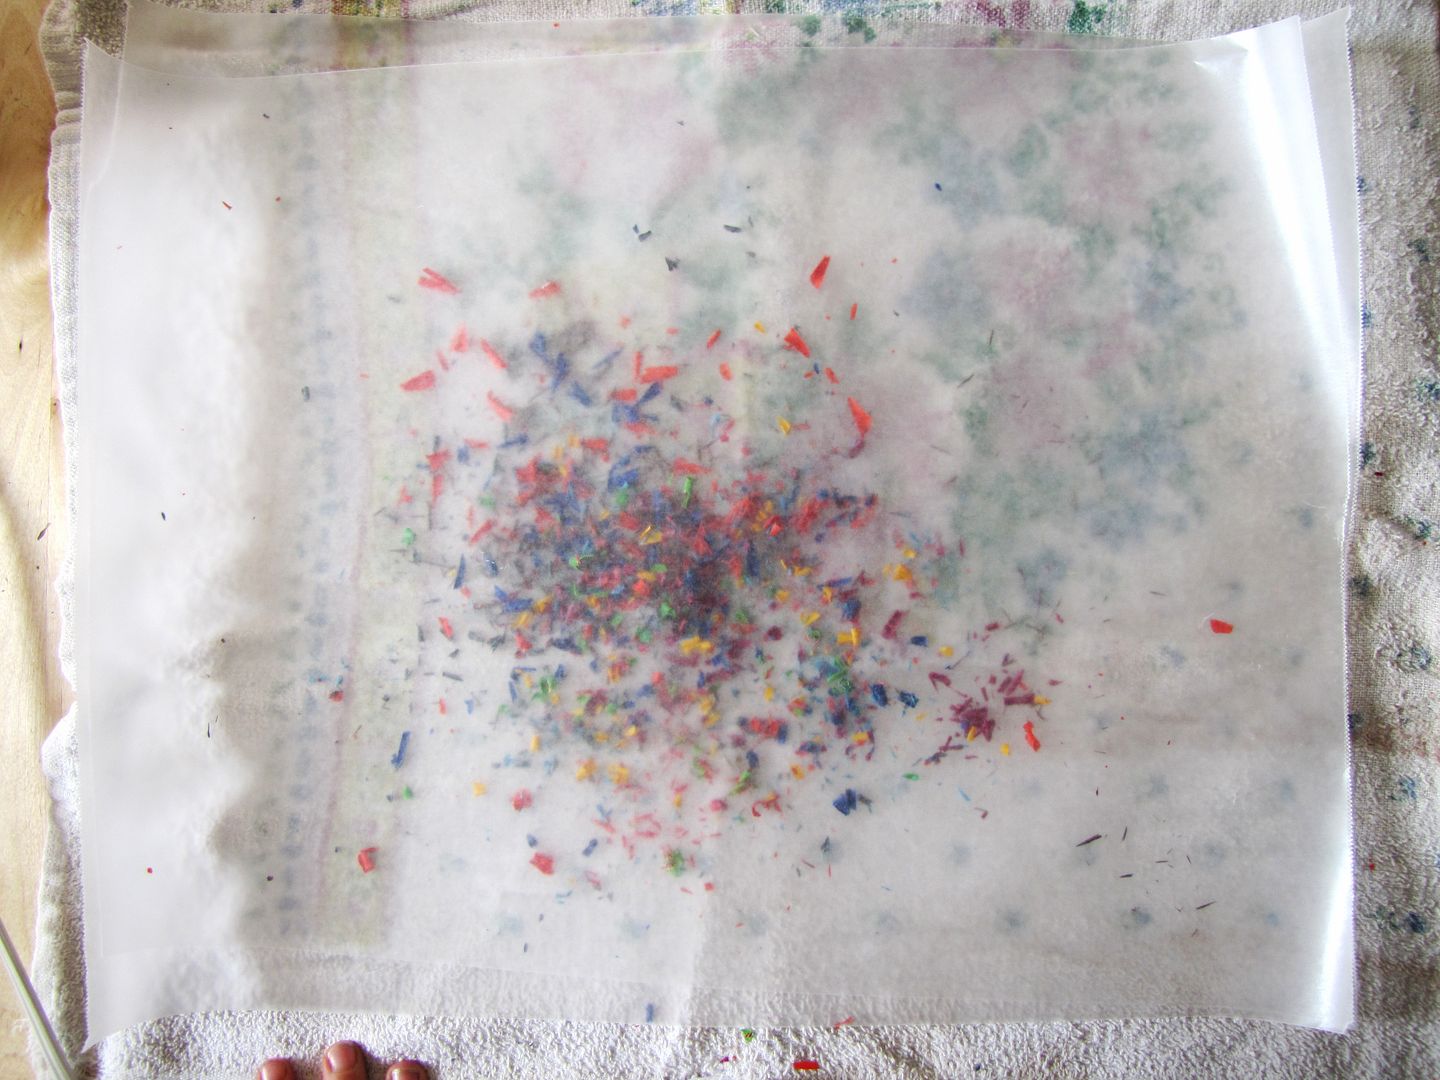
When you feel like you have sufficient wax piled on the paper (or your hand is tired of sharpening), cover with another sheet of wax paper.
With heat on a low setting (mine was on 'wool'), iron over top of the wax paper to met the crayon wax.
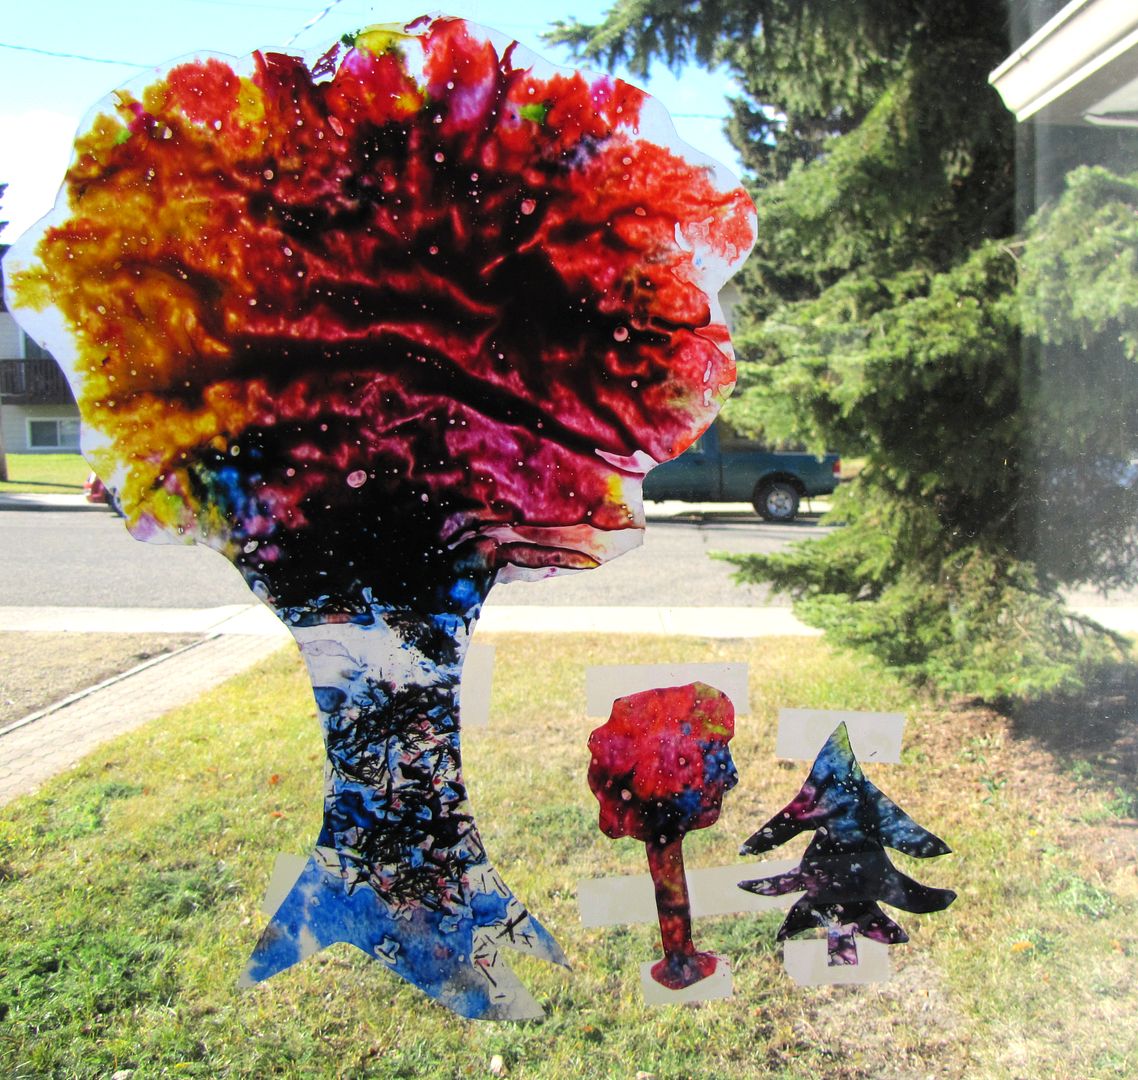
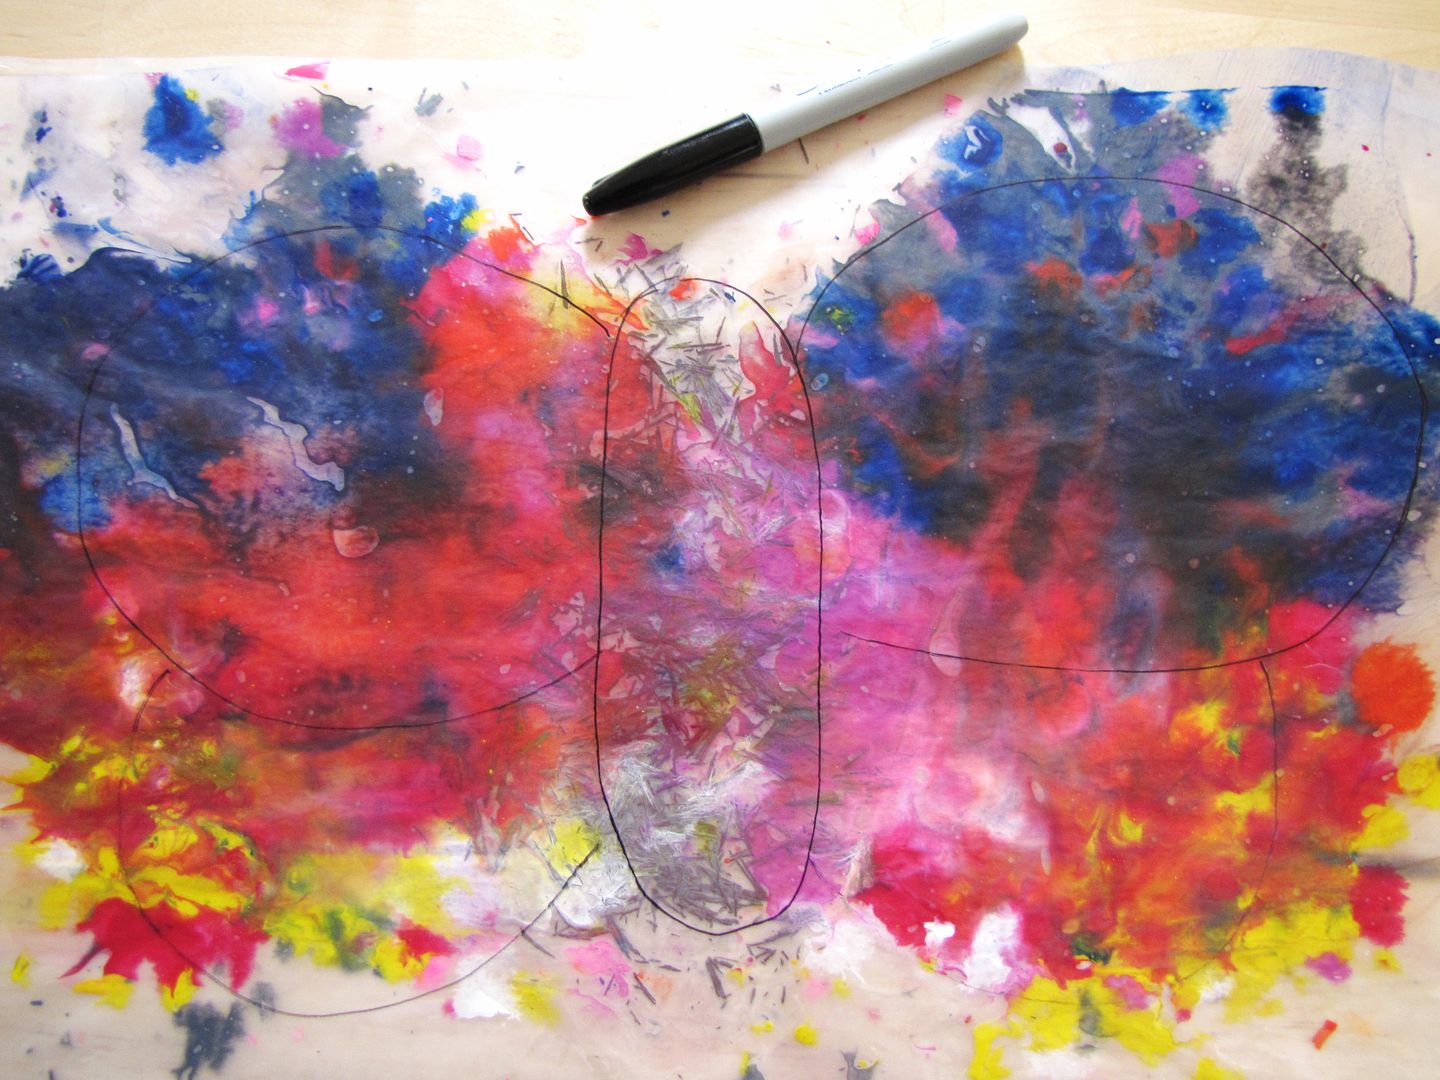
When the wax has cooled, you have a couple options. One is to draw and cut out a shape. Or you can just free form with scissors.
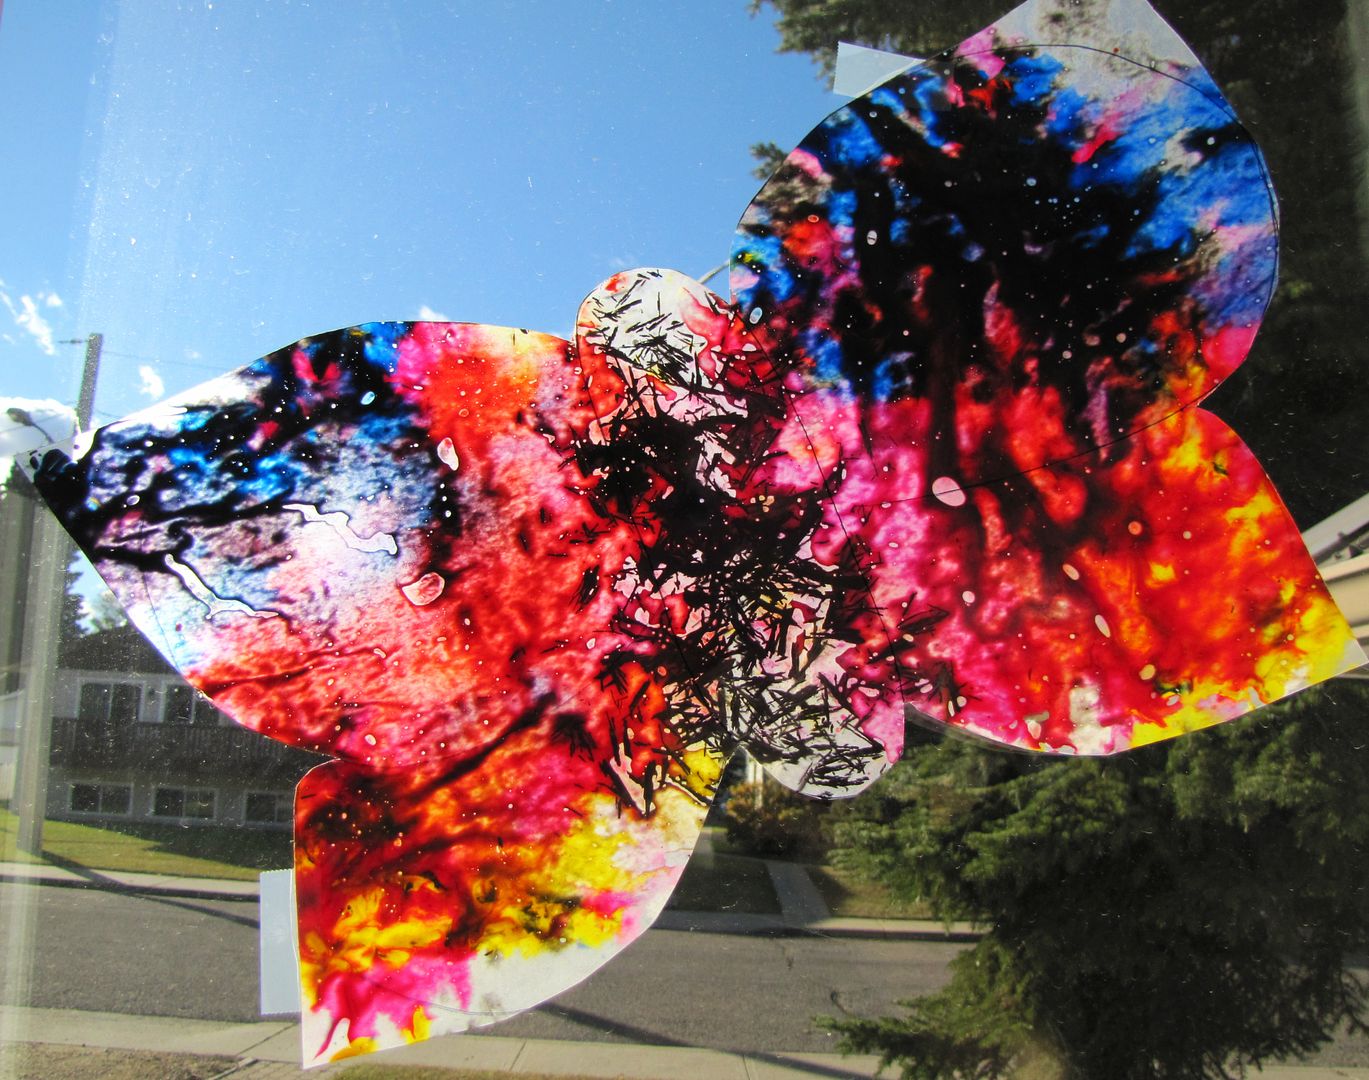
What ever shape you cut, it will look absolutely brilliant when the sun shines through.
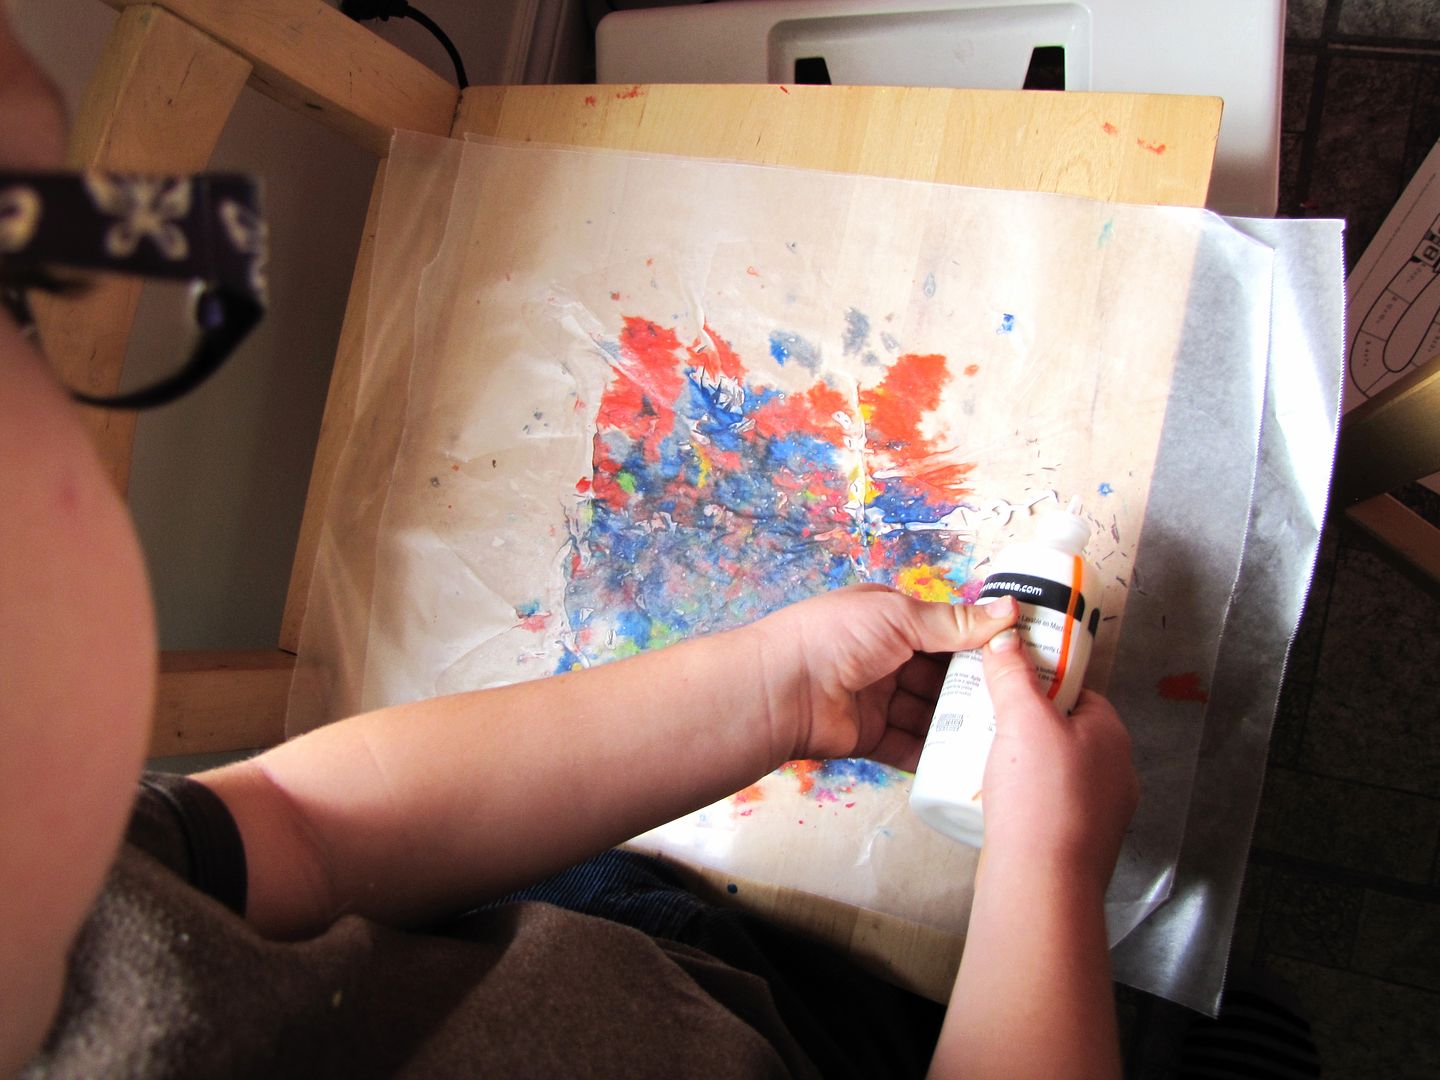
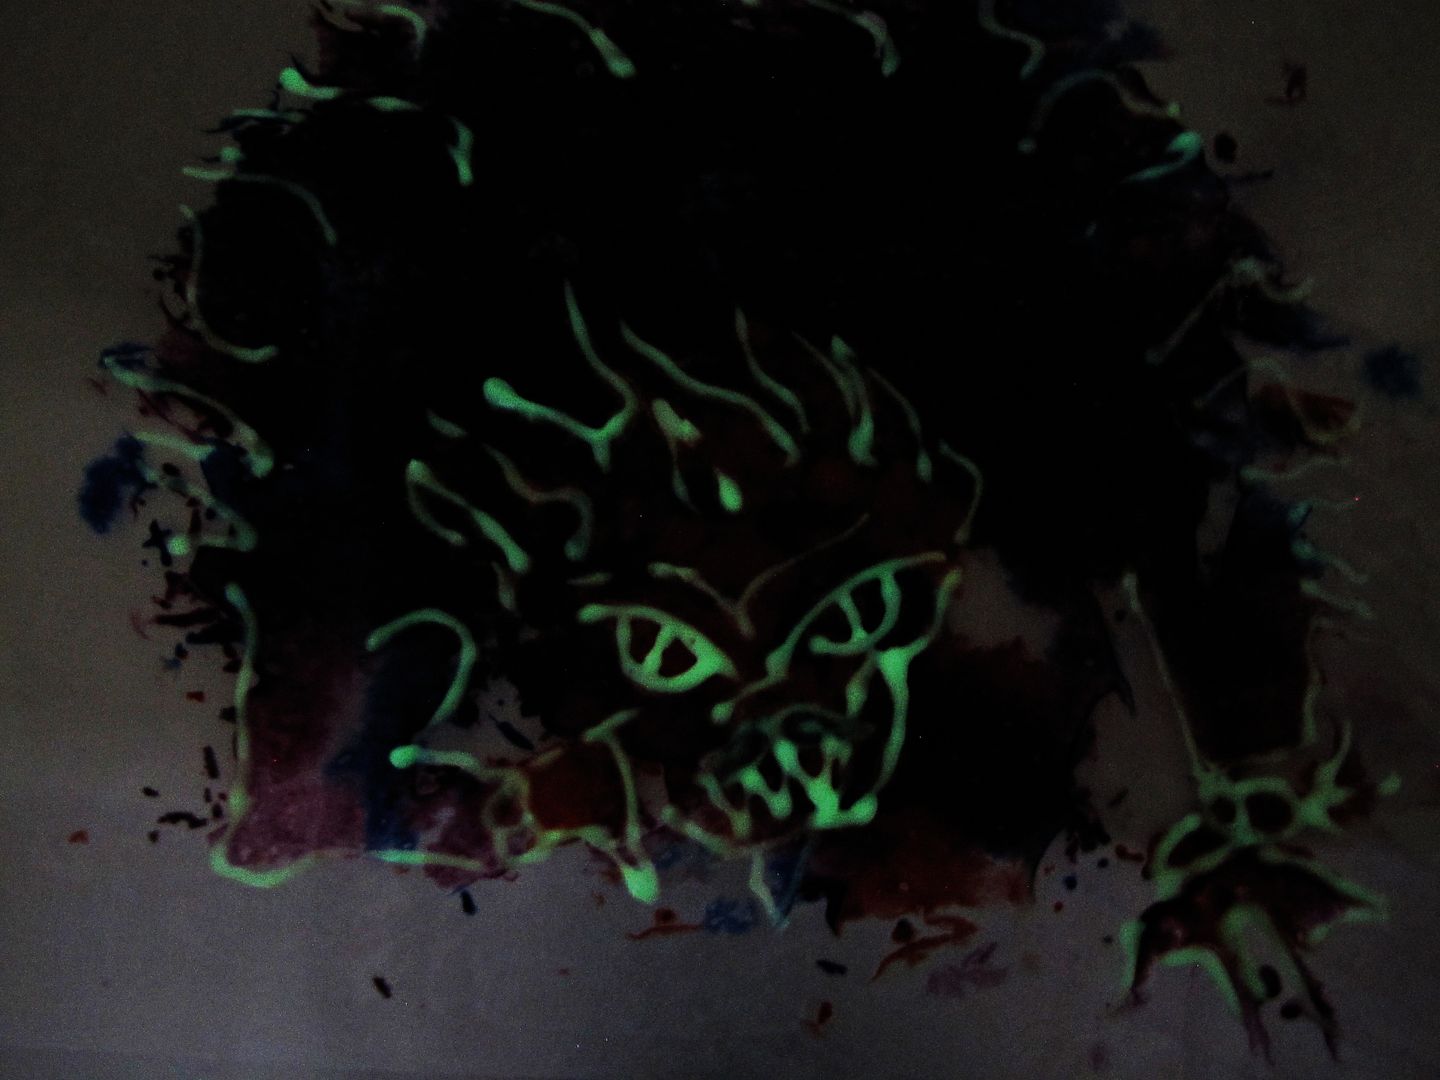
Another option is to use some glow in the dark 3D fabric paint to trace out shapes.
The paint can give shape and character to your wax window art.
And still be visible at night after the sun goes down. We made a number of monsters out of our more or less random melted wax to decorate for Halloween.
10.15.2013
dress to steampunk skirt reconstruction TUTORIAL
May two thousand seven is when when I wrote my first tutorials for this blog. I feel weird about this little realization that six years later I'm still here. I've kept this blog longer than any home I've ever lived in. Wowzers. Six and a half years, still here telling people what to do.
Should I shut up? Maybe. But one more tutorial first.
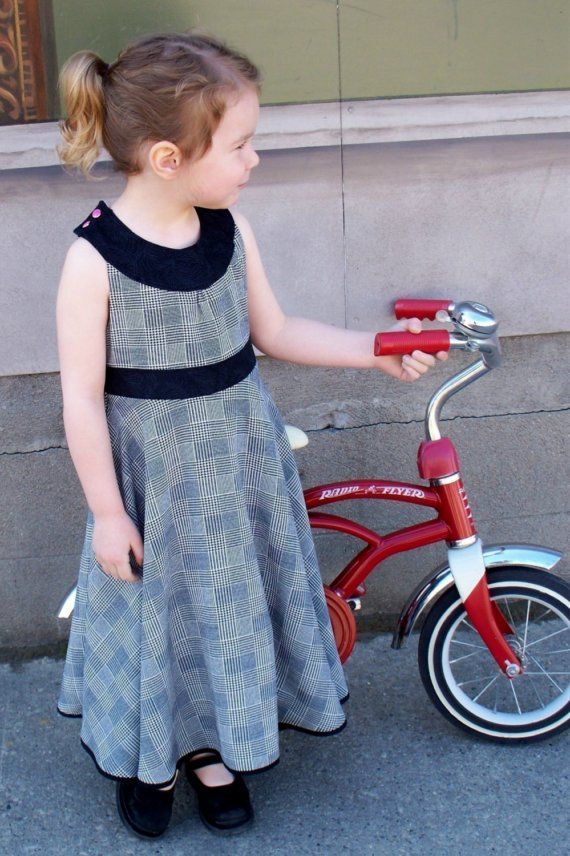
So my little girl isn't so little anymore. Four years have passed since I made her this Revolutions Frock (on the left - which you can find the pattern for here if you are so inclined). You'd think I would make her some new clothes.
But no. Haha. Poor kid.
The dress was in great shape still, except for a blown out snap on the top and, of course, being much too small for girl child. Girl child had asked me THE DAY BEFORE the big Thanksgiving dinner to make her a new dress. Bahahaha! Girl child has a sense of humour. I am apparently still a bit of a sucker, however, and decided that while I didn't have time for a whole new dress, I could probably reconstruct one of her old dressed into something. And I happen to have an idea that I've been ruminating on for awhile.
Steampunk is a bit of theme running through out house lately. The musical production of Alice in Wonderland girl child is cast in has a steampunk theme. The Man has always been in love with the idea of technology taken in new and fantastic directions, long before steampunk was ever a 'thing'. We even are planning a steampunk party for next month for the derby orphans we know. Thus, we are declaring this skirt to be 'steampunk'. Even if the rest of girl child's wardrobe has some catching up to do.
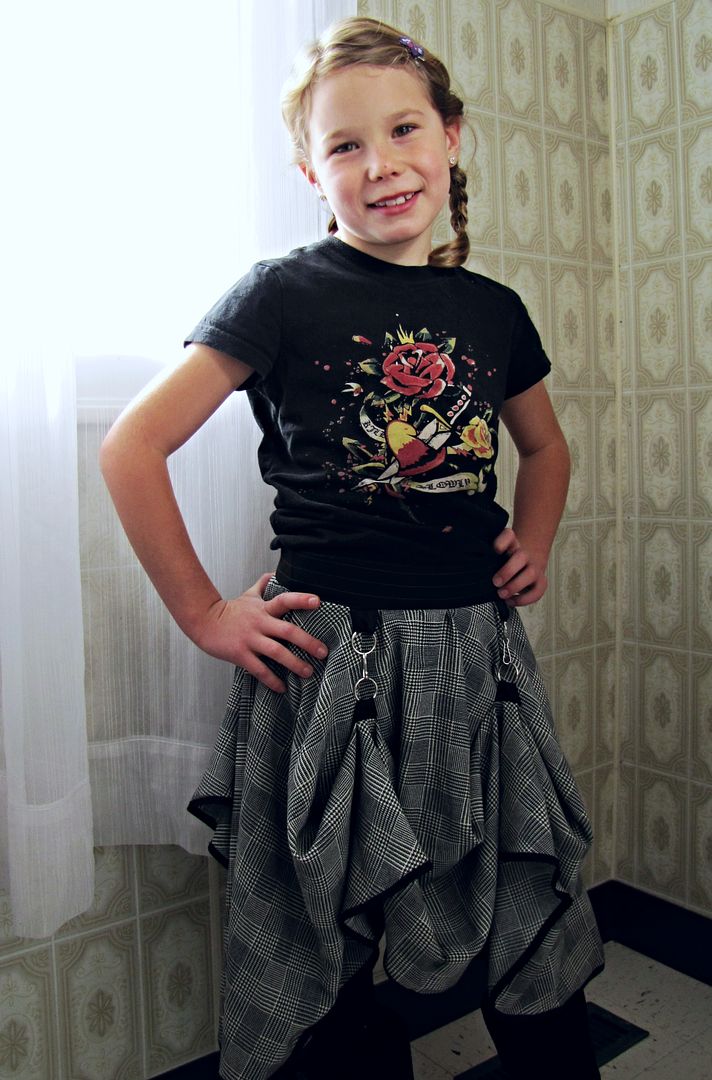
The idea of this skirt is that it can be left down in the usual manner, or gathered up by attaching the hooks sewn into the skirt. In my skirt, the waistband has four rings attached and the skirt contains four rings with hooks attached near the bottom of the skirt.
This is, probably, the first time I am making something for girl child that genuinely reflects the fact that she isn't an adorable little preschooler anymore and now a fully grown tween with attendant attitude, thank you. Her daily wear is no longer puff sleeves and twirl skirts. I am probably going to get kicked out of the sewing mom club for saying this but it is sort of exciting to start getting into more adult styled clothing for her.
Actually, I can't wait for her to go through her punk stage. I'm pretty sure it's not really punk to have your mom sew your clothes for you, but, honestly, kids these days don't really know how to do it anyways, so I feel it's best to intervene with girl child nonetheless.
Steampunk skirt from dress reconstruction tutorial
Materials
- dress to reconstruct or skirt
- lanyard or lobster claw hooks
- rings (I used split rings)
- ribbon to hold rings
- fabric for waistband
- zipper
To convert a dress into a skirt, simply cut off the skirt portion right below the waist.
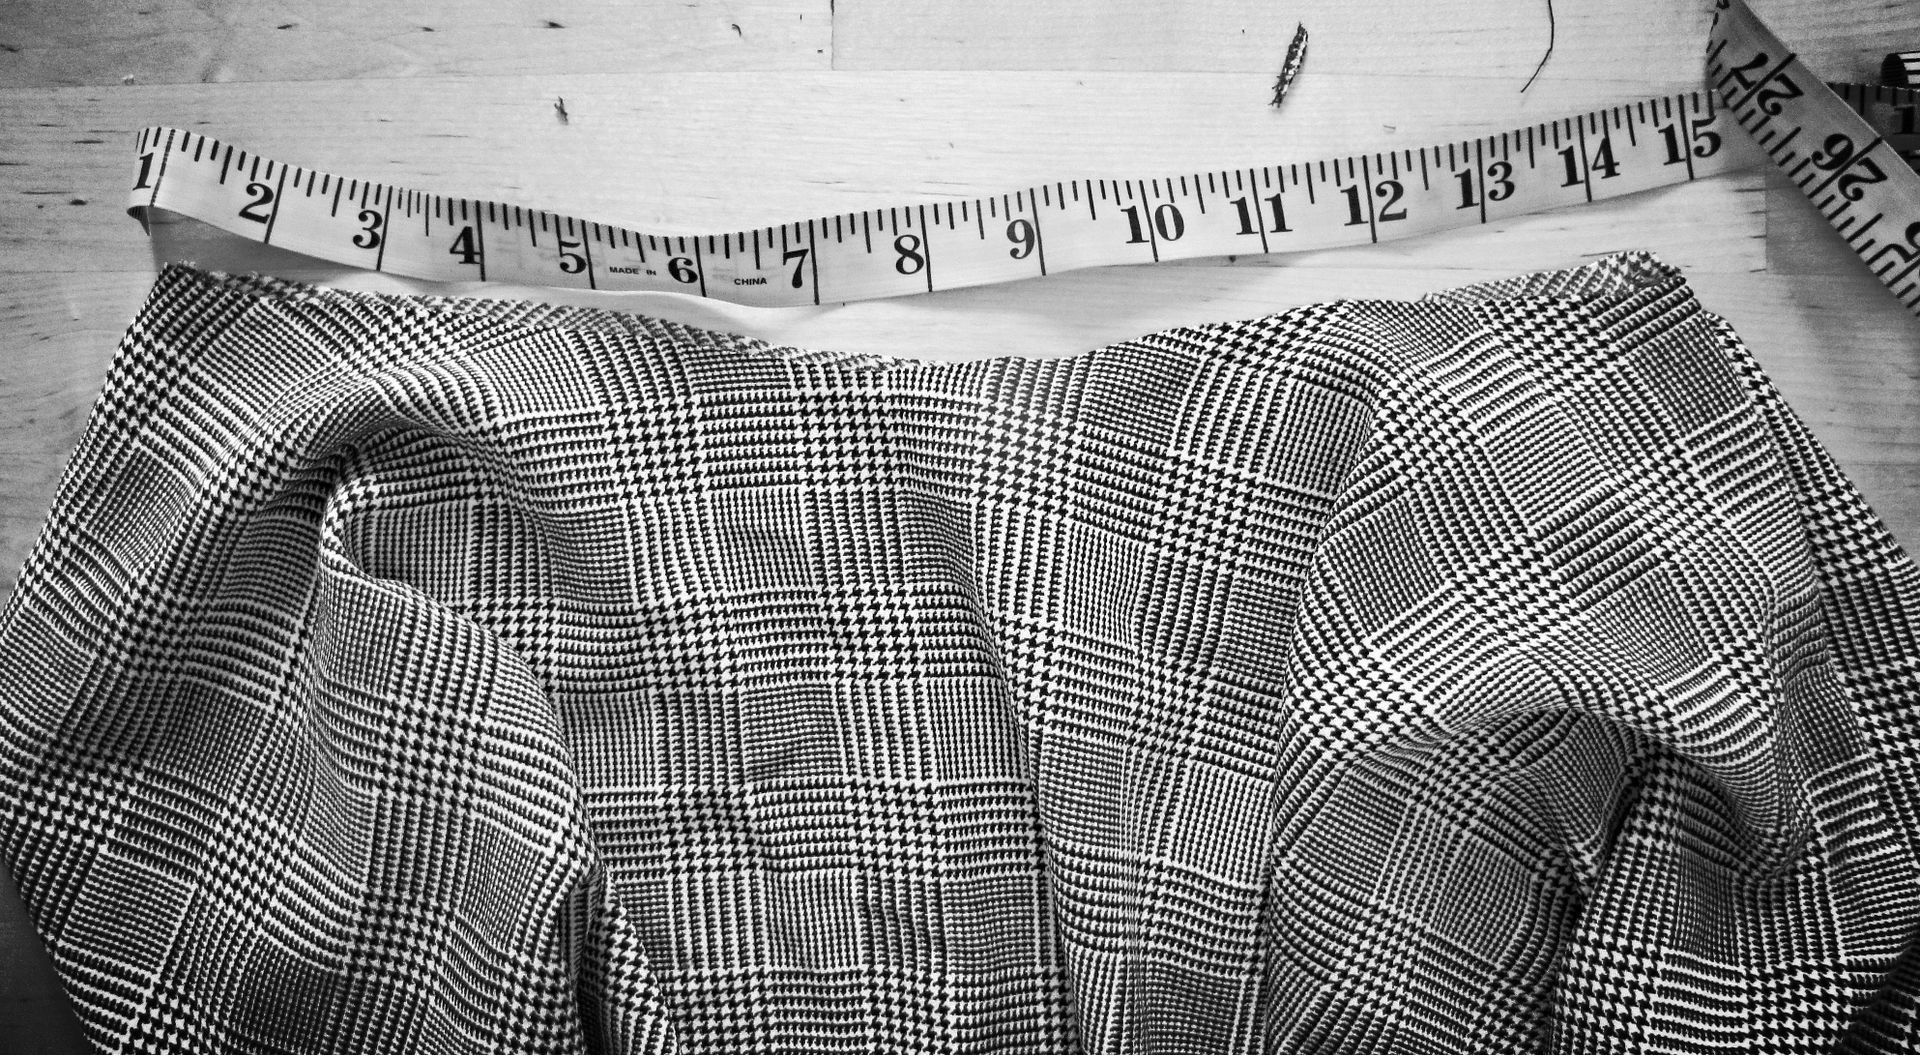
My skirt is a circle skirt and was a bit tricky to measure and size for a waistband. To fit the girl, I had to slightly gather up the skirt waistband. Not much more gather than ease on a sleeve, but you may have to gather a bit to have yours fit properly.
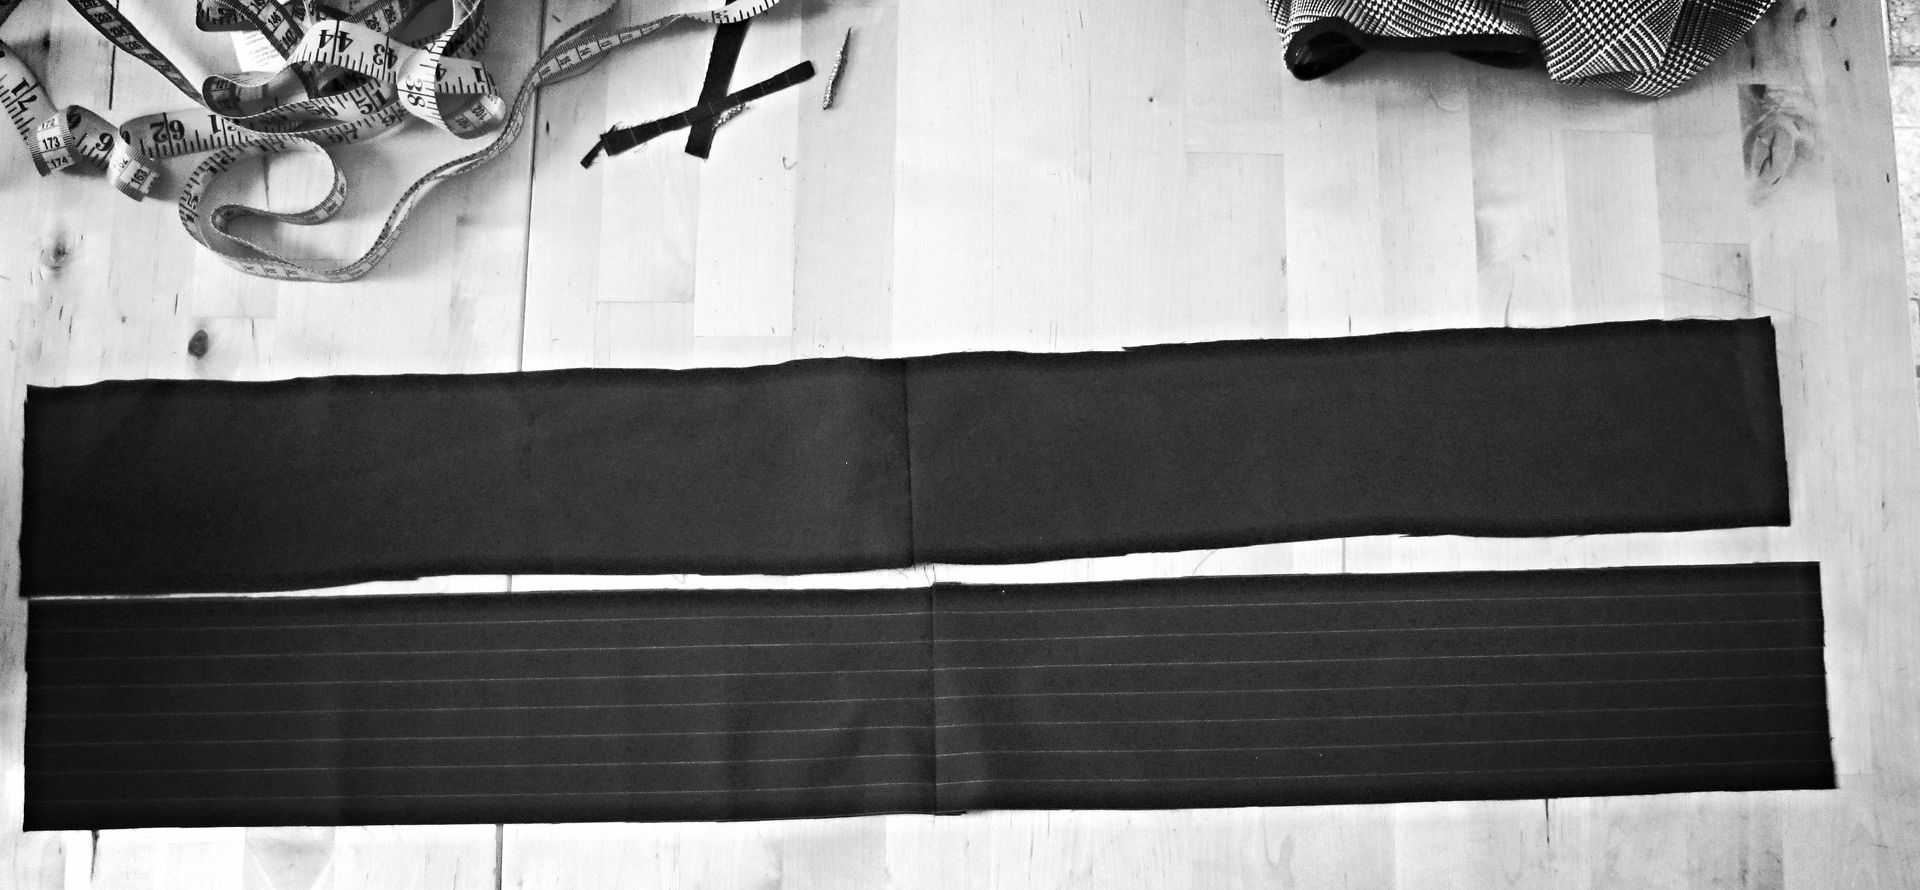
Using the girl child's waist measurement, I cut four rectangles of fabric (cutting two rectangles using the measurement would of been fine but I was using scraps and could not get an entire waistband out of one piece of fabric.)
Of the four rectangles, two are for the outside of the band to equal waist measurement plus seam allowance on the sides, two for the band lining of the same dimensions.
My waistband was four inches wide. This would of been great for an adult, but in retrospect, I think two inches would of been a better width.
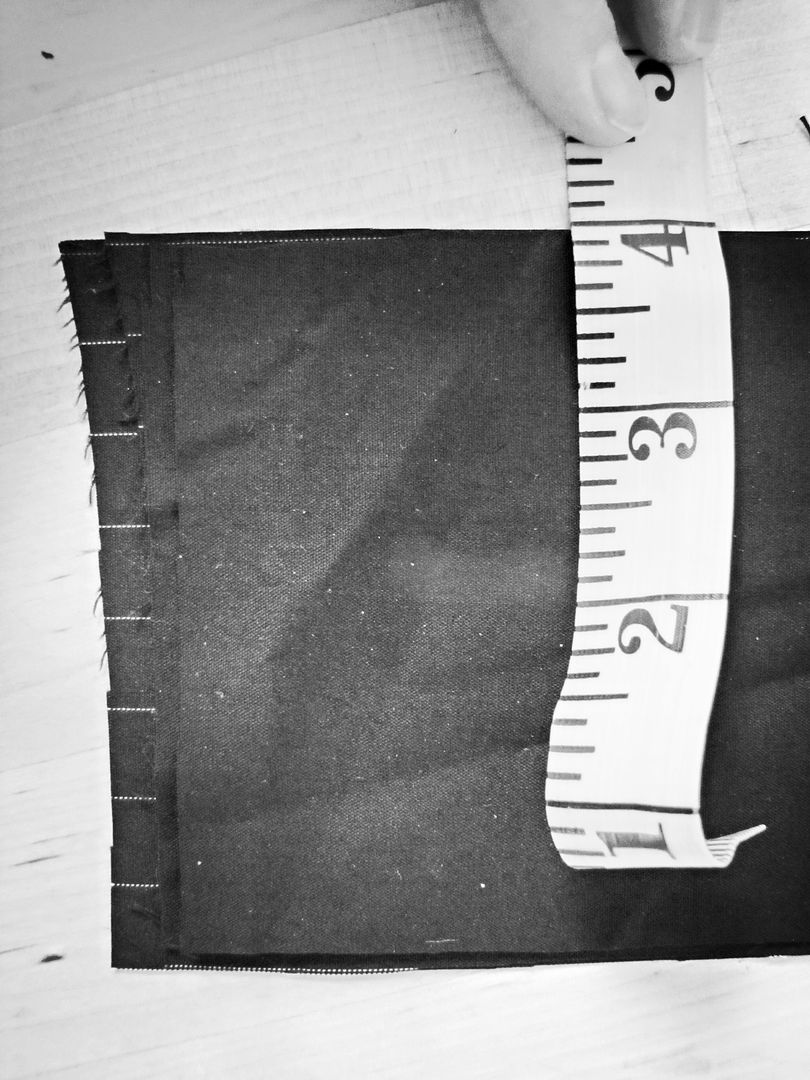
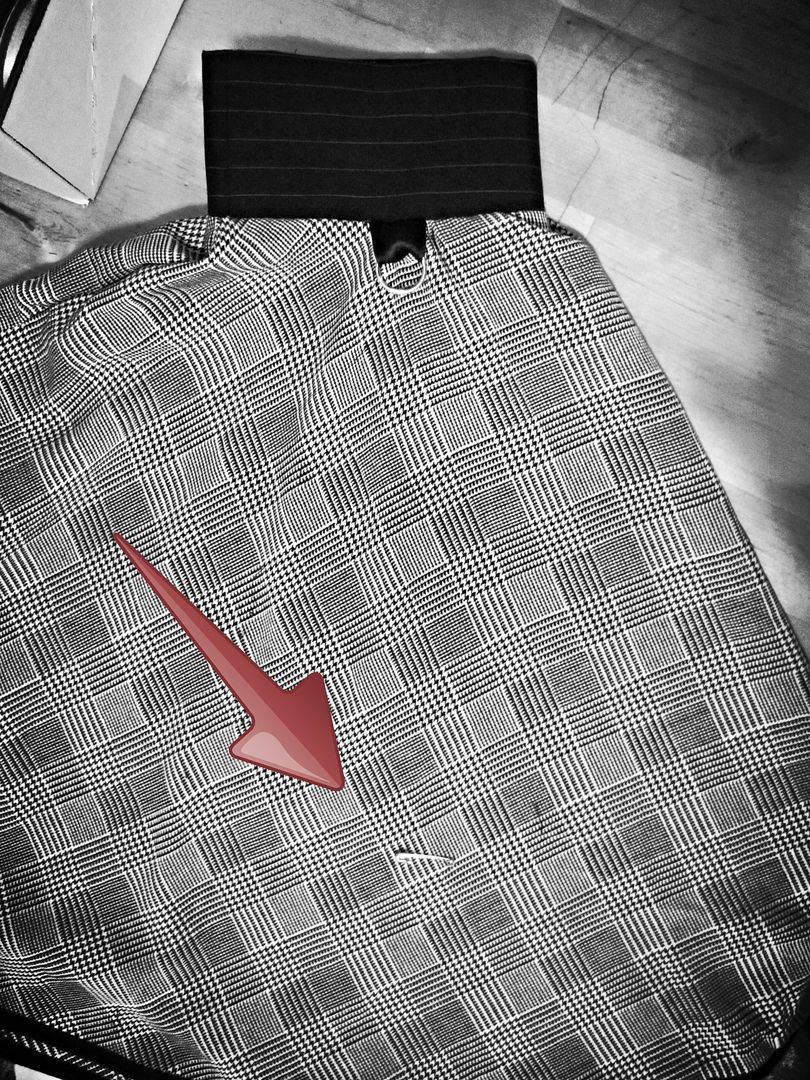
Below is my waistband and lining, sewn into two long strips. The zipper will attach on the open side of the waist band.
With right sides together, sew the top of the waistband together. Turn right sides out and press the lining behind the front of the waistband.
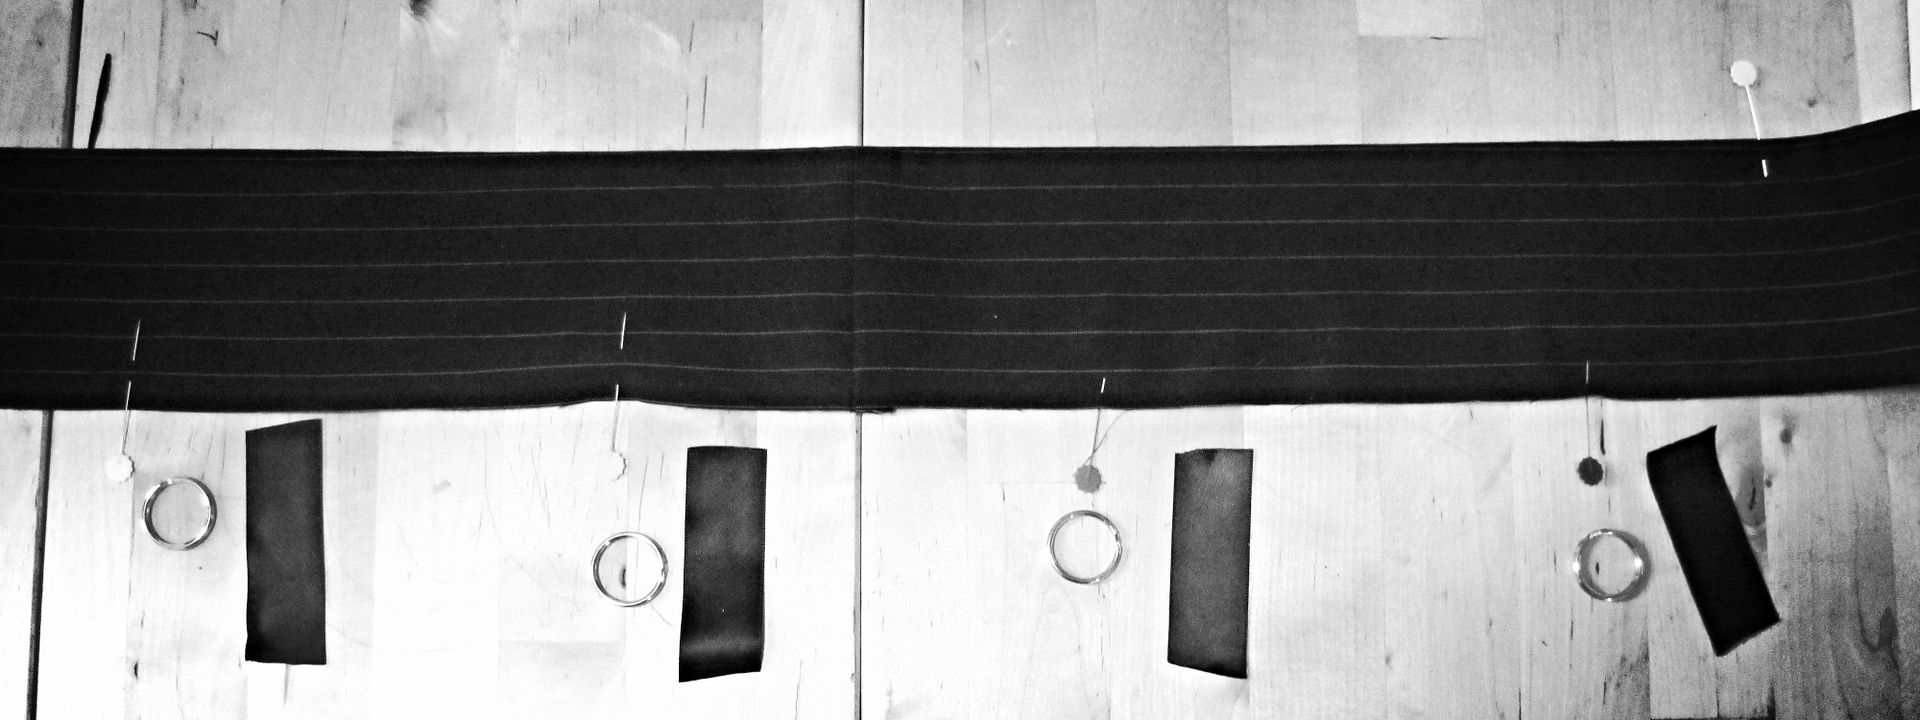
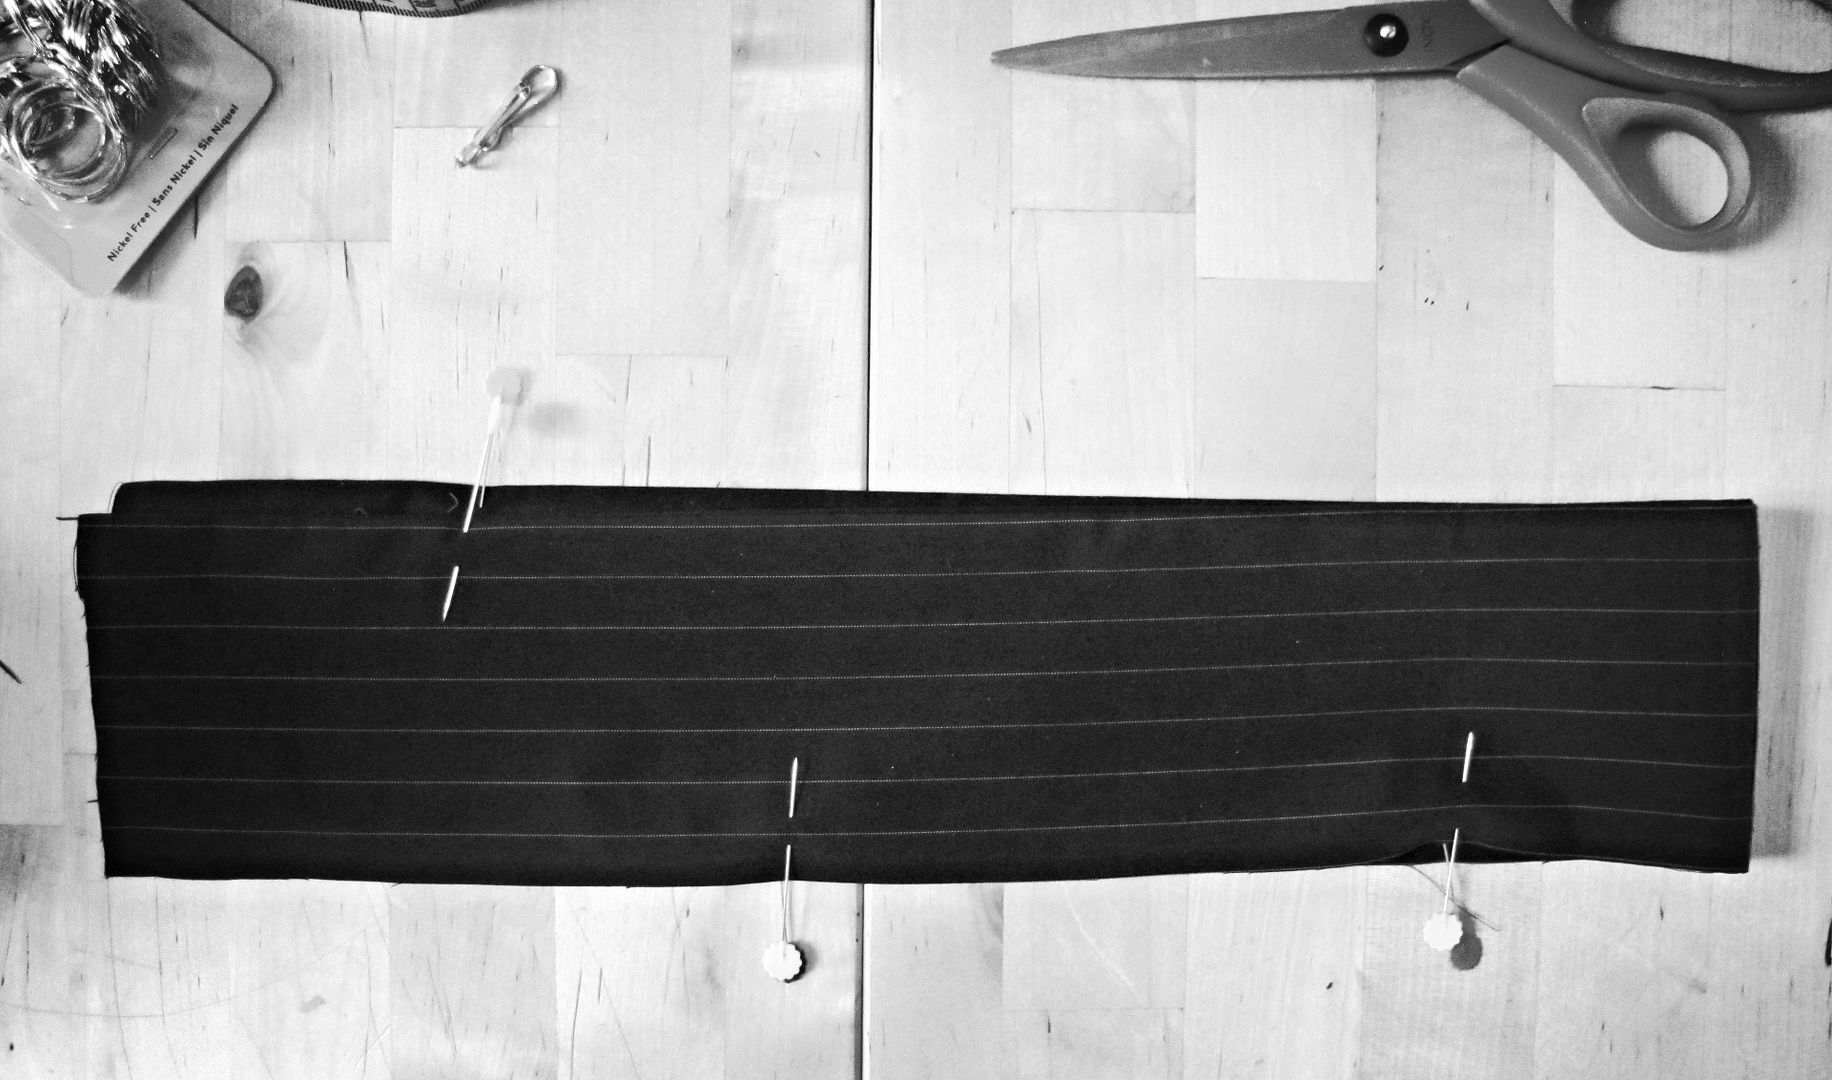
The waistband can then be divided into four equal sections on the bottom edge where rings on ribbons will be stitched. I marked my ring locations with pins.
To put in the rings that line the waistband (which the hooks will hang from to gather up the skirt), cut a length of ribbon for each hook about two inches long.
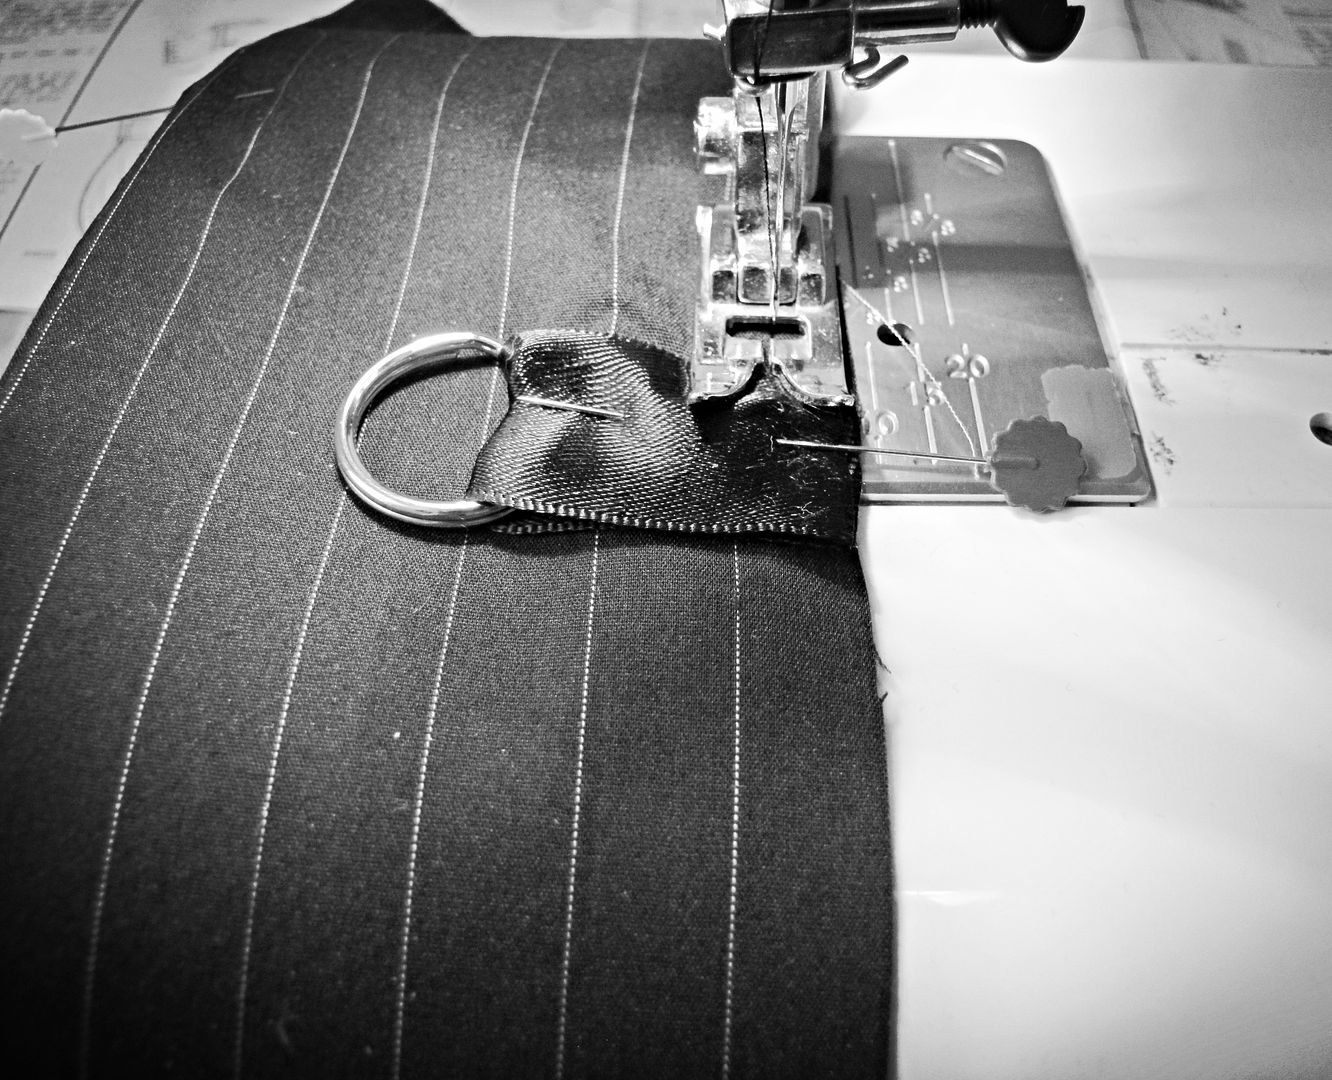
Each ribbon is folded in half with the ring caught at the fold. Pin the raw edge of each ribbon with ring at its marked position to the front side (right side) of the waistband. Sew closed the bottom of the waistband. Double back stitch over every ribbon for strength.
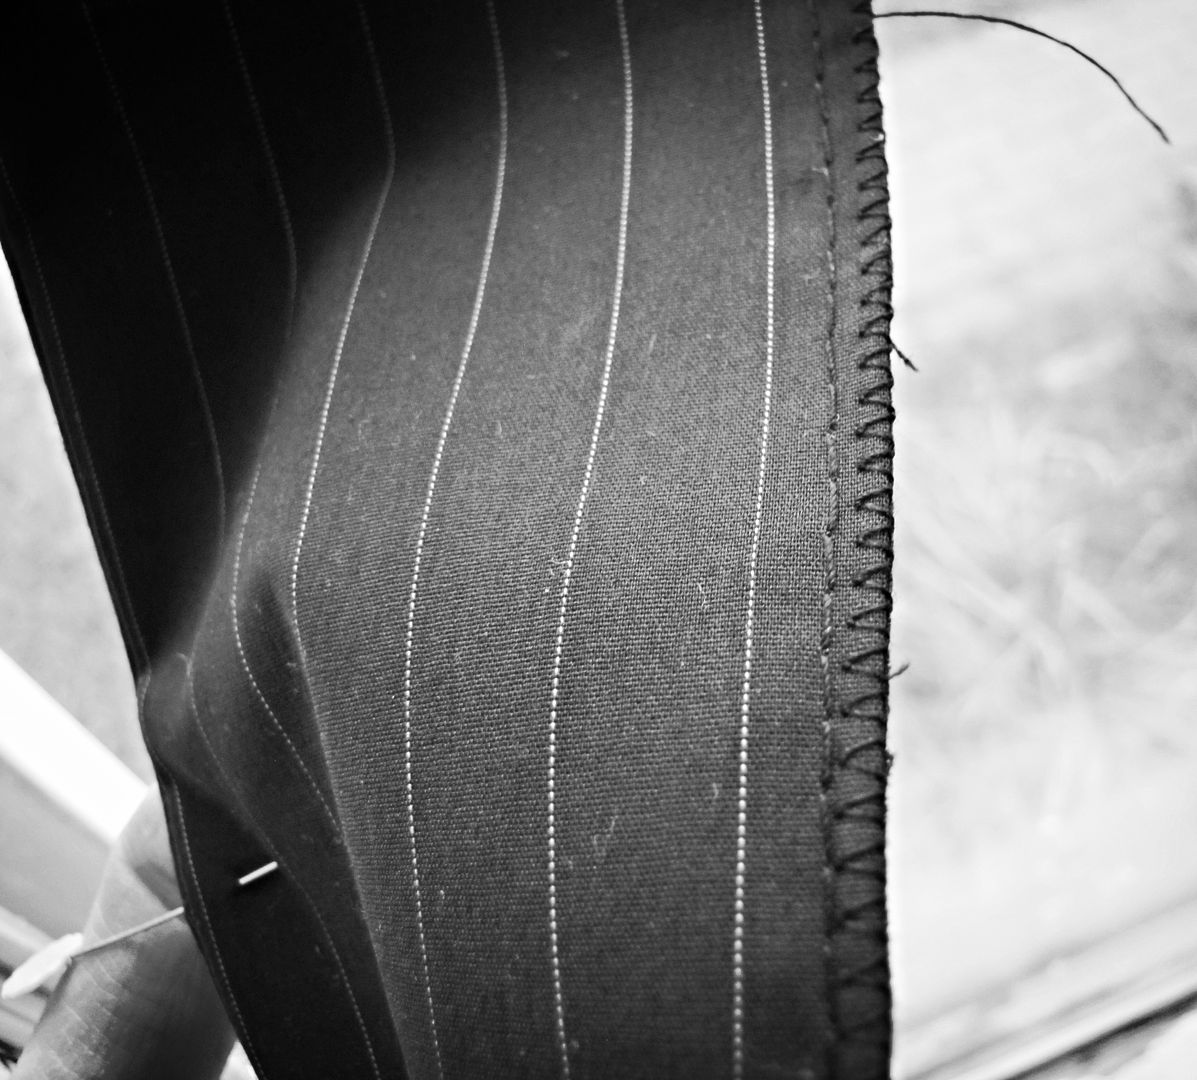
Finish the bottom edge of the waistband.
To attach the waistband, first split one side seam from the top of the skirt about two inches down. This is where the zipper will be placed after the waistband is attached.
To attach the waistband, align the raw edges of the waistband with the raw edges of skirt's top edge, right sides together, placing the open edges of the waistband against the two inch opening in the side seam. Stitch from the side seam opening all around to the other side, keeping mind not to catch the ribbon or rings up in your sewing machine. Fold open the waist band and press.
Install the zipper on the open side of the waistband.
To mark the locations of the bottom rings with attached hooks, fold the bottom edges of the skirt into into four equal parts. Note the bottom edge of the skirt directly below the waistband rings and measure up about five inches (or where desired. The exact distance we chose was decided by having girl child try on the skirt and picking up the bottom into gathers to determine exactly where we would like them.)
Mark each position for a ring and hook with a safety pin.
Prepare your hook and ring combo by first attaching the hook on the ring. Cut a ribbon about two and a half inches long for each ring. Catching a ring in the ribbon, fold the ribbon in half and stitch the edges closed. Gently sear the raw edge of the ribbon with an open flame (lighter or match) to seal the ribbon and prevent fraying. Flip the ribbon inside out so that the raw edges and seam are on the inside of the ribbon loop.
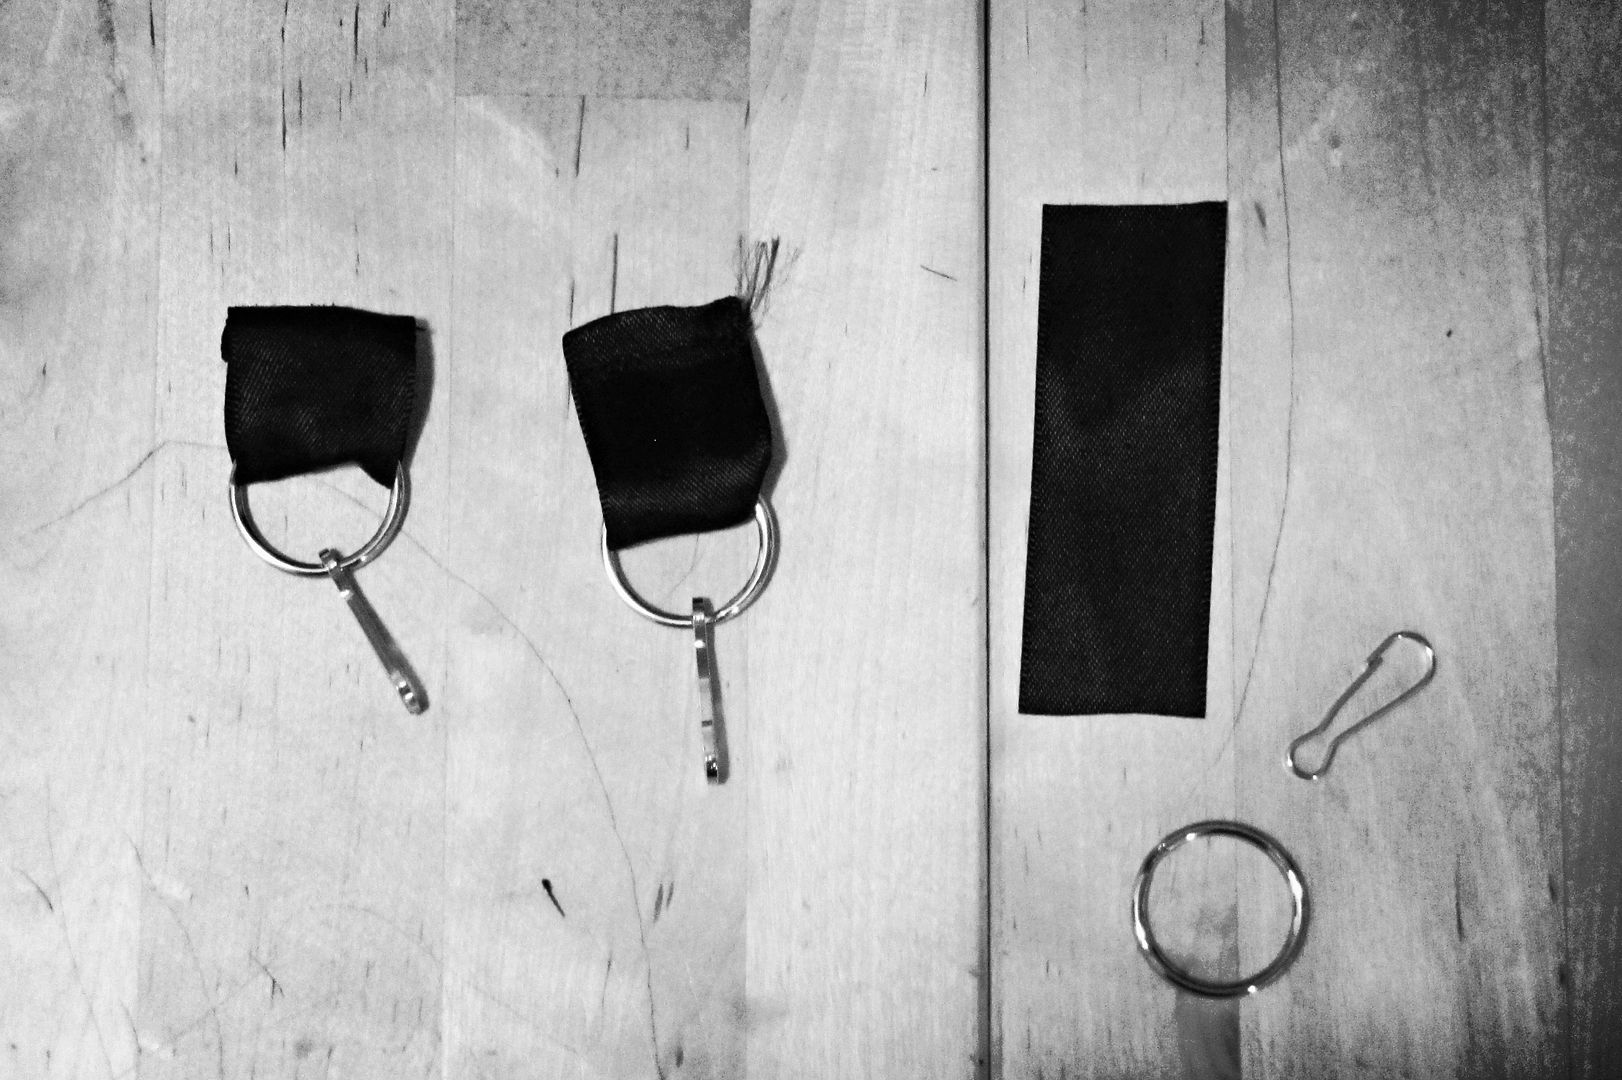
With the seam on the ribbon to the top, pin ribbons with rings onto skirt in marked locations. Stitch ribbon to skirt, sewing over the ribbon several times for strength.
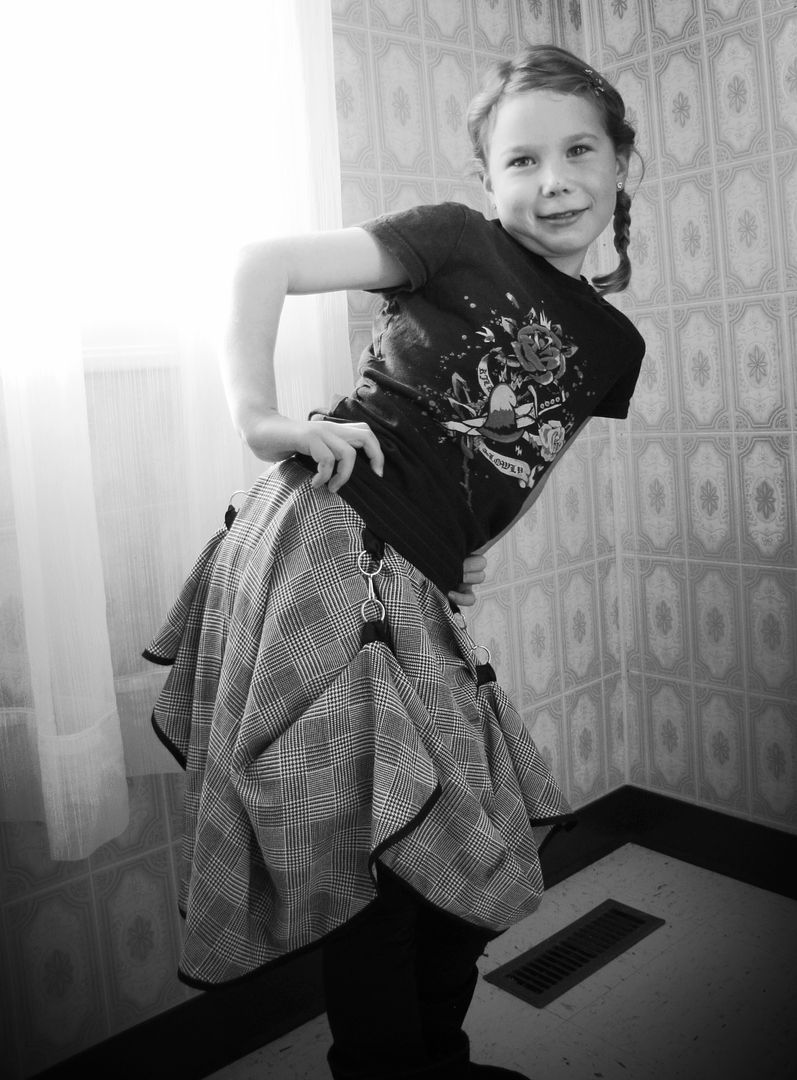
With your skirt on, you can let it drape naturally or hook the rings together for gathers.
The next time I do this skirt, I would like to add more hooks and rings for even more gathers. Plus I'd like to use some pretty lobster claw hooks instead of the lanyard hooks, but we were making do with what we happen to have around here. Of course, the whole thing is crying for some sort of petticoat or striped tights. I would also like to get some pictures that aren't in a bathroom at the hall where we had our family Thanksgiving dinner, but I won't get too picky on that point. I'm just pleased the girl child is still willing to pose for me.
Should I shut up? Maybe. But one more tutorial first.
 |
| Before |
 |
| After |
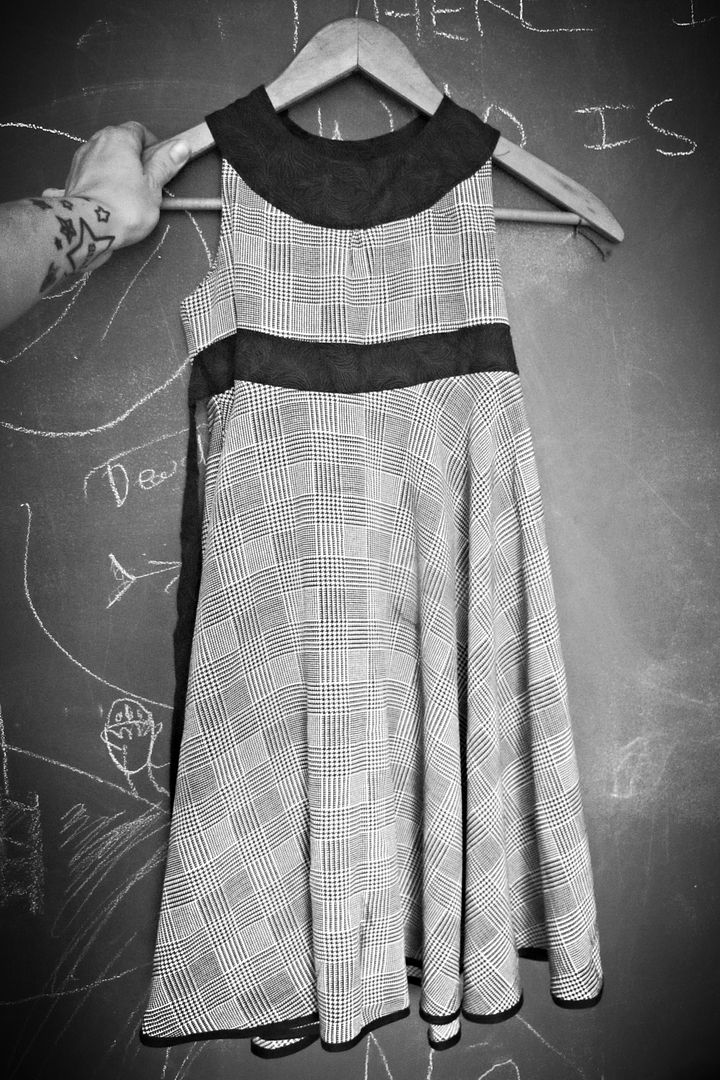
So my little girl isn't so little anymore. Four years have passed since I made her this Revolutions Frock (on the left - which you can find the pattern for here if you are so inclined). You'd think I would make her some new clothes.
But no. Haha. Poor kid.
The dress was in great shape still, except for a blown out snap on the top and, of course, being much too small for girl child. Girl child had asked me THE DAY BEFORE the big Thanksgiving dinner to make her a new dress. Bahahaha! Girl child has a sense of humour. I am apparently still a bit of a sucker, however, and decided that while I didn't have time for a whole new dress, I could probably reconstruct one of her old dressed into something. And I happen to have an idea that I've been ruminating on for awhile.
Steampunk is a bit of theme running through out house lately. The musical production of Alice in Wonderland girl child is cast in has a steampunk theme. The Man has always been in love with the idea of technology taken in new and fantastic directions, long before steampunk was ever a 'thing'. We even are planning a steampunk party for next month for the derby orphans we know. Thus, we are declaring this skirt to be 'steampunk'. Even if the rest of girl child's wardrobe has some catching up to do.
The idea of this skirt is that it can be left down in the usual manner, or gathered up by attaching the hooks sewn into the skirt. In my skirt, the waistband has four rings attached and the skirt contains four rings with hooks attached near the bottom of the skirt.
This is, probably, the first time I am making something for girl child that genuinely reflects the fact that she isn't an adorable little preschooler anymore and now a fully grown tween with attendant attitude, thank you. Her daily wear is no longer puff sleeves and twirl skirts. I am probably going to get kicked out of the sewing mom club for saying this but it is sort of exciting to start getting into more adult styled clothing for her.
Actually, I can't wait for her to go through her punk stage. I'm pretty sure it's not really punk to have your mom sew your clothes for you, but, honestly, kids these days don't really know how to do it anyways, so I feel it's best to intervene with girl child nonetheless.
Steampunk skirt from dress reconstruction tutorial
Materials
- dress to reconstruct or skirt
- lanyard or lobster claw hooks
- rings (I used split rings)
- ribbon to hold rings
- fabric for waistband
- zipper
To convert a dress into a skirt, simply cut off the skirt portion right below the waist.
 |
| Before |
Using the girl child's waist measurement, I cut four rectangles of fabric (cutting two rectangles using the measurement would of been fine but I was using scraps and could not get an entire waistband out of one piece of fabric.)
Of the four rectangles, two are for the outside of the band to equal waist measurement plus seam allowance on the sides, two for the band lining of the same dimensions.
My waistband was four inches wide. This would of been great for an adult, but in retrospect, I think two inches would of been a better width.
Below is my waistband and lining, sewn into two long strips. The zipper will attach on the open side of the waist band.
With right sides together, sew the top of the waistband together. Turn right sides out and press the lining behind the front of the waistband.
The waistband can then be divided into four equal sections on the bottom edge where rings on ribbons will be stitched. I marked my ring locations with pins.
 |
| Waistband folded in half. |
To put in the rings that line the waistband (which the hooks will hang from to gather up the skirt), cut a length of ribbon for each hook about two inches long.
Each ribbon is folded in half with the ring caught at the fold. Pin the raw edge of each ribbon with ring at its marked position to the front side (right side) of the waistband. Sew closed the bottom of the waistband. Double back stitch over every ribbon for strength.
Finish the bottom edge of the waistband.
To attach the waistband, first split one side seam from the top of the skirt about two inches down. This is where the zipper will be placed after the waistband is attached.
To attach the waistband, align the raw edges of the waistband with the raw edges of skirt's top edge, right sides together, placing the open edges of the waistband against the two inch opening in the side seam. Stitch from the side seam opening all around to the other side, keeping mind not to catch the ribbon or rings up in your sewing machine. Fold open the waist band and press.
Install the zipper on the open side of the waistband.
To mark the locations of the bottom rings with attached hooks, fold the bottom edges of the skirt into into four equal parts. Note the bottom edge of the skirt directly below the waistband rings and measure up about five inches (or where desired. The exact distance we chose was decided by having girl child try on the skirt and picking up the bottom into gathers to determine exactly where we would like them.)
Mark each position for a ring and hook with a safety pin.
Prepare your hook and ring combo by first attaching the hook on the ring. Cut a ribbon about two and a half inches long for each ring. Catching a ring in the ribbon, fold the ribbon in half and stitch the edges closed. Gently sear the raw edge of the ribbon with an open flame (lighter or match) to seal the ribbon and prevent fraying. Flip the ribbon inside out so that the raw edges and seam are on the inside of the ribbon loop.

With the seam on the ribbon to the top, pin ribbons with rings onto skirt in marked locations. Stitch ribbon to skirt, sewing over the ribbon several times for strength.
With your skirt on, you can let it drape naturally or hook the rings together for gathers.
 |
| After. |
The next time I do this skirt, I would like to add more hooks and rings for even more gathers. Plus I'd like to use some pretty lobster claw hooks instead of the lanyard hooks, but we were making do with what we happen to have around here. Of course, the whole thing is crying for some sort of petticoat or striped tights. I would also like to get some pictures that aren't in a bathroom at the hall where we had our family Thanksgiving dinner, but I won't get too picky on that point. I'm just pleased the girl child is still willing to pose for me.
10.10.2013
the newest sailor scout
Somewhere along the line while playing with the dolls this week, I managed to learn a few things about articulated paper dolls and kids in general.
First of all, I think that my process for making dolls templates has a fatal flaw, and that is failing to take the time to properly portion my doll. I will, next time (tomorrow maybe), start with a figure and then break apart the limbs where I see fit. In my rush to get things moving for the kids, I just sort of drew pieces and then off we went, simply enamored with the novelty of the jointed dolls. I think we're ready to step up our game and take the time to plan out our dolls better.
Second, I learned that all my years of drawing sailor scouts when I was a teenager for my little sister's insatiable hunger for all things Sailor Moon has obviously imprinted something on my artistic psyche. Because if this off the cuff doll isn't Sailor Victorian, I'll be a monkey's aunt.
No, seriously, she makes me laugh. But she has a corselet, so that's something.
Third thing I learned is that kids can't help comparing their own work to adults. While I think my drawing is funny and badly proportioned, girl child is greatly envious at what she considers my superior drawing skills (we used the same template) and looks down at her own work in comparison. While I am completely agog at her independent and creative rendering of Coraline, she's all, 'Mom, your drawing is waaaay better than mine and I'll never draw as good as you.' Which is laughably untrue, especially since I have barely drawn anything in the last twenty years, but it's hard for a nine year old to see that.
Comparison is unhelpful and not realistic. I tell her this. She still compares themselves to others. Because she is human.
It makes me think of a book I read years ago about how exposure to adult drawings - in children's books, colouring books and the like - can stunt a child's artistic expression because their own first attempts at drawing, say, a dog look nothing like the dog illustrated in their colouring book. I suppose it's possible that they might feel discouraged, depending on the environment in which their art is being evaluated.
(Come to think of it, I would actually argue this point for people perusing Pinterest.)
It's equally likely that a child will strive to improve by their own standards to the best of their ability, also depending on their environment. I can not see limiting a child's exposure to good art, lest their self esteem suffer. I'm not sure I believe in self esteem, at least in the present day packaging of 'you are special.' If self esteem is based upon failing to appreciate skill and talent in others, I wouldn't want to have anything to do with it.
Anyway, girl child has been studying and copying my techniques as I draw and is well on her way to imprinting sailor scouts on her own artistic psyche, probably to her artistic disadvantage in the future. Which brings me to why I think I should find her some art classes or a tutor to broaden her horizons and develop some skills. She's quite involved so far, never being very far from her paper and pencils, producing twenty to thirty drawings a day as she has been for years. Despite the thousands of children's books with drawing by adults and the thousands of paintings she seen in books and hanging on walls in homes, galleries and museums, her artistic drive seems to remain, stubbornly, un-stunted.
We have one whole week before her schedule for rehearsals and show days is kicked into super high intensity. Rehearsal and show weeks (three in total) include some five to eight hours a day, not including making 'show hair' happen. We're going to see if we can come up with some Alice in Wonderland character templates to scan, print and share with her friends in the green room while they wait for their cues. I will definitely share here if we manage to come up with something presentable and, hopefully, not shaped like a sailor scout.
10.08.2013
Monster High things and Coralines - spooky little girls everywhere
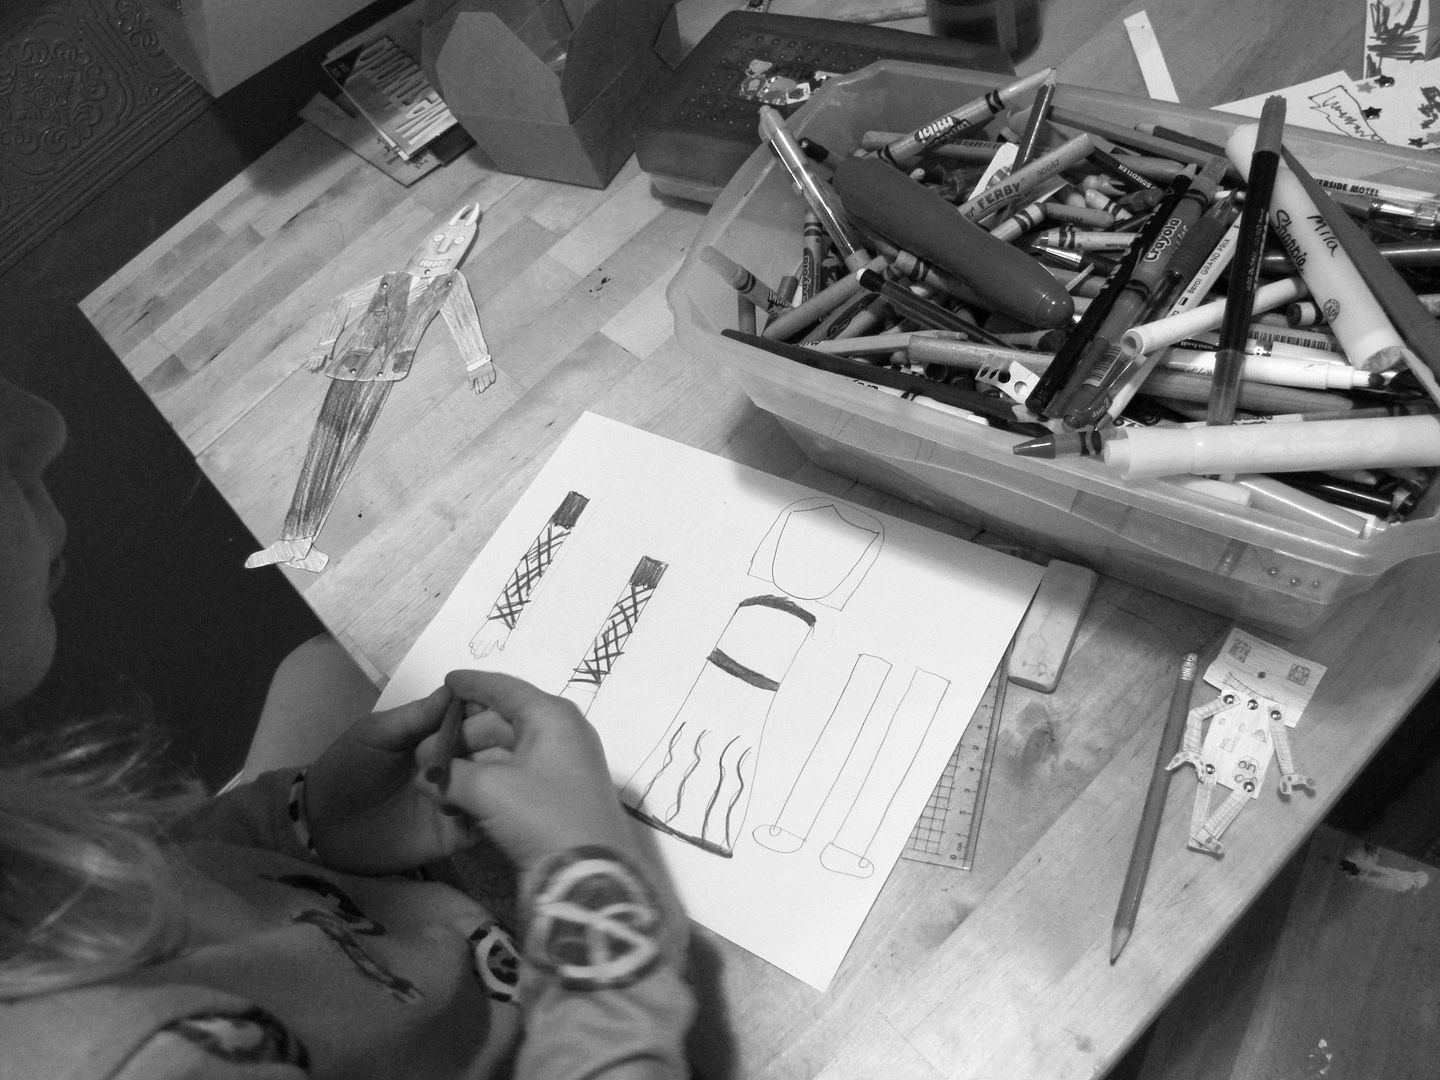
Today girl child's good friend came over and we all sat around the table making paper dolls. To expedite the process, I started to make a template for a fashion doll type creature. While I was doing that, the girls just went ahead and made their own templates for their Monster High dolls.
I feel I need to find some ink for my printer because it would of been nice to just scan and print rather than transferring the template by ye ol' pencil and paper method, but, ultimately it kept everyone busy and engaged for over an hour so I'm not going to complain too much.
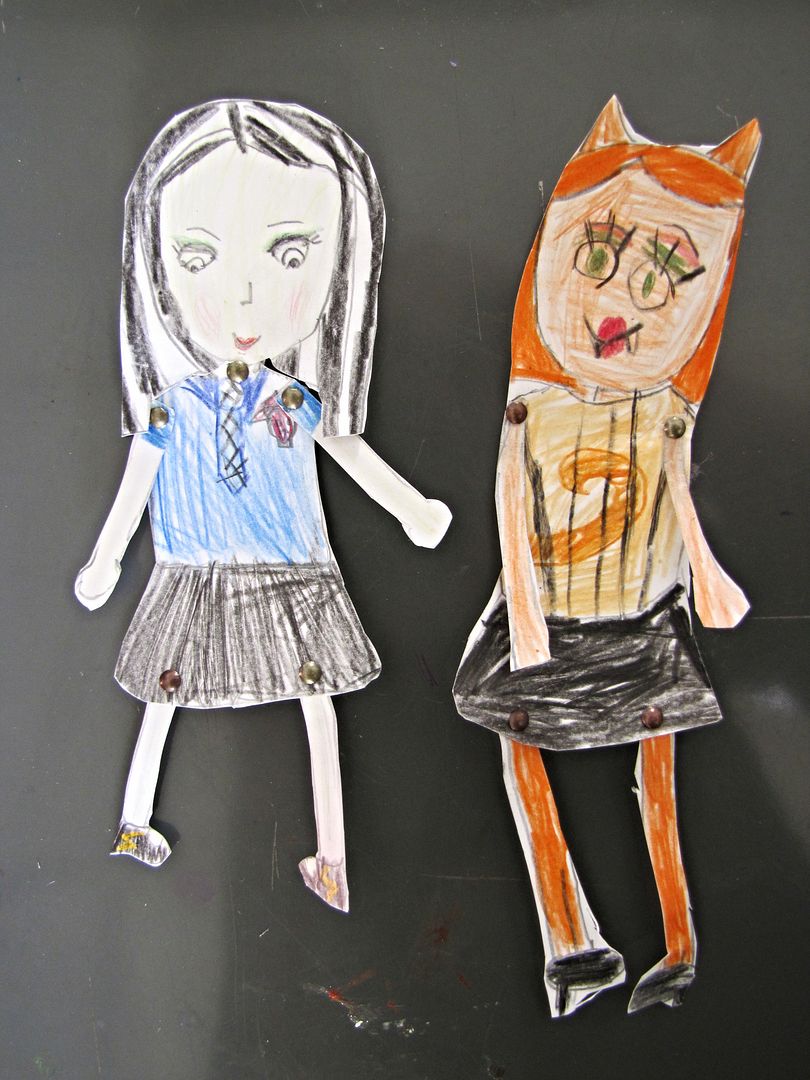
The girls discovered today that they both love Neil Gaiman's Coraline and decided to use their templates to make up a Coraline each of their own. Though, of course, wearing different outfits.
Isn't it lucky that we happen to have some brads that look like buttons? I heard little squees when the girls discovered the button brads when they went to articulate their Coralines.
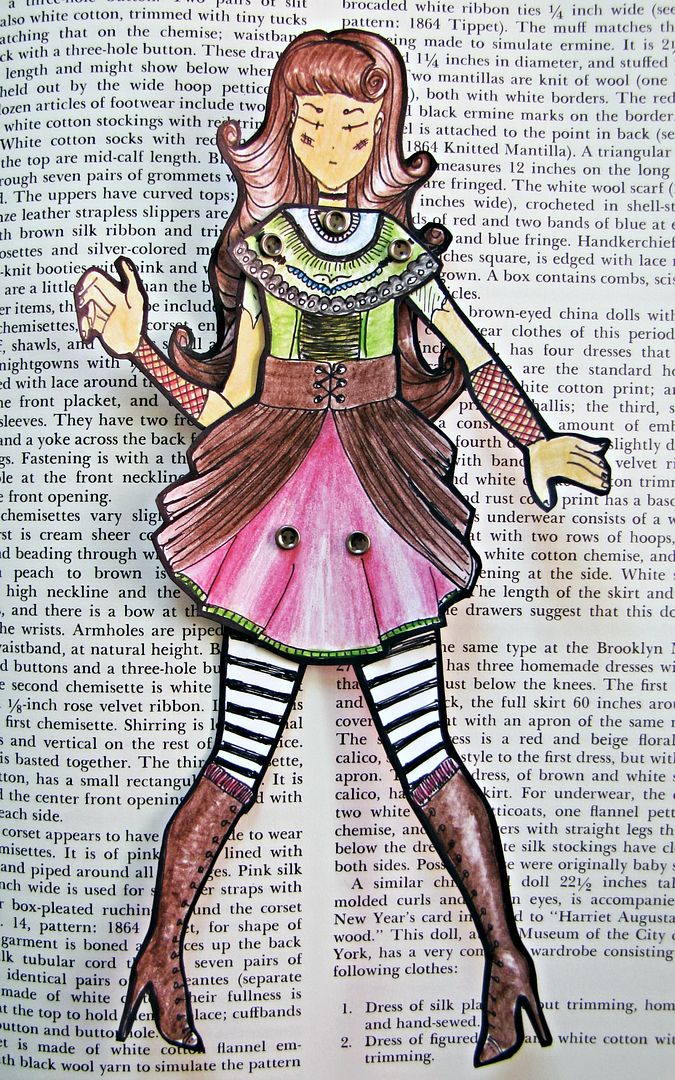
So, now I'm staying up late tonight to finish my paper doll. Instead of sewing, such as I should be doing for the costume committee of girl child's Alice in Wonderland play. It opens in a couple weeks and I have several more corselets cut and needing to be assembled. To be fair, my paper doll is actually wearing a corselet, so maybe I can count this as valuable research time. You know, as I colour my paper doll?
I feel I need to find some ink for my printer because it would of been nice to just scan and print rather than transferring the template by ye ol' pencil and paper method, but, ultimately it kept everyone busy and engaged for over an hour so I'm not going to complain too much.
 |
| My doodling over my paper doll template (which I'm still working on) and boy child's finished doll using the same template. |
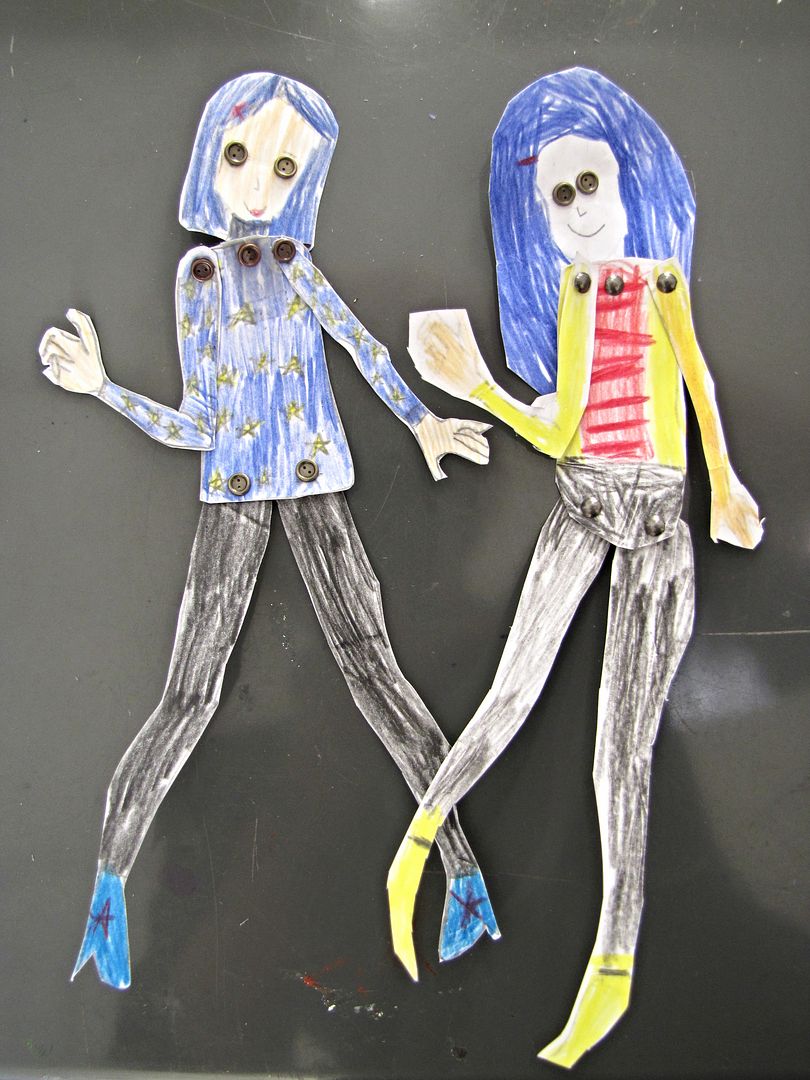 |
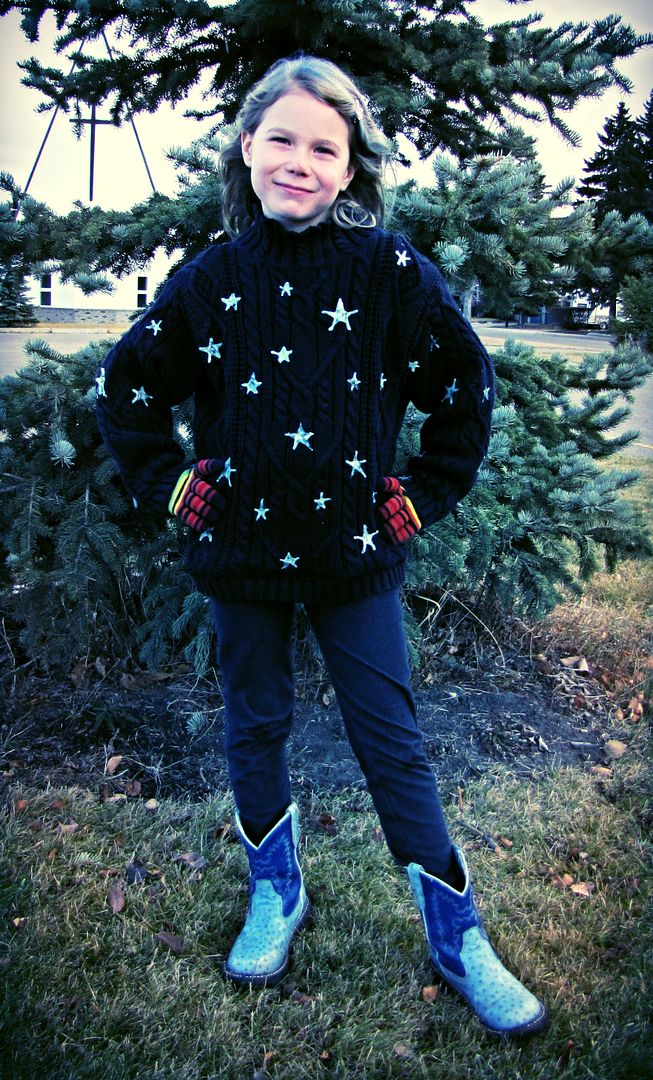
| Girl child's 'star sweater' Coraline and good friend's 'rain jacket' Coraline. |
Isn't it lucky that we happen to have some brads that look like buttons? I heard little squees when the girls discovered the button brads when they went to articulate their Coralines.
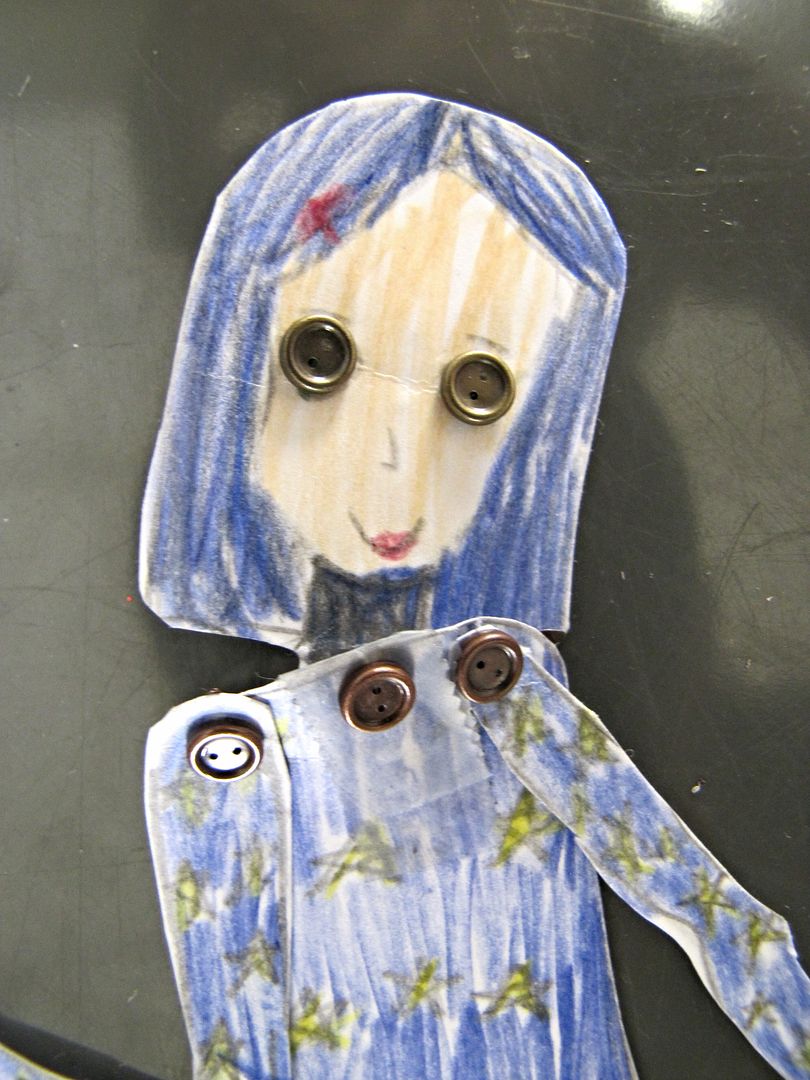 |
| Button eyed Coraline |
So, now I'm staying up late tonight to finish my paper doll. Instead of sewing, such as I should be doing for the costume committee of girl child's Alice in Wonderland play. It opens in a couple weeks and I have several more corselets cut and needing to be assembled. To be fair, my paper doll is actually wearing a corselet, so maybe I can count this as valuable research time. You know, as I colour my paper doll?
10.07.2013
articulated paper dolls
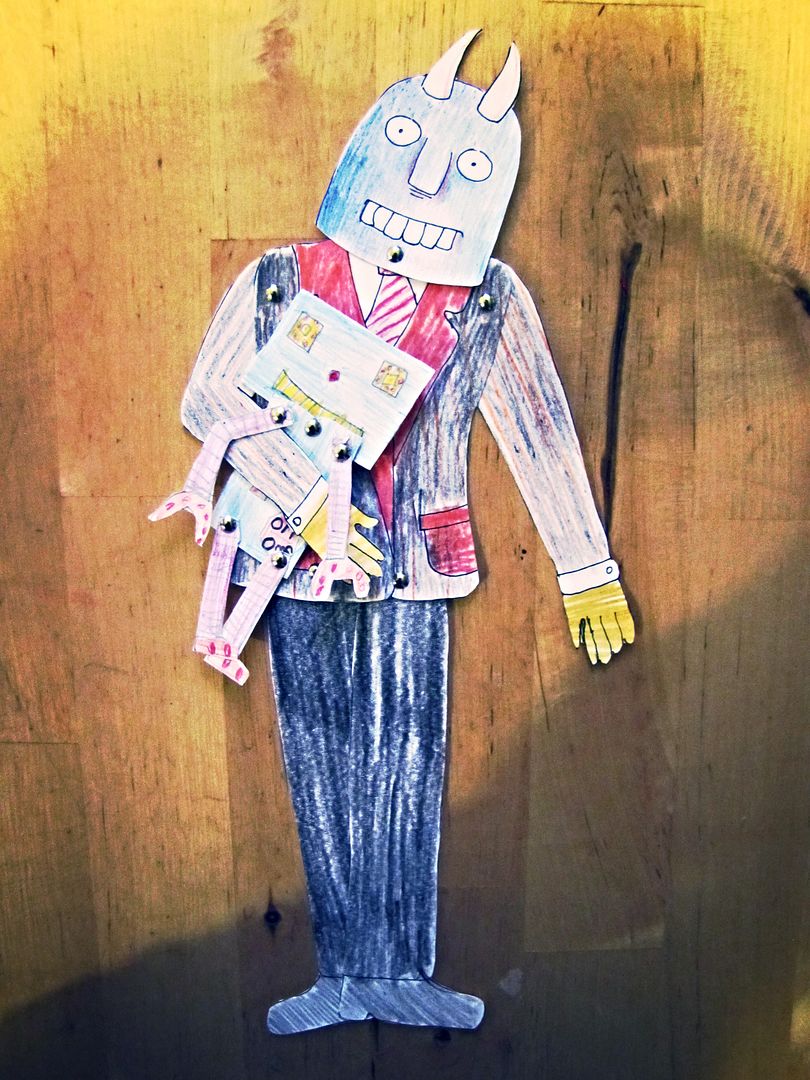 |
| Shamlander (inspired by Betty Paraskevas' Shamlanders) with pet robot. |
In my house, brads are currency. There are few things more charming than articulated paper dolls. Even boy child who, and I know this is hard to believe, avoids most craft-esque type things, absolutely delights in creating articulated paper robots.
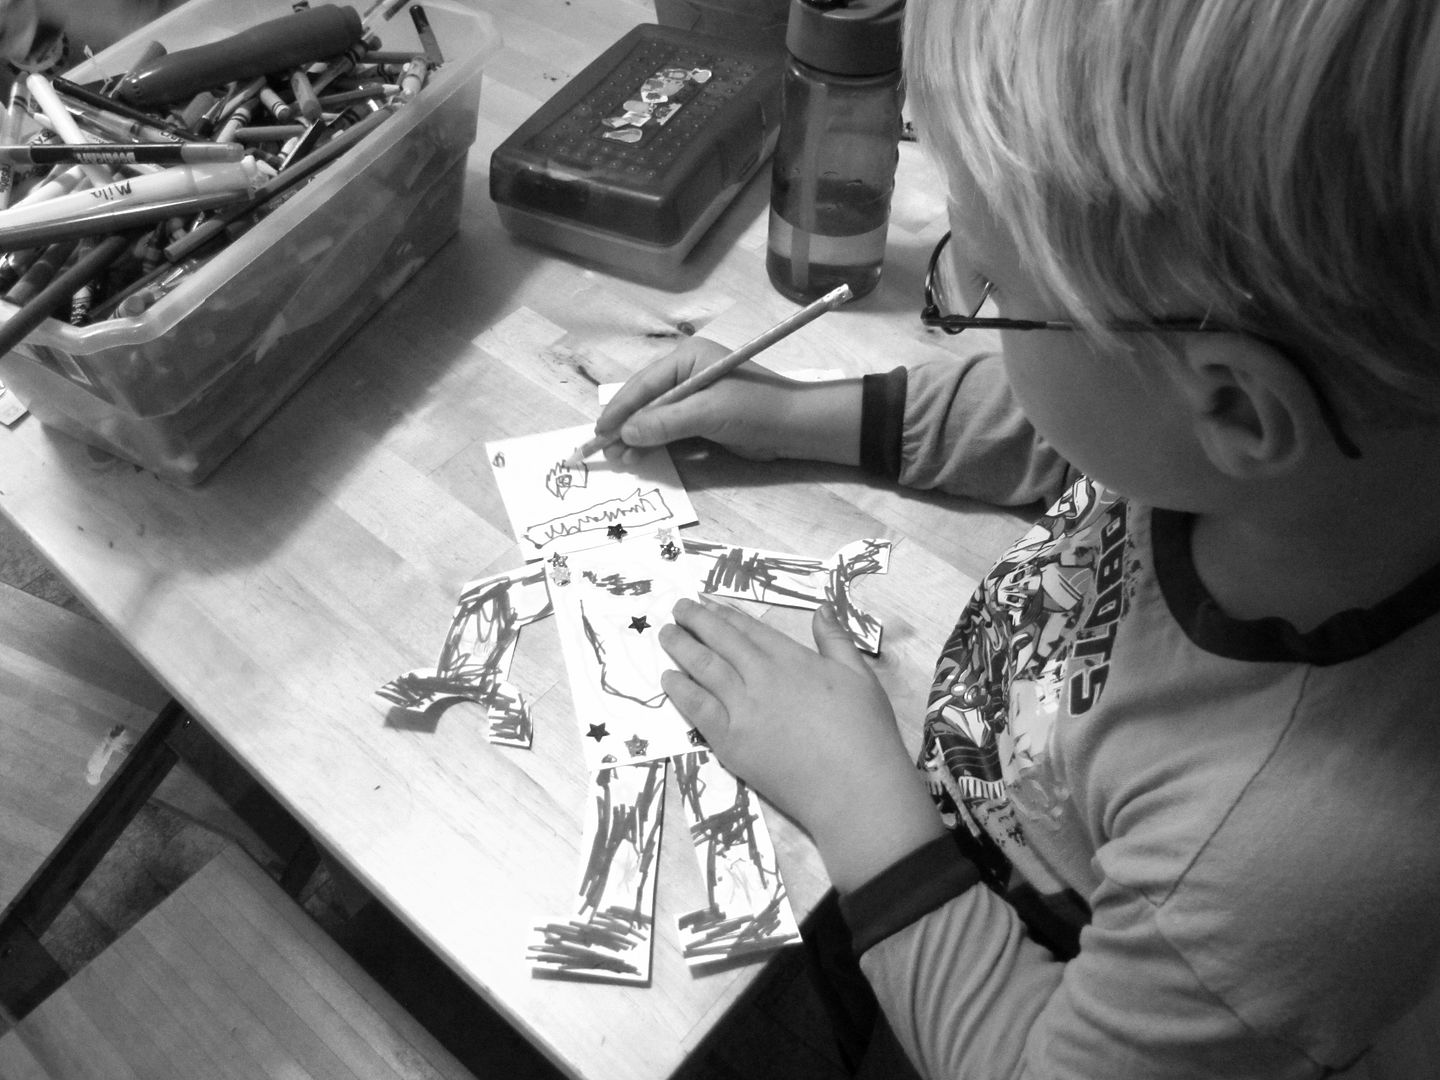
Girl child, though, believes that she has found her artistic calling. I can't wait to explore this with her more.
As you can see from girl child's drawing above, it is tremendously easy to create a doll template to make an articulated doll. Draw a head, body, arms and legs on paper, cut out the pieces, and join them with brads. I use a damaged sewing machine needle to get the hole started to put the brad through.
Viola.
If you do make some dolls with your children, please share with us here. Girl child would love to see some other children's creations.
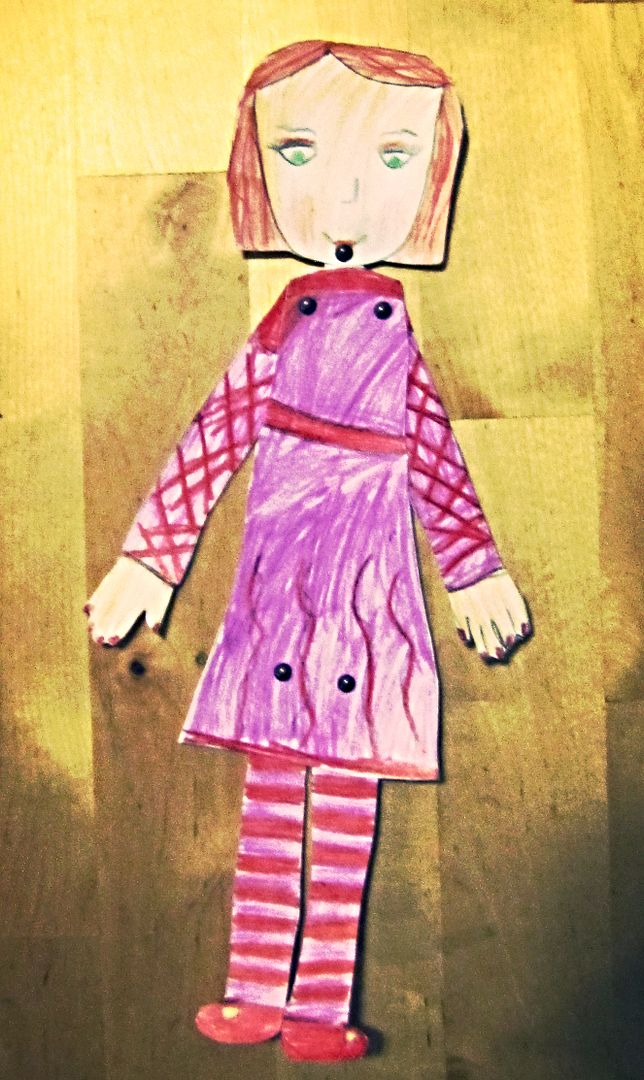 |
| Pink and purple articulated paper doll by girl child. |
Subscribe to:
Posts (Atom)


