Should I shut up? Maybe. But one more tutorial first.
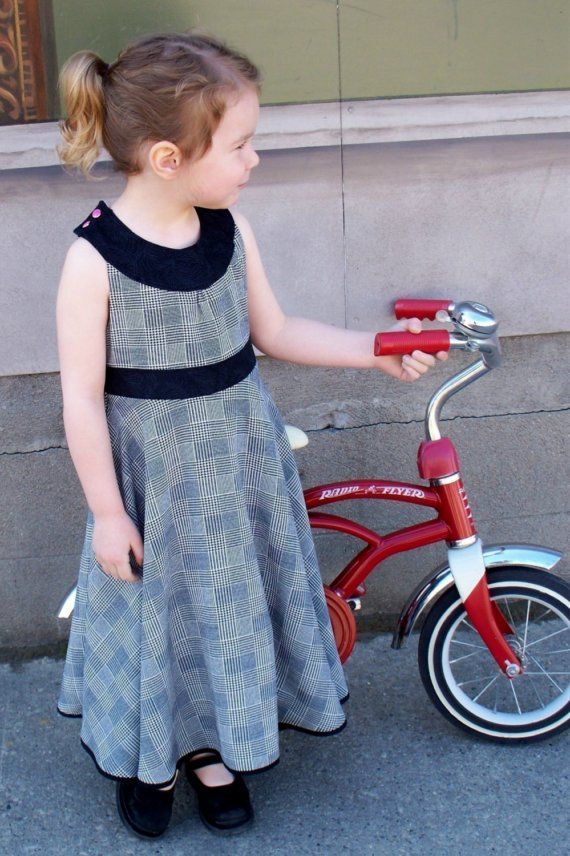 |
| Before |
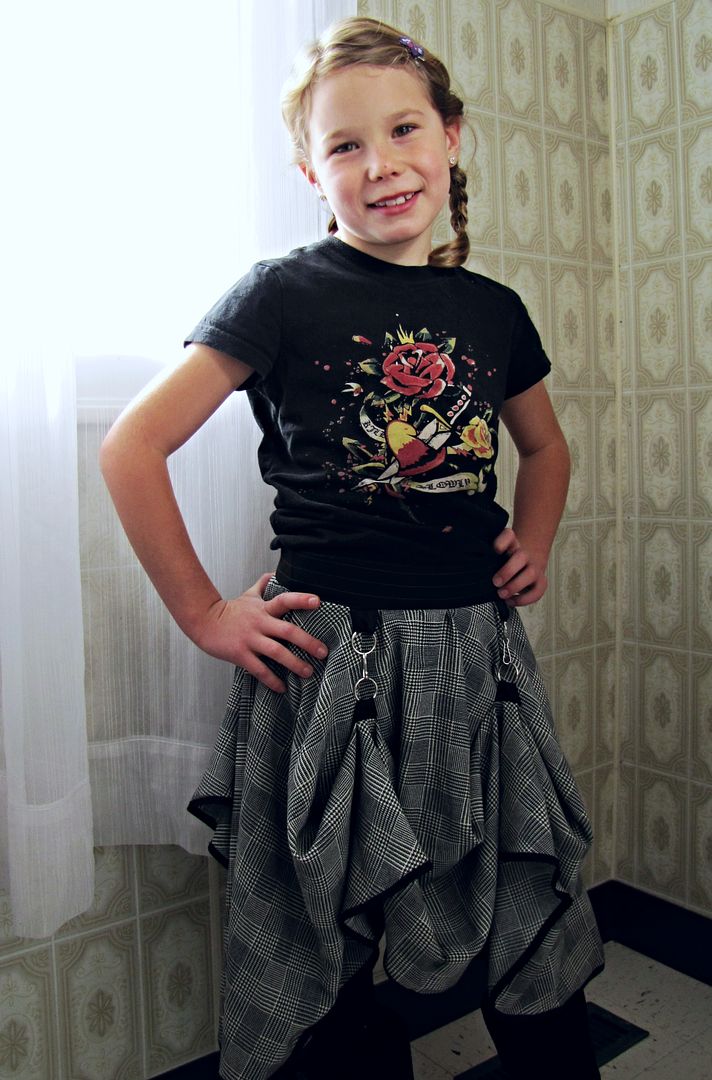 |
| After |
So my little girl isn't so little anymore. Four years have passed since I made her this Revolutions Frock (on the left - which you can find the pattern for here if you are so inclined). You'd think I would make her some new clothes.
But no. Haha. Poor kid.
The dress was in great shape still, except for a blown out snap on the top and, of course, being much too small for girl child. Girl child had asked me THE DAY BEFORE the big Thanksgiving dinner to make her a new dress. Bahahaha! Girl child has a sense of humour. I am apparently still a bit of a sucker, however, and decided that while I didn't have time for a whole new dress, I could probably reconstruct one of her old dressed into something. And I happen to have an idea that I've been ruminating on for awhile.
Steampunk is a bit of theme running through out house lately. The musical production of Alice in Wonderland girl child is cast in has a steampunk theme. The Man has always been in love with the idea of technology taken in new and fantastic directions, long before steampunk was ever a 'thing'. We even are planning a steampunk party for next month for the derby orphans we know. Thus, we are declaring this skirt to be 'steampunk'. Even if the rest of girl child's wardrobe has some catching up to do.
The idea of this skirt is that it can be left down in the usual manner, or gathered up by attaching the hooks sewn into the skirt. In my skirt, the waistband has four rings attached and the skirt contains four rings with hooks attached near the bottom of the skirt.
This is, probably, the first time I am making something for girl child that genuinely reflects the fact that she isn't an adorable little preschooler anymore and now a fully grown tween with attendant attitude, thank you. Her daily wear is no longer puff sleeves and twirl skirts. I am probably going to get kicked out of the sewing mom club for saying this but it is sort of exciting to start getting into more adult styled clothing for her.
Actually, I can't wait for her to go through her punk stage. I'm pretty sure it's not really punk to have your mom sew your clothes for you, but, honestly, kids these days don't really know how to do it anyways, so I feel it's best to intervene with girl child nonetheless.
Steampunk skirt from dress reconstruction tutorial
Materials
- dress to reconstruct or skirt
- lanyard or lobster claw hooks
- rings (I used split rings)
- ribbon to hold rings
- fabric for waistband
- zipper
To convert a dress into a skirt, simply cut off the skirt portion right below the waist.
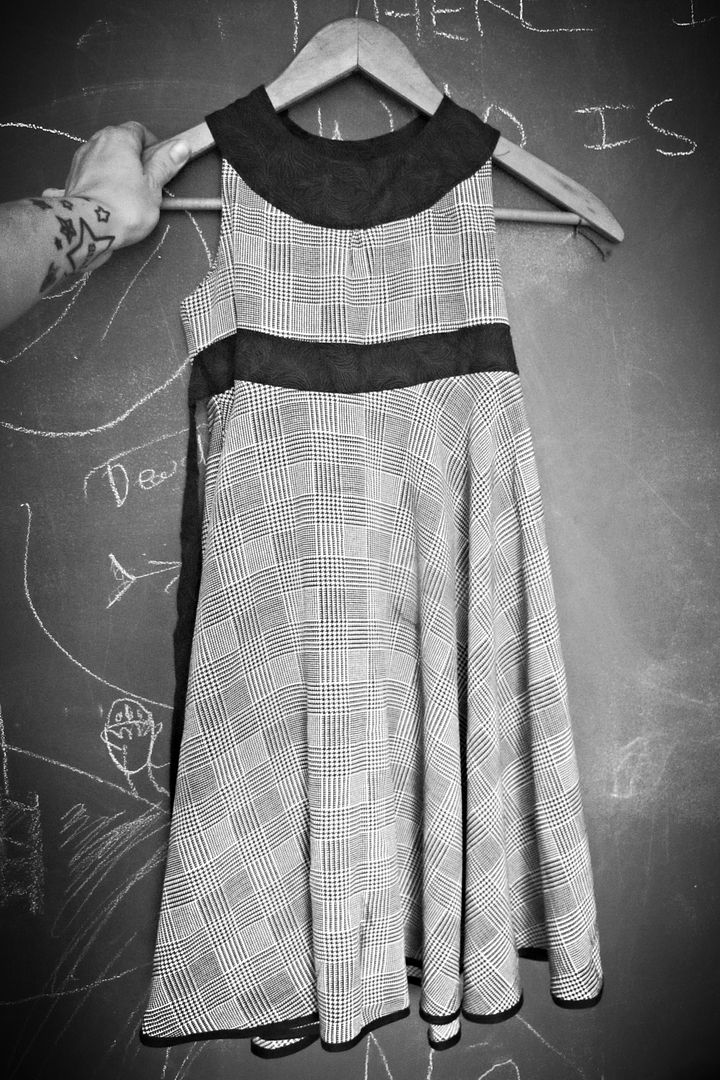 |
| Before |
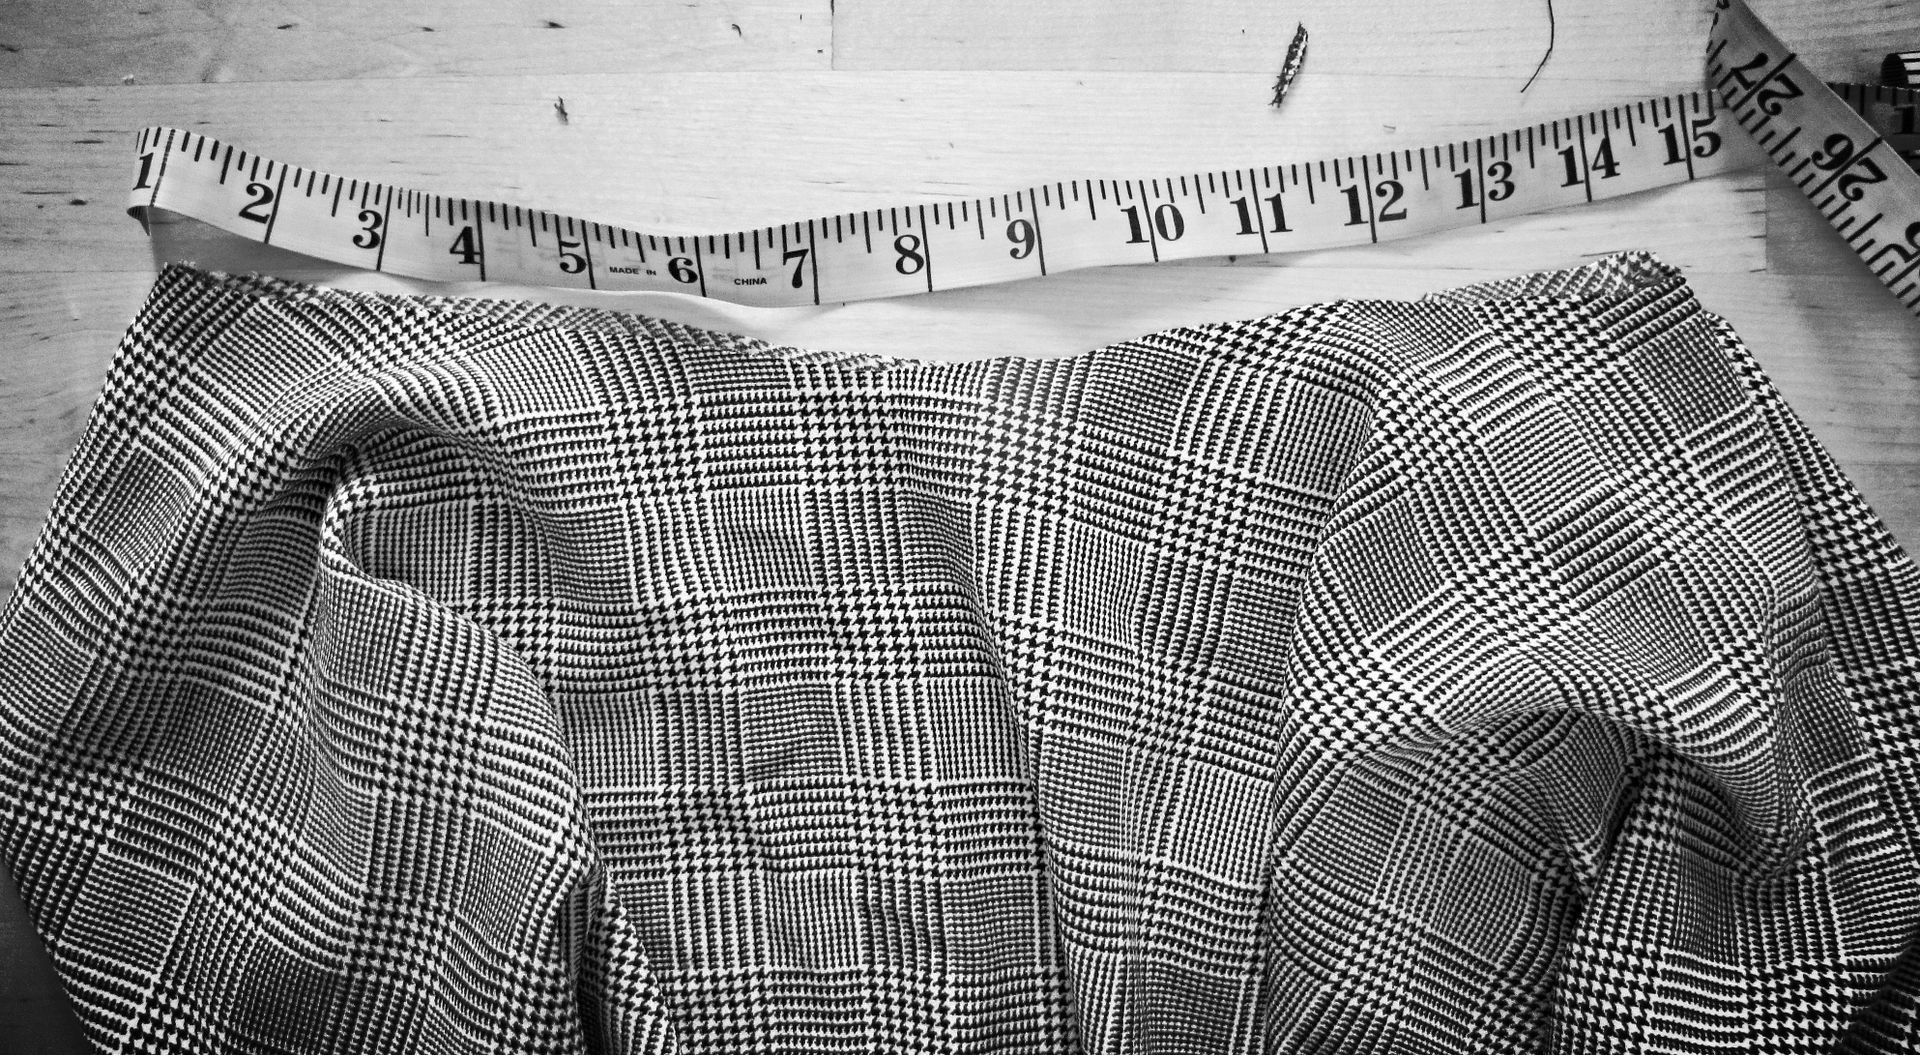
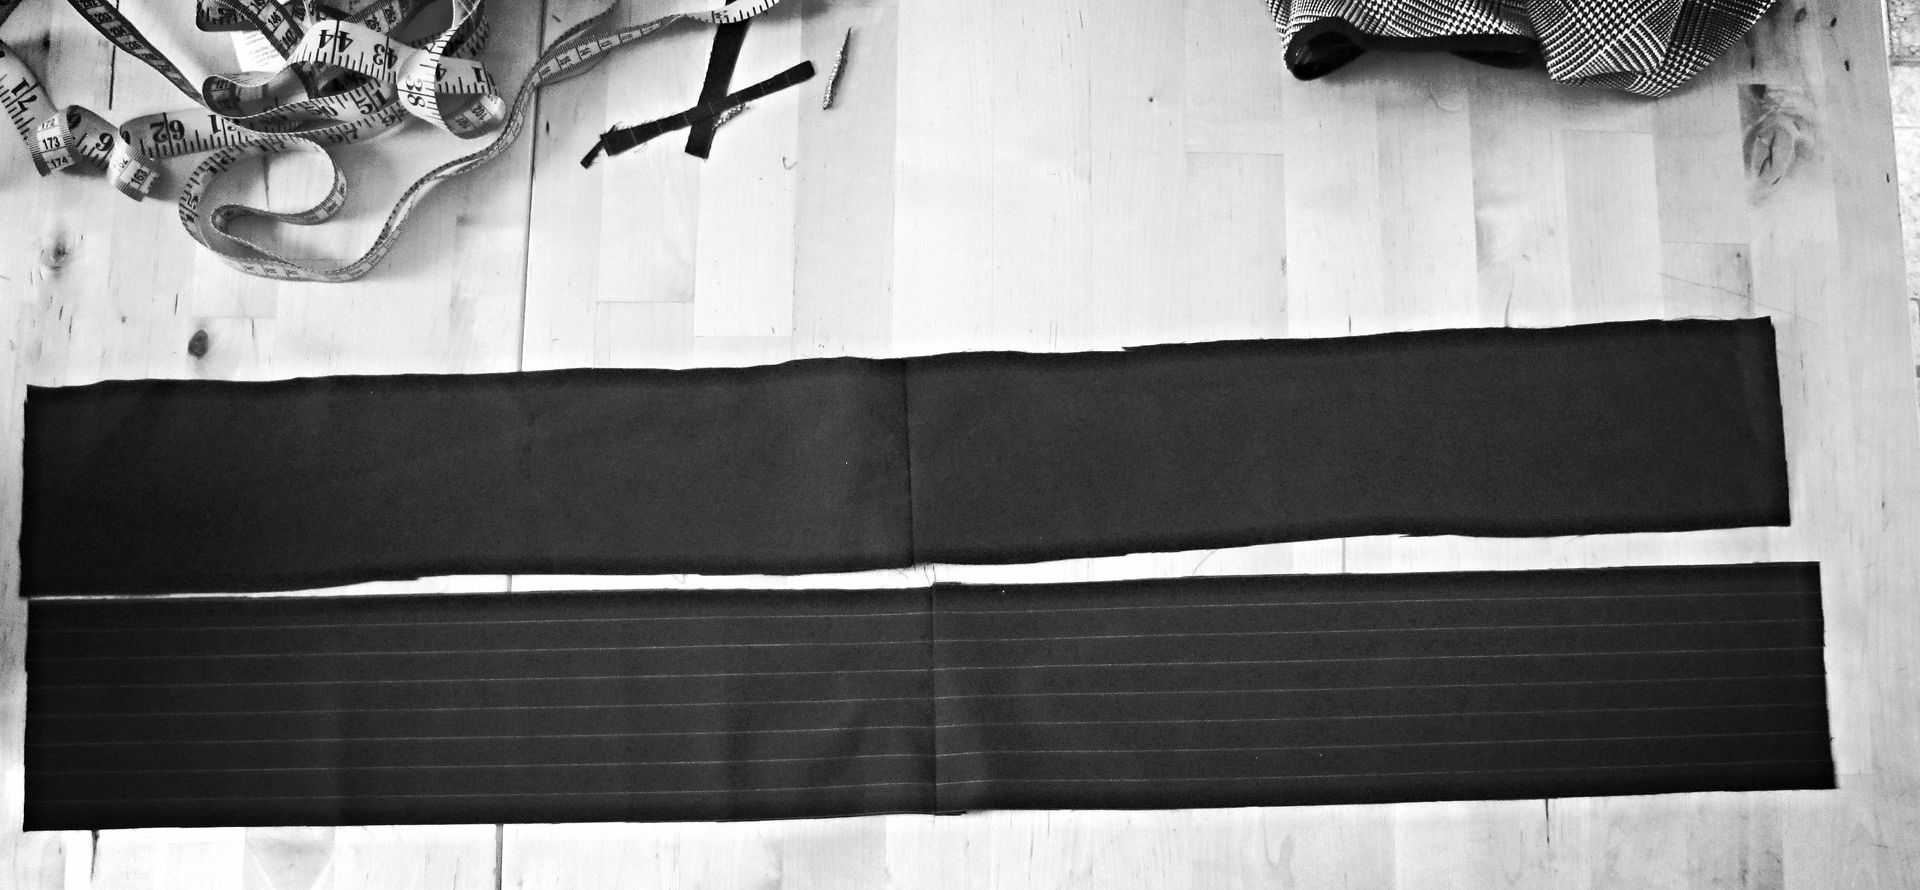
Using the girl child's waist measurement, I cut four rectangles of fabric (cutting two rectangles using the measurement would of been fine but I was using scraps and could not get an entire waistband out of one piece of fabric.)
Of the four rectangles, two are for the outside of the band to equal waist measurement plus seam allowance on the sides, two for the band lining of the same dimensions.
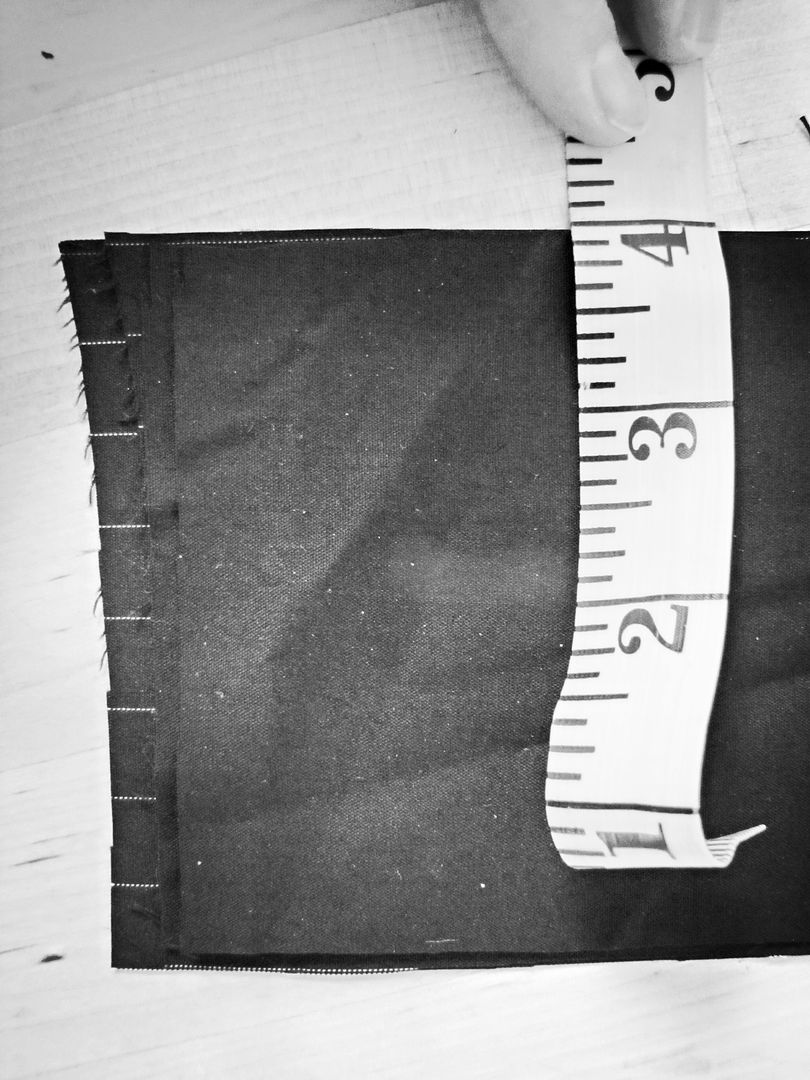
My waistband was four inches wide. This would of been great for an adult, but in retrospect, I think two inches would of been a better width.
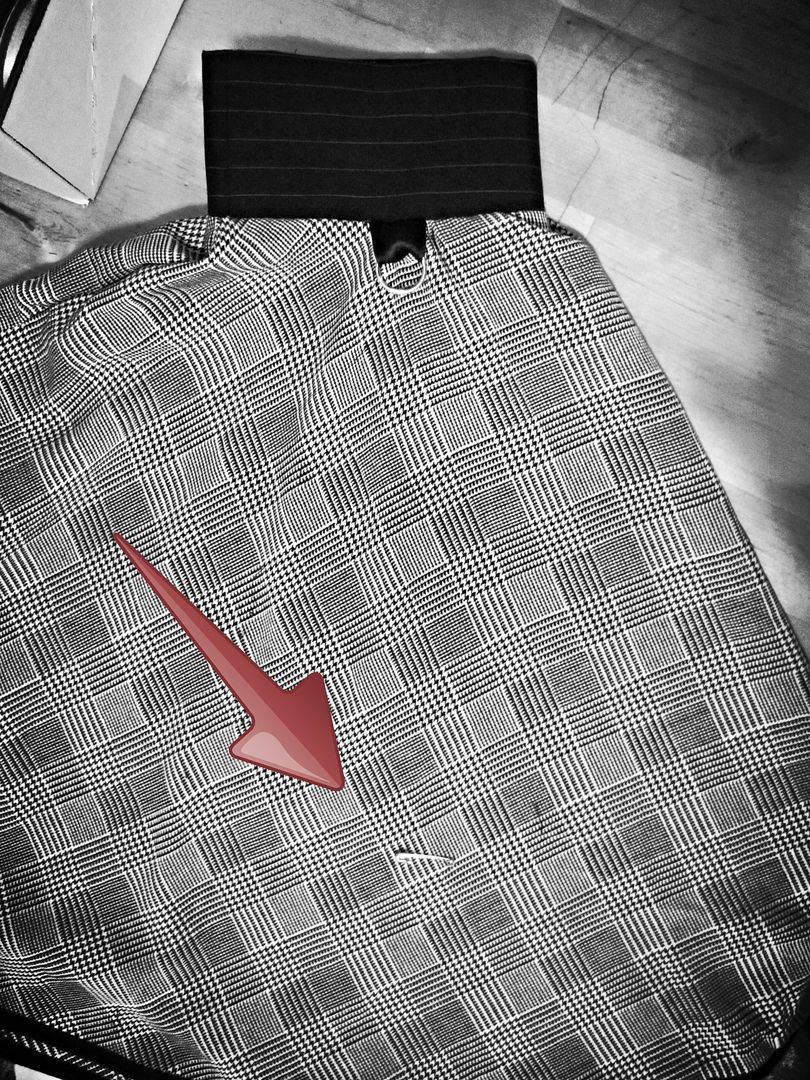
Below is my waistband and lining, sewn into two long strips. The zipper will attach on the open side of the waist band.
With right sides together, sew the top of the waistband together. Turn right sides out and press the lining behind the front of the waistband.
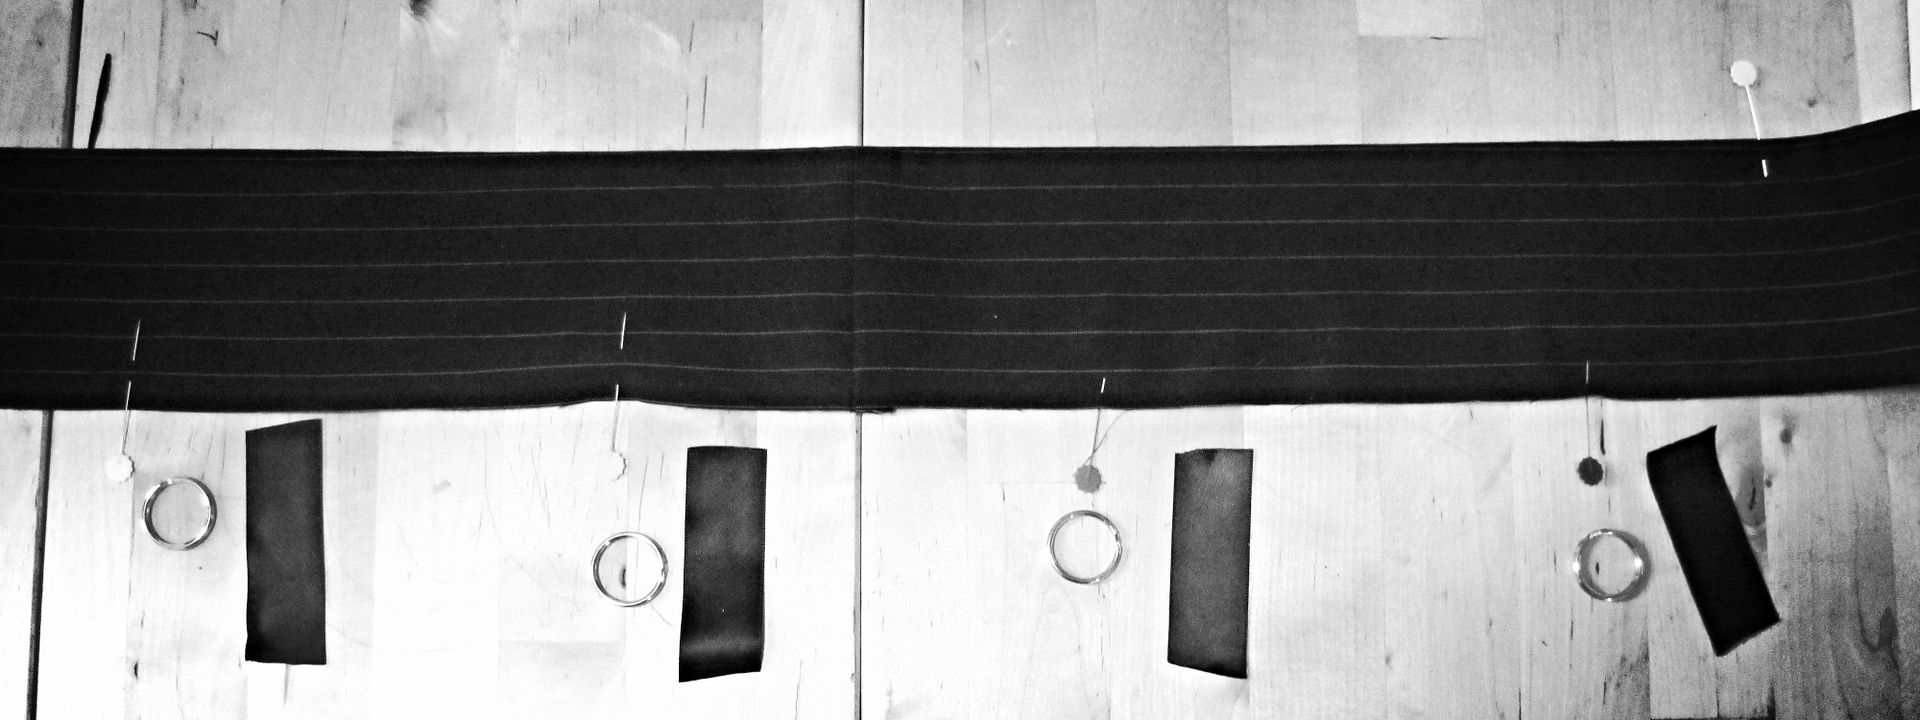
The waistband can then be divided into four equal sections on the bottom edge where rings on ribbons will be stitched. I marked my ring locations with pins.
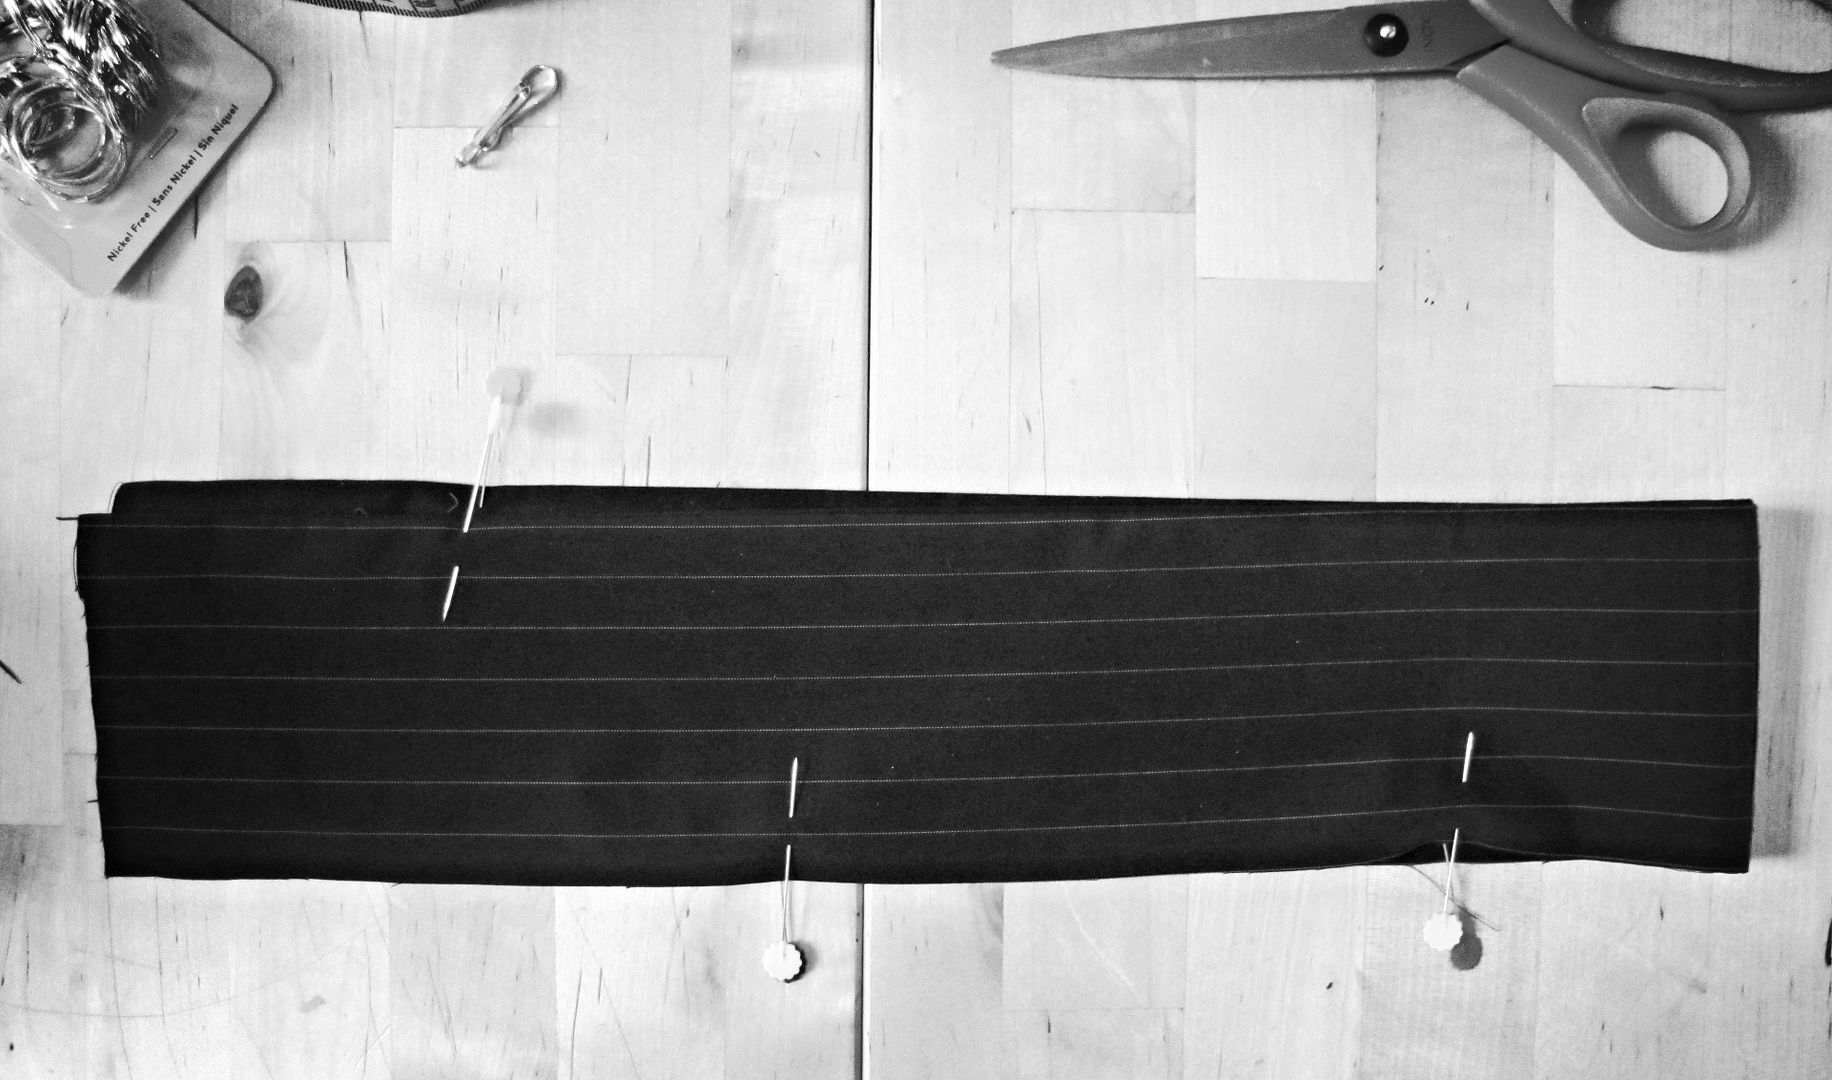 |
| Waistband folded in half. |
To put in the rings that line the waistband (which the hooks will hang from to gather up the skirt), cut a length of ribbon for each hook about two inches long.
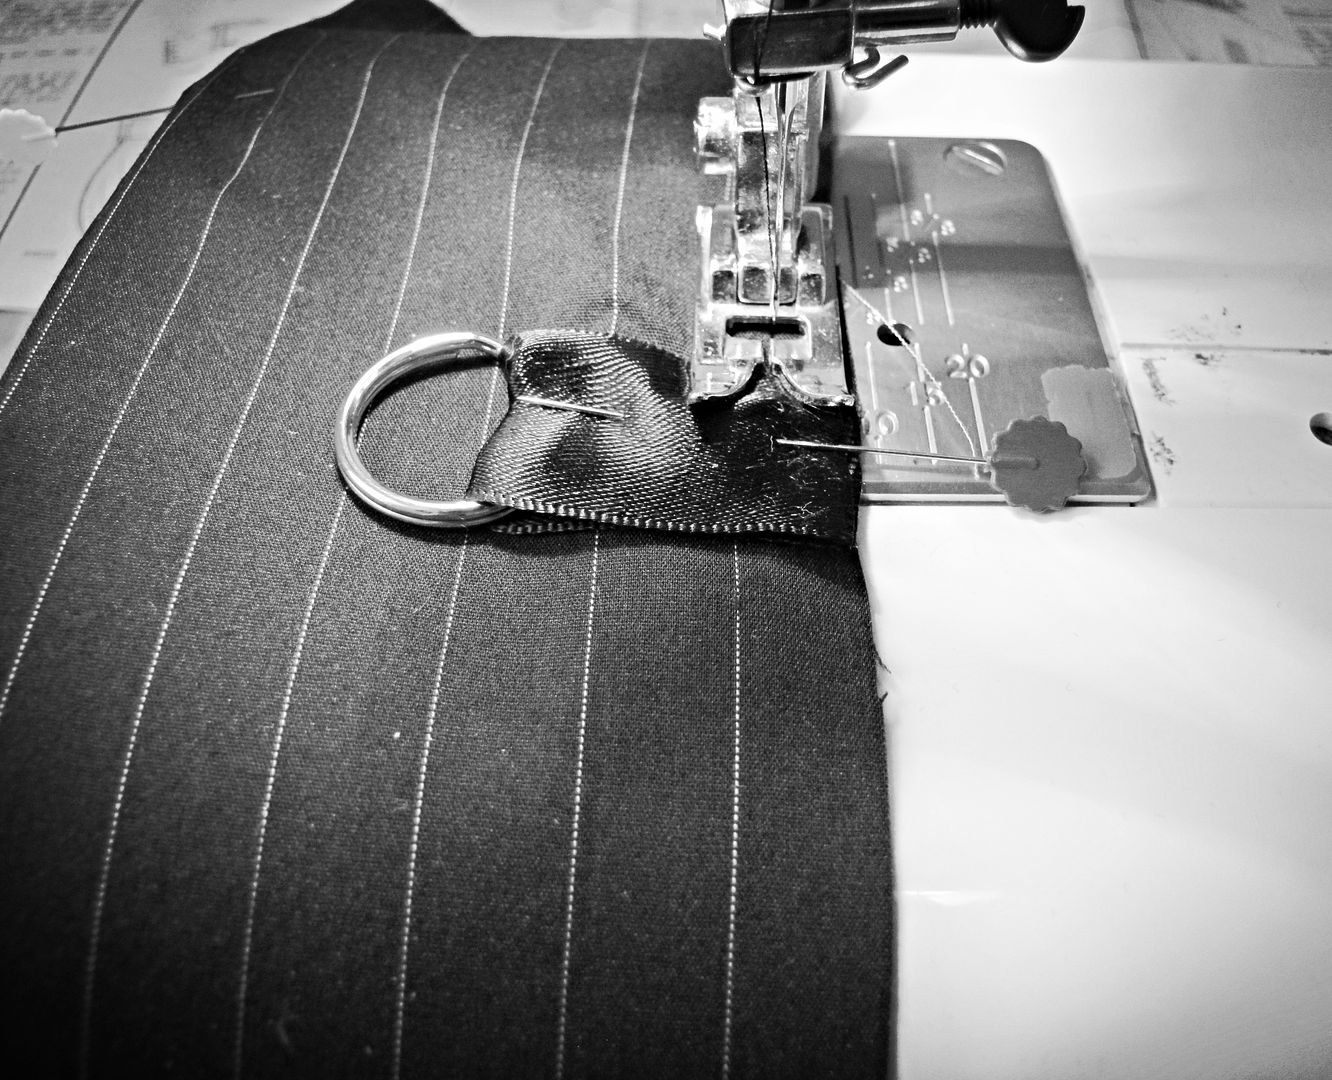
Each ribbon is folded in half with the ring caught at the fold. Pin the raw edge of each ribbon with ring at its marked position to the front side (right side) of the waistband. Sew closed the bottom of the waistband. Double back stitch over every ribbon for strength.
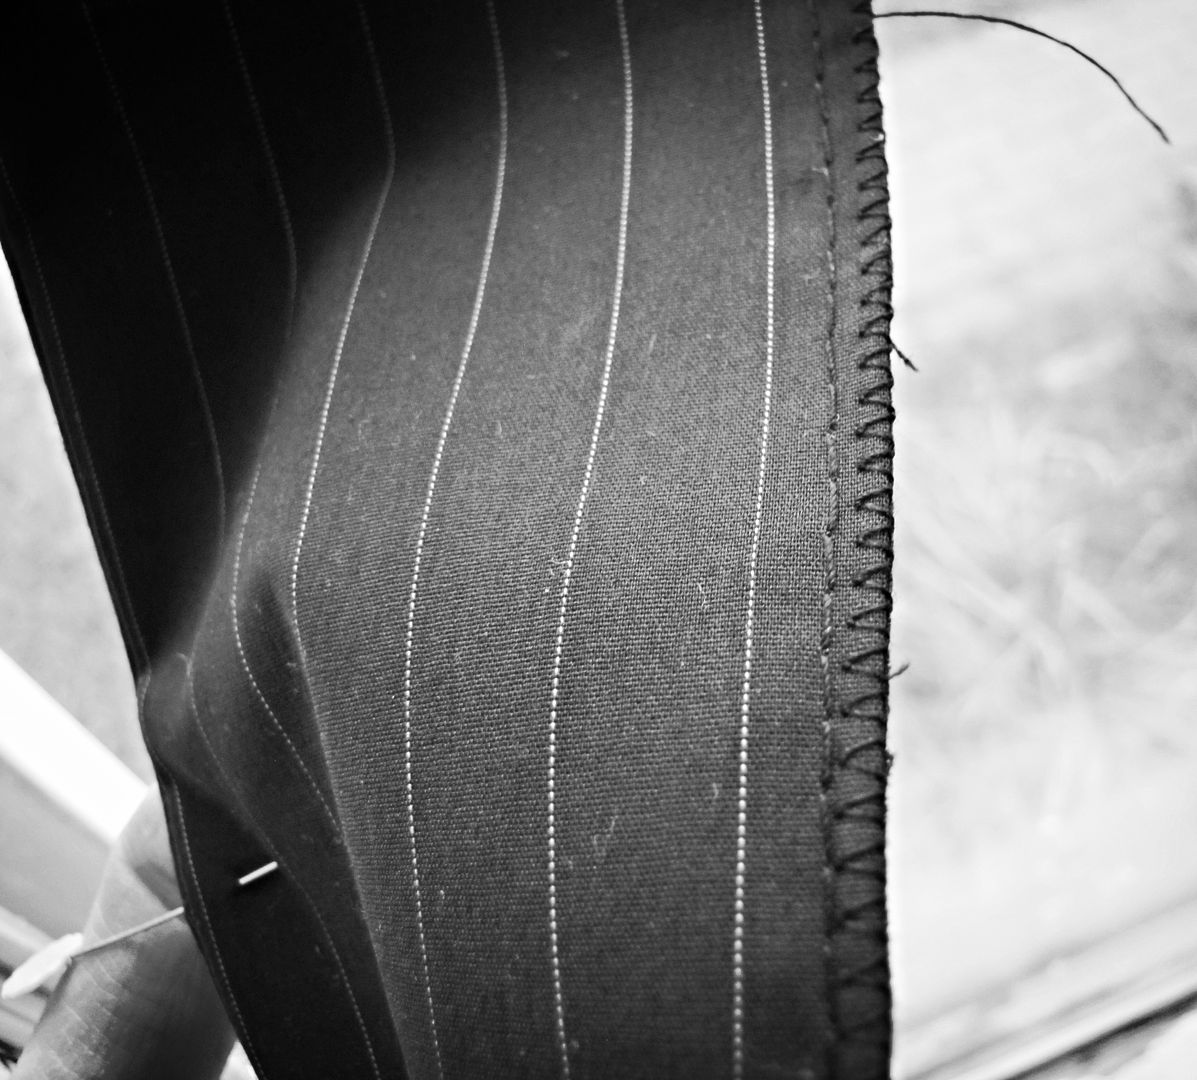
Finish the bottom edge of the waistband.
To attach the waistband, first split one side seam from the top of the skirt about two inches down. This is where the zipper will be placed after the waistband is attached.
To attach the waistband, align the raw edges of the waistband with the raw edges of skirt's top edge, right sides together, placing the open edges of the waistband against the two inch opening in the side seam. Stitch from the side seam opening all around to the other side, keeping mind not to catch the ribbon or rings up in your sewing machine. Fold open the waist band and press.
Install the zipper on the open side of the waistband.
To mark the locations of the bottom rings with attached hooks, fold the bottom edges of the skirt into into four equal parts. Note the bottom edge of the skirt directly below the waistband rings and measure up about five inches (or where desired. The exact distance we chose was decided by having girl child try on the skirt and picking up the bottom into gathers to determine exactly where we would like them.)
Mark each position for a ring and hook with a safety pin.
Prepare your hook and ring combo by first attaching the hook on the ring. Cut a ribbon about two and a half inches long for each ring. Catching a ring in the ribbon, fold the ribbon in half and stitch the edges closed. Gently sear the raw edge of the ribbon with an open flame (lighter or match) to seal the ribbon and prevent fraying. Flip the ribbon inside out so that the raw edges and seam are on the inside of the ribbon loop.
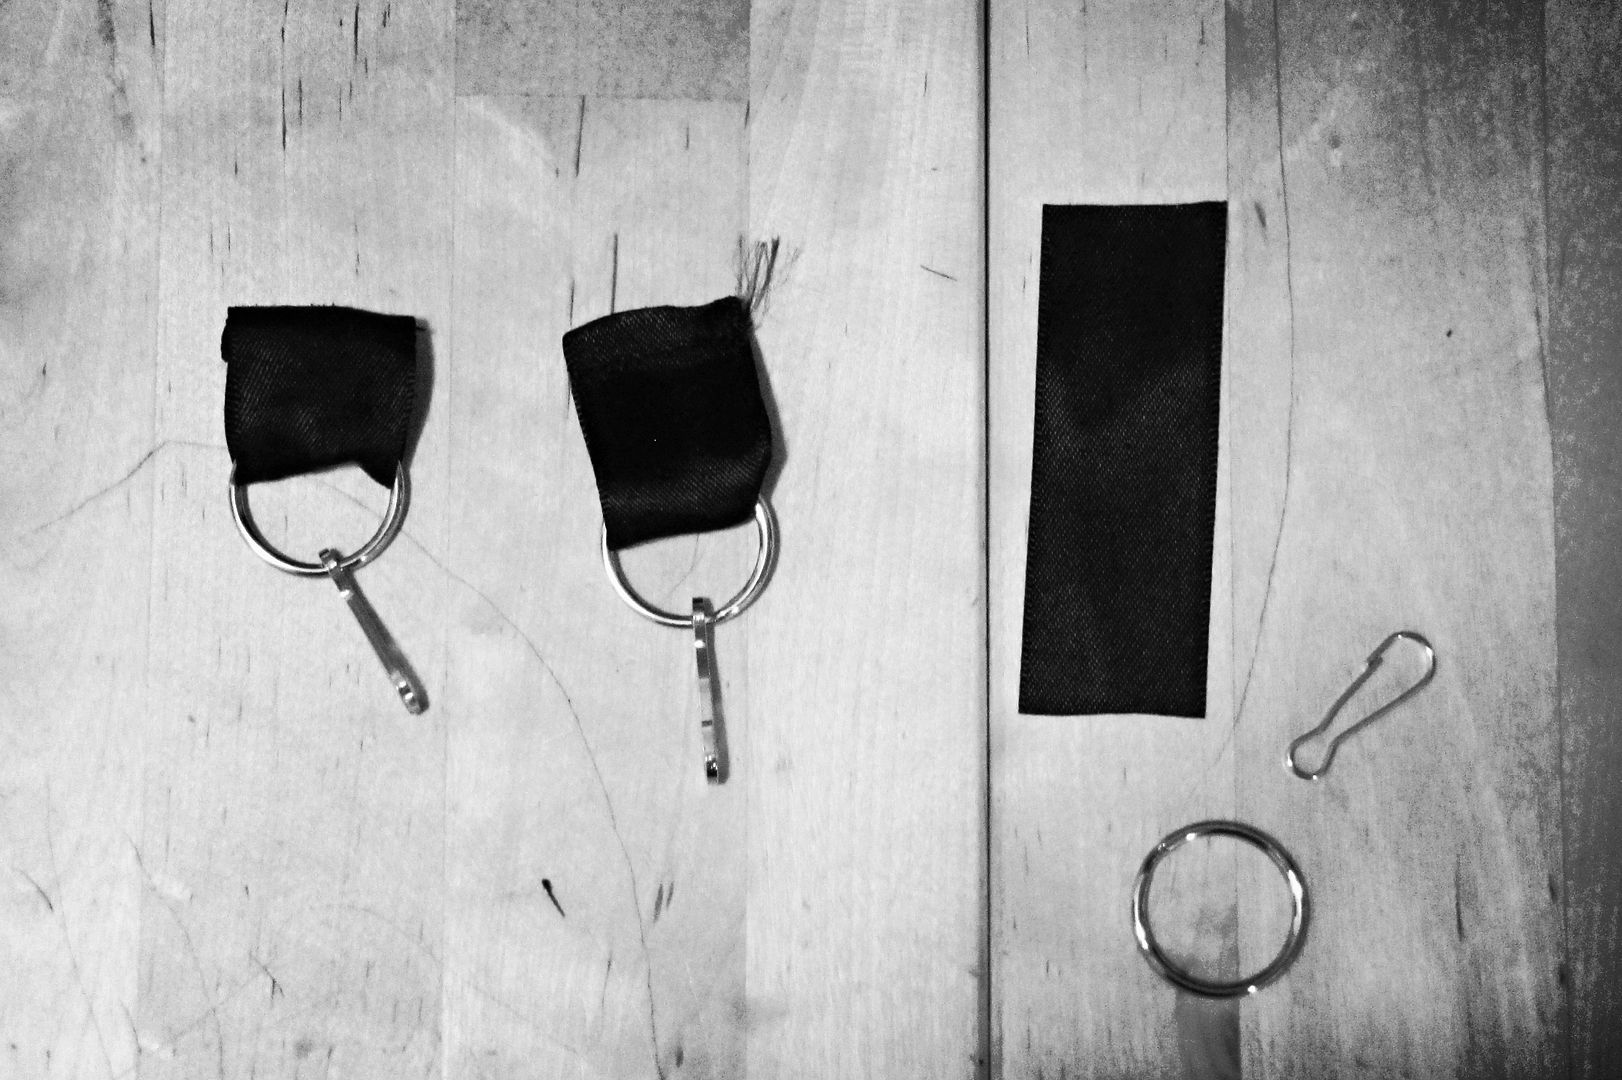
With the seam on the ribbon to the top, pin ribbons with rings onto skirt in marked locations. Stitch ribbon to skirt, sewing over the ribbon several times for strength.
With your skirt on, you can let it drape naturally or hook the rings together for gathers.
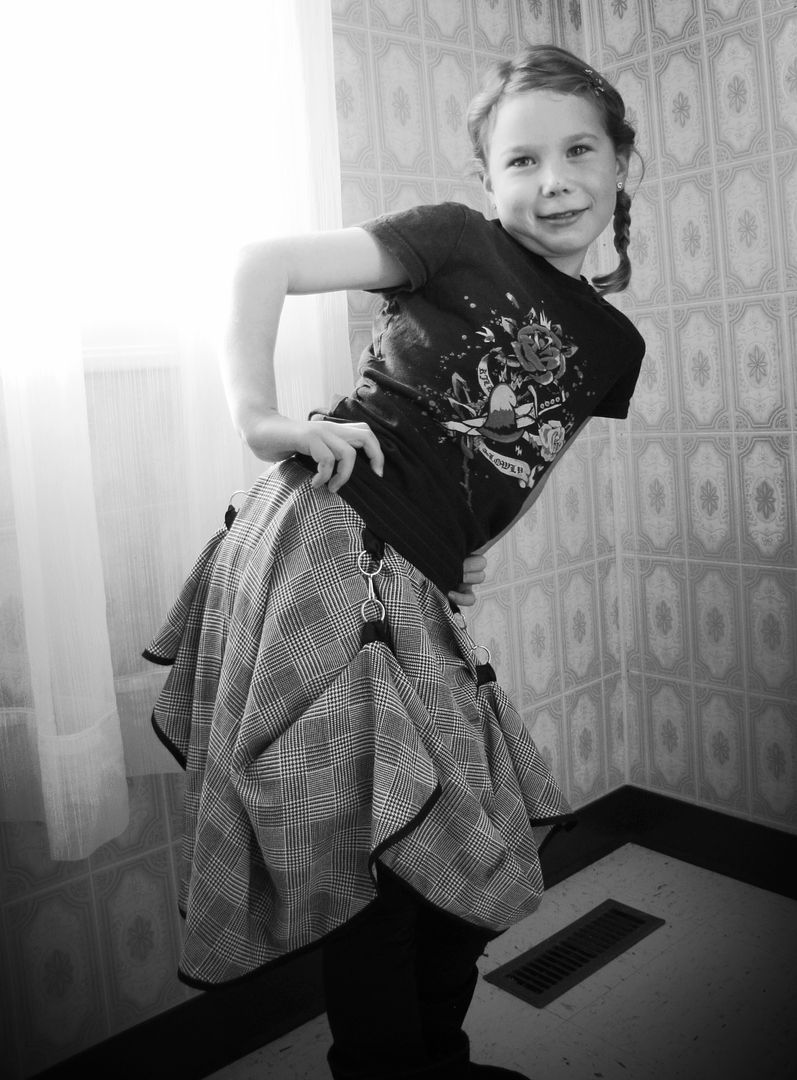 |
| After. |
The next time I do this skirt, I would like to add more hooks and rings for even more gathers. Plus I'd like to use some pretty lobster claw hooks instead of the lanyard hooks, but we were making do with what we happen to have around here. Of course, the whole thing is crying for some sort of petticoat or striped tights. I would also like to get some pictures that aren't in a bathroom at the hall where we had our family Thanksgiving dinner, but I won't get too picky on that point. I'm just pleased the girl child is still willing to pose for me.

I love it, so cute.
ReplyDeletelove it! and the fact that she is a tween... i have bigs and littles. My oldest is 18 in one week and number two is 16 in november--both are firmly in the punk stage, and have learned to sew for that reason ;-) mom has ideas, and provides garage sale/thrift store treasures, which are then hacked apart, recombined and generally made self-expressive. the only part i have been annoyed with is the prevalence of spray paint in their attire in the last few months... it just isn't my idea of fun alteration :-)
ReplyDeletegirl child is lucky to have a mom cool enough to make her personalized stuff--and i seem to remember a danzig daddy shirt to dress tute in the way-back dayz... <3
Awesome remake! Thanks for the tute.
ReplyDeleteGreat Job on this!
ReplyDeleteI love how you used all things already in the house.
Awesome.
~Michelle