Pages
10.16.2013
window art with wax crayons
We're going to call this a mini-tutorial. What it is is a project that boy child can get right into because it involves:
1. Dismantling crayons
2. Tools that heat up
3. Scary monsters - if you so desire
And anything that gets the boy child involved in craft and art is exciting to me.
Materials:
- wax crayons of various colours
- wax paper
- an iron you don't mind getting a bit grubby with wax
- craft scissors
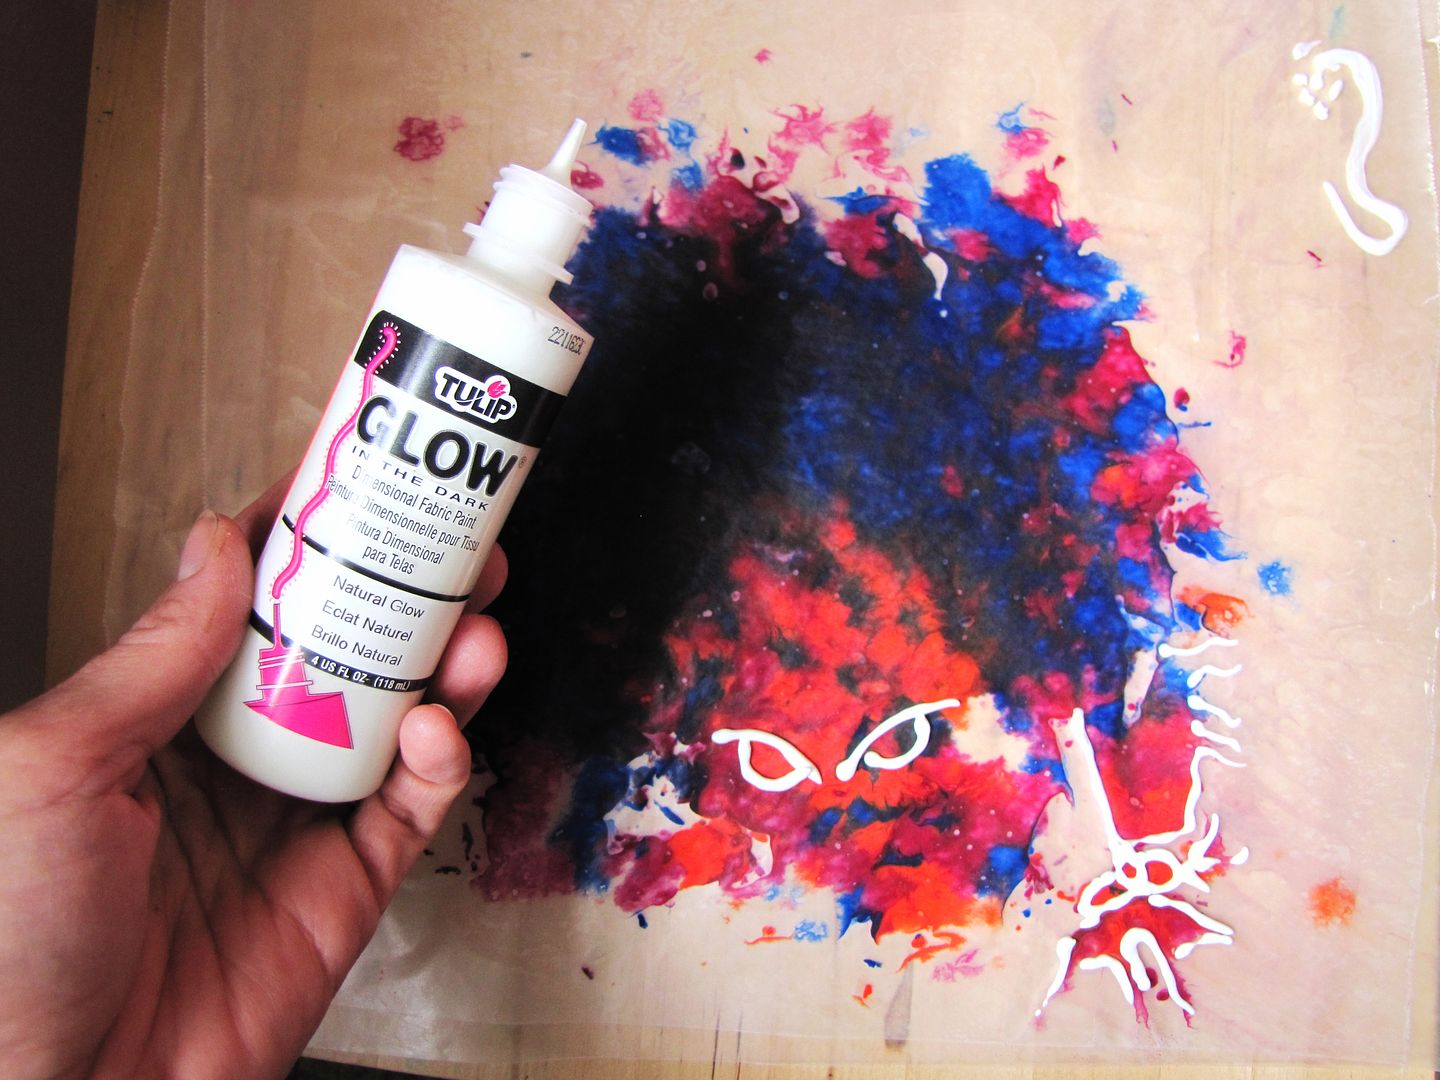
- optional: permanent marker, puffee or 3D glow in the dark fabric paint
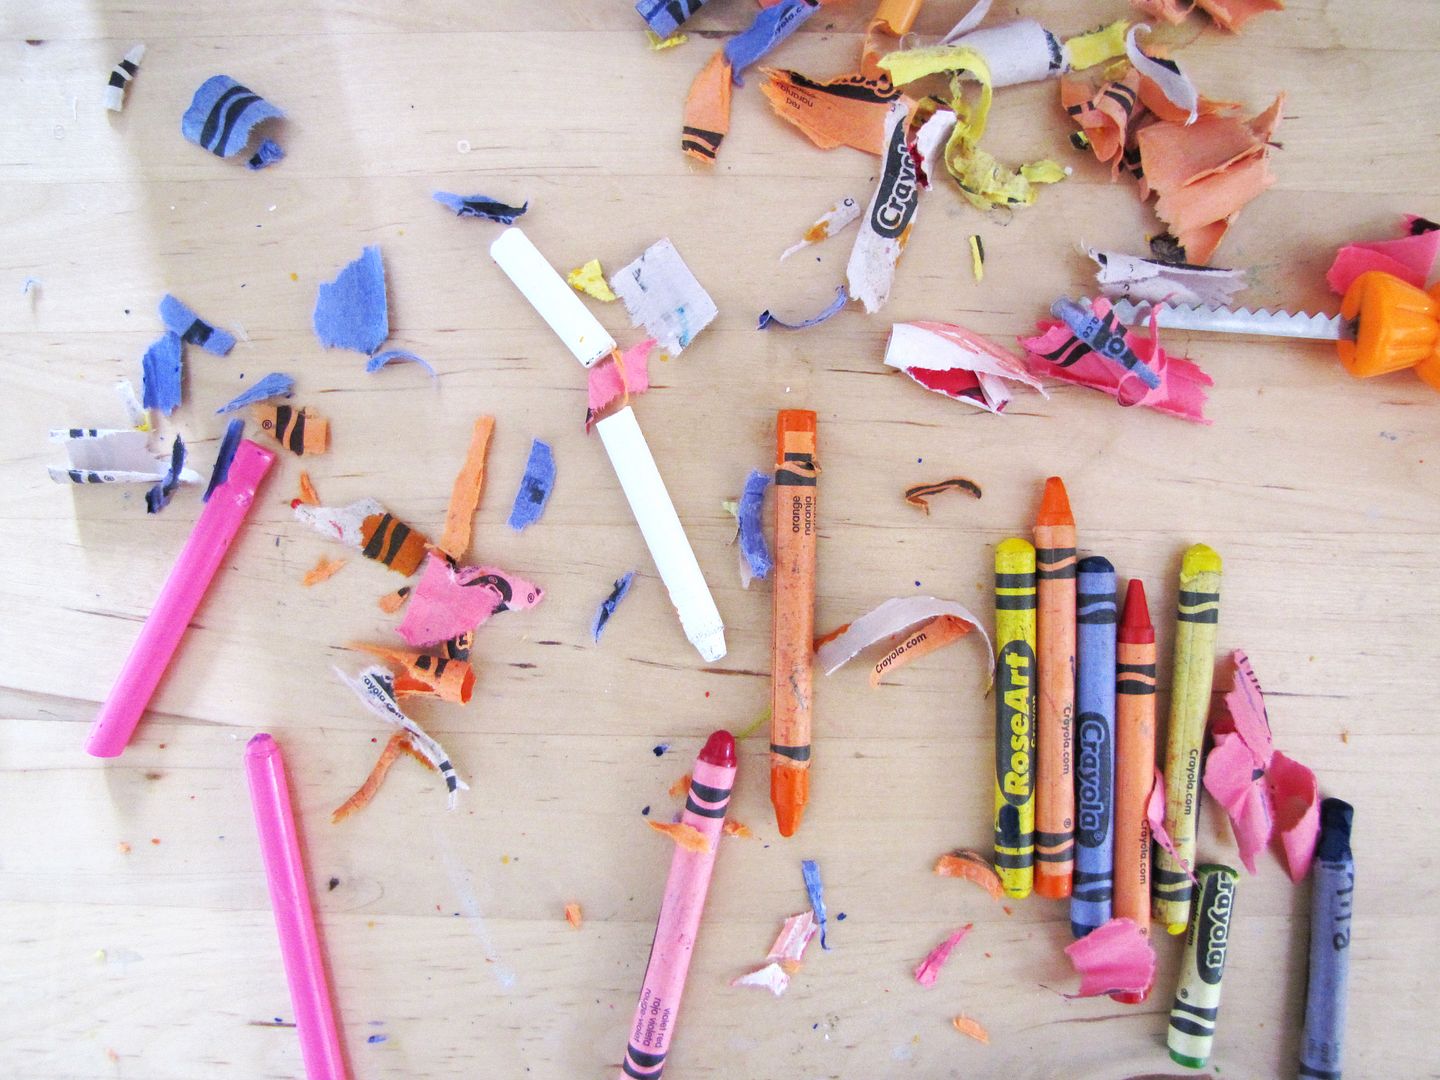
First step is to remove the paper from crayons (some of us are really good at this part).
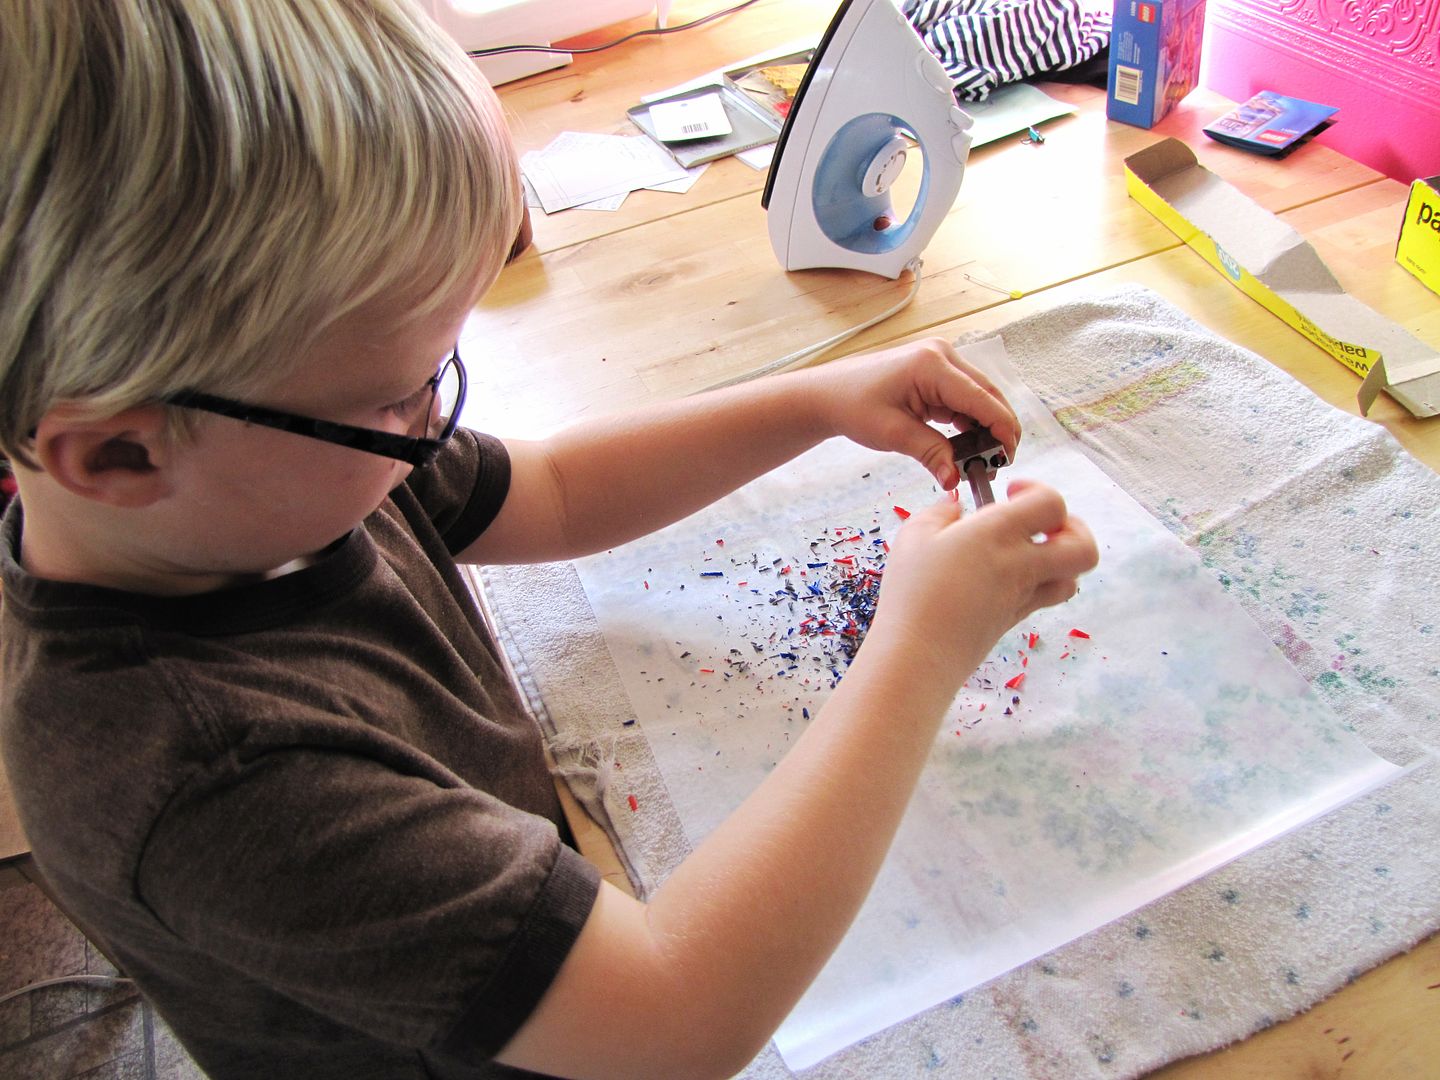
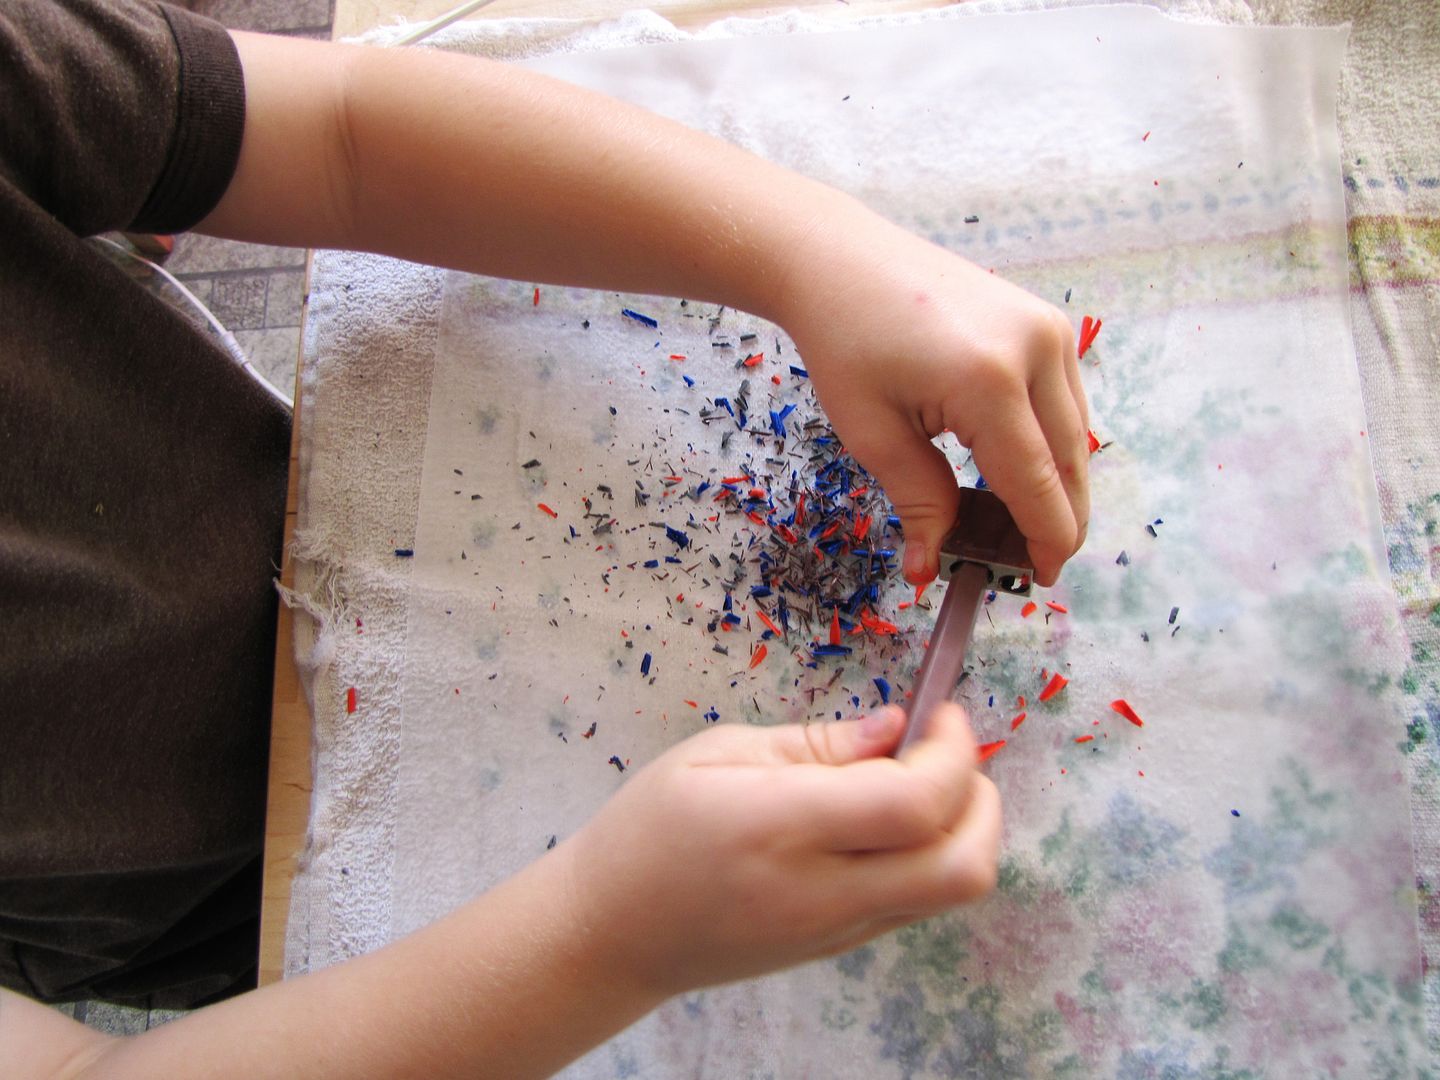
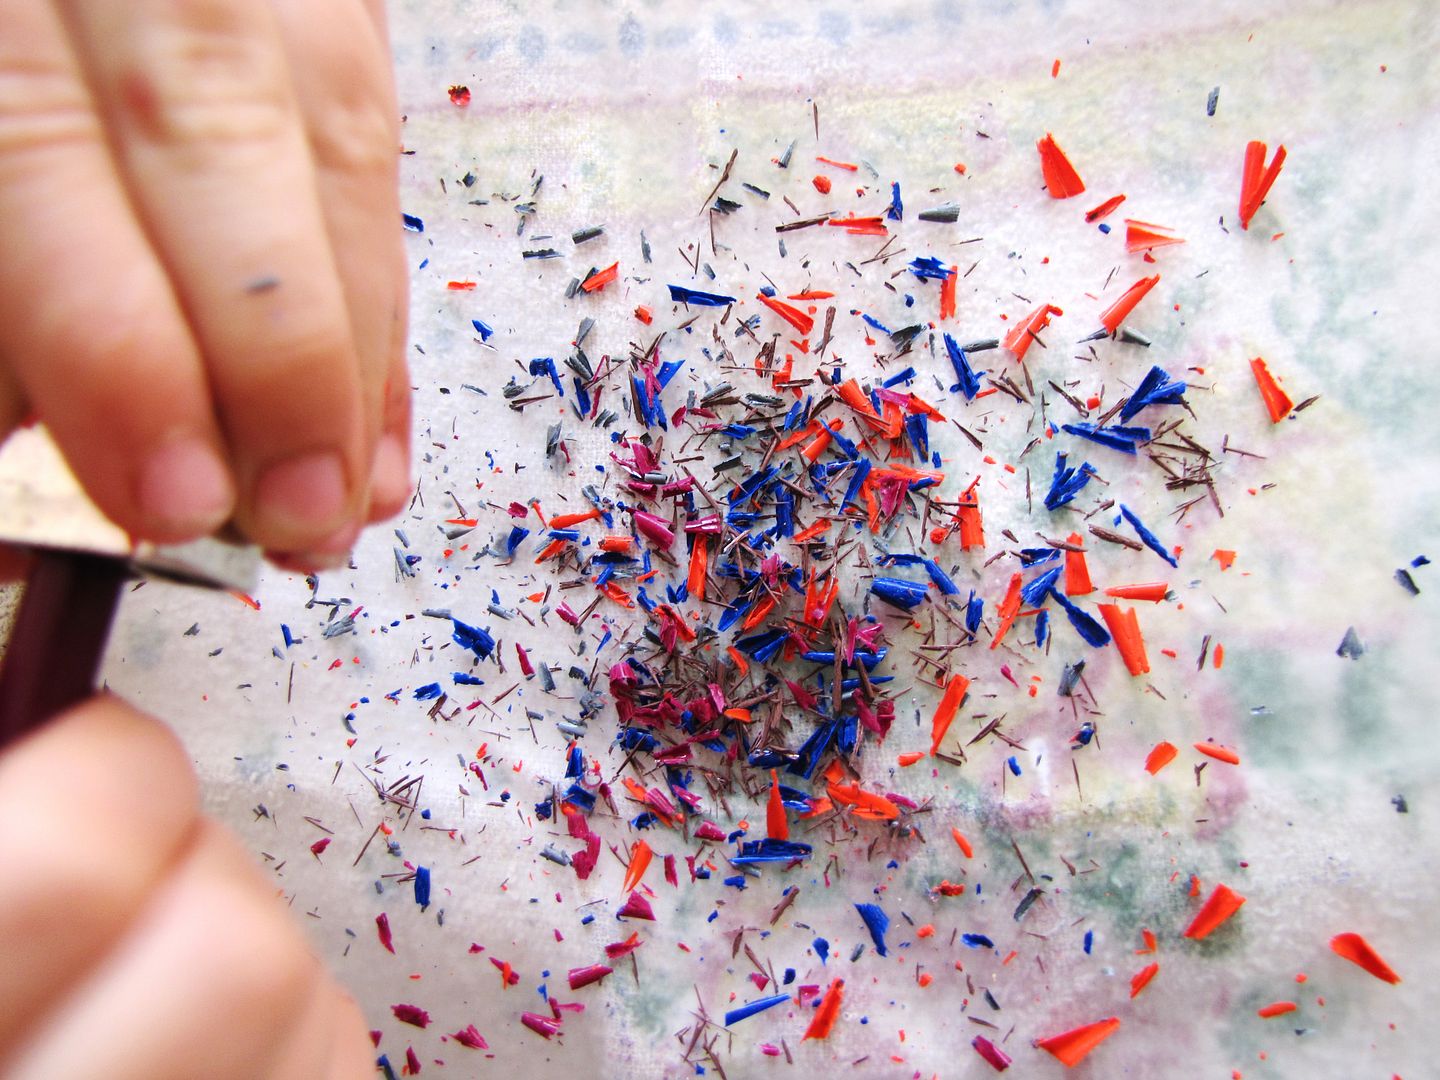
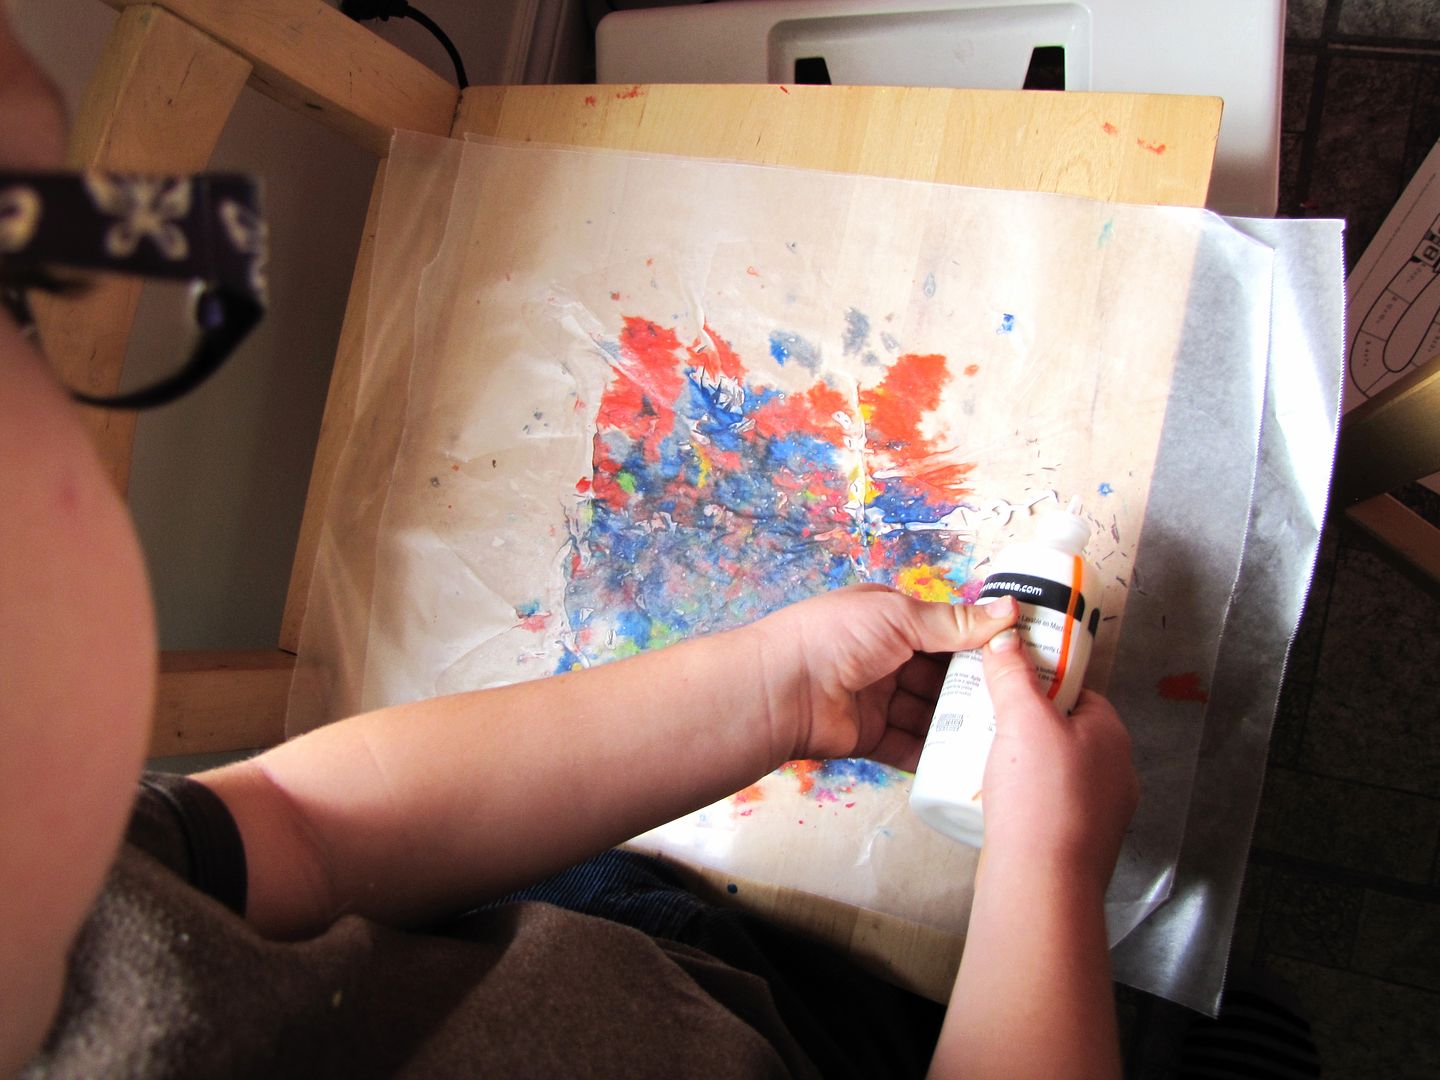
Use your sharpener (one with a larger hole in it will be helpful) to flake the crayons onto a sheet of wax paper.
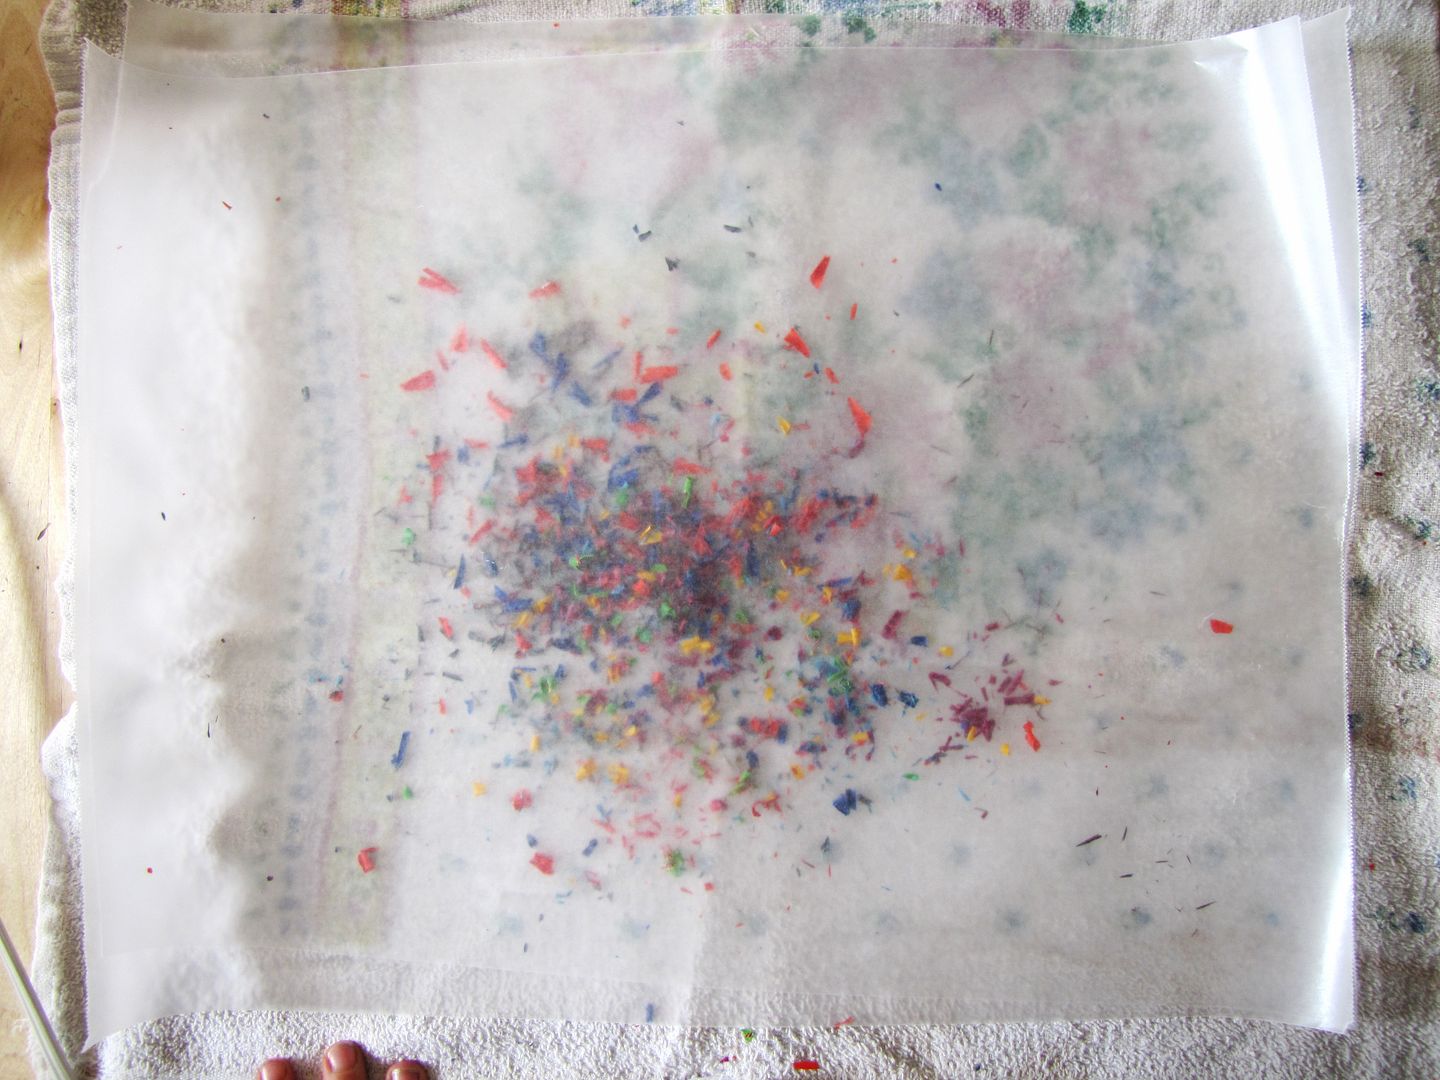
When you feel like you have sufficient wax piled on the paper (or your hand is tired of sharpening), cover with another sheet of wax paper.
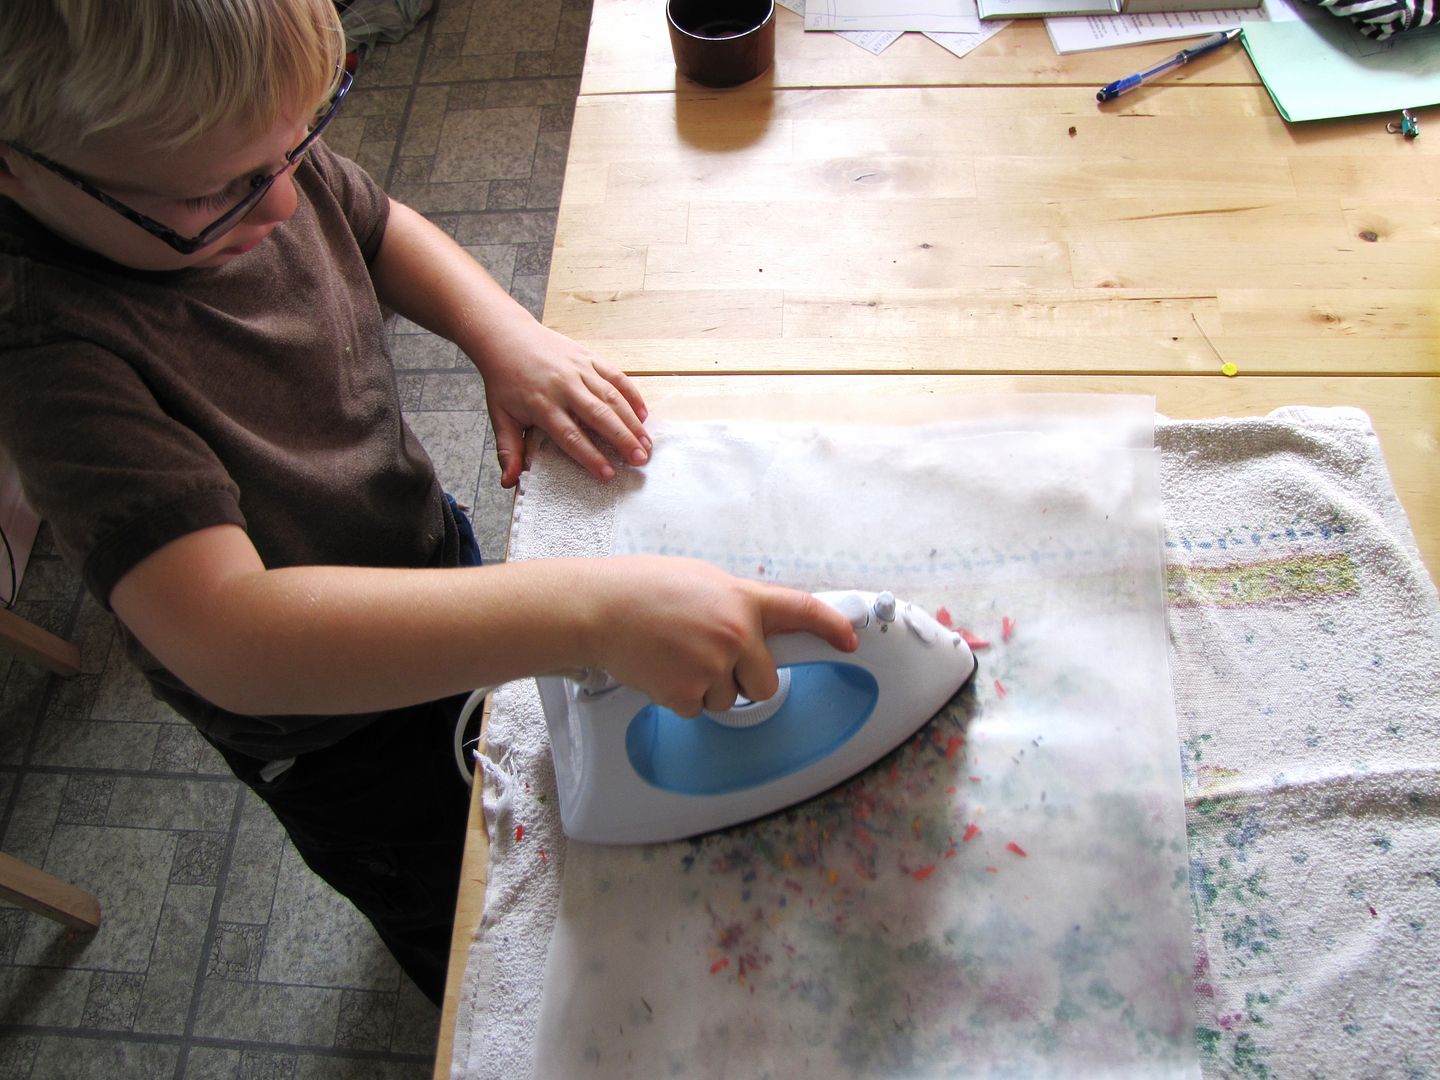
With heat on a low setting (mine was on 'wool'), iron over top of the wax paper to met the crayon wax.
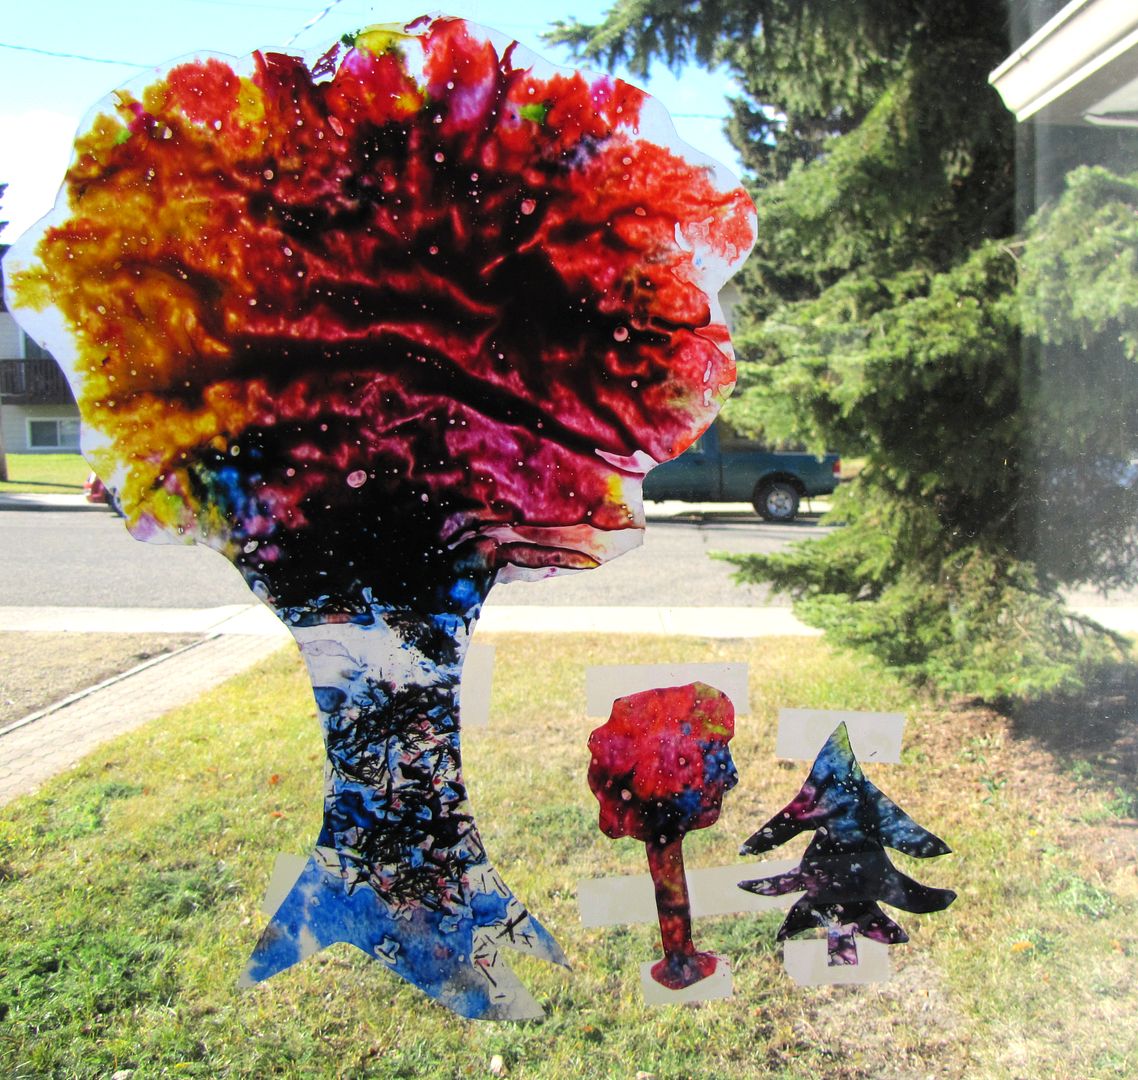
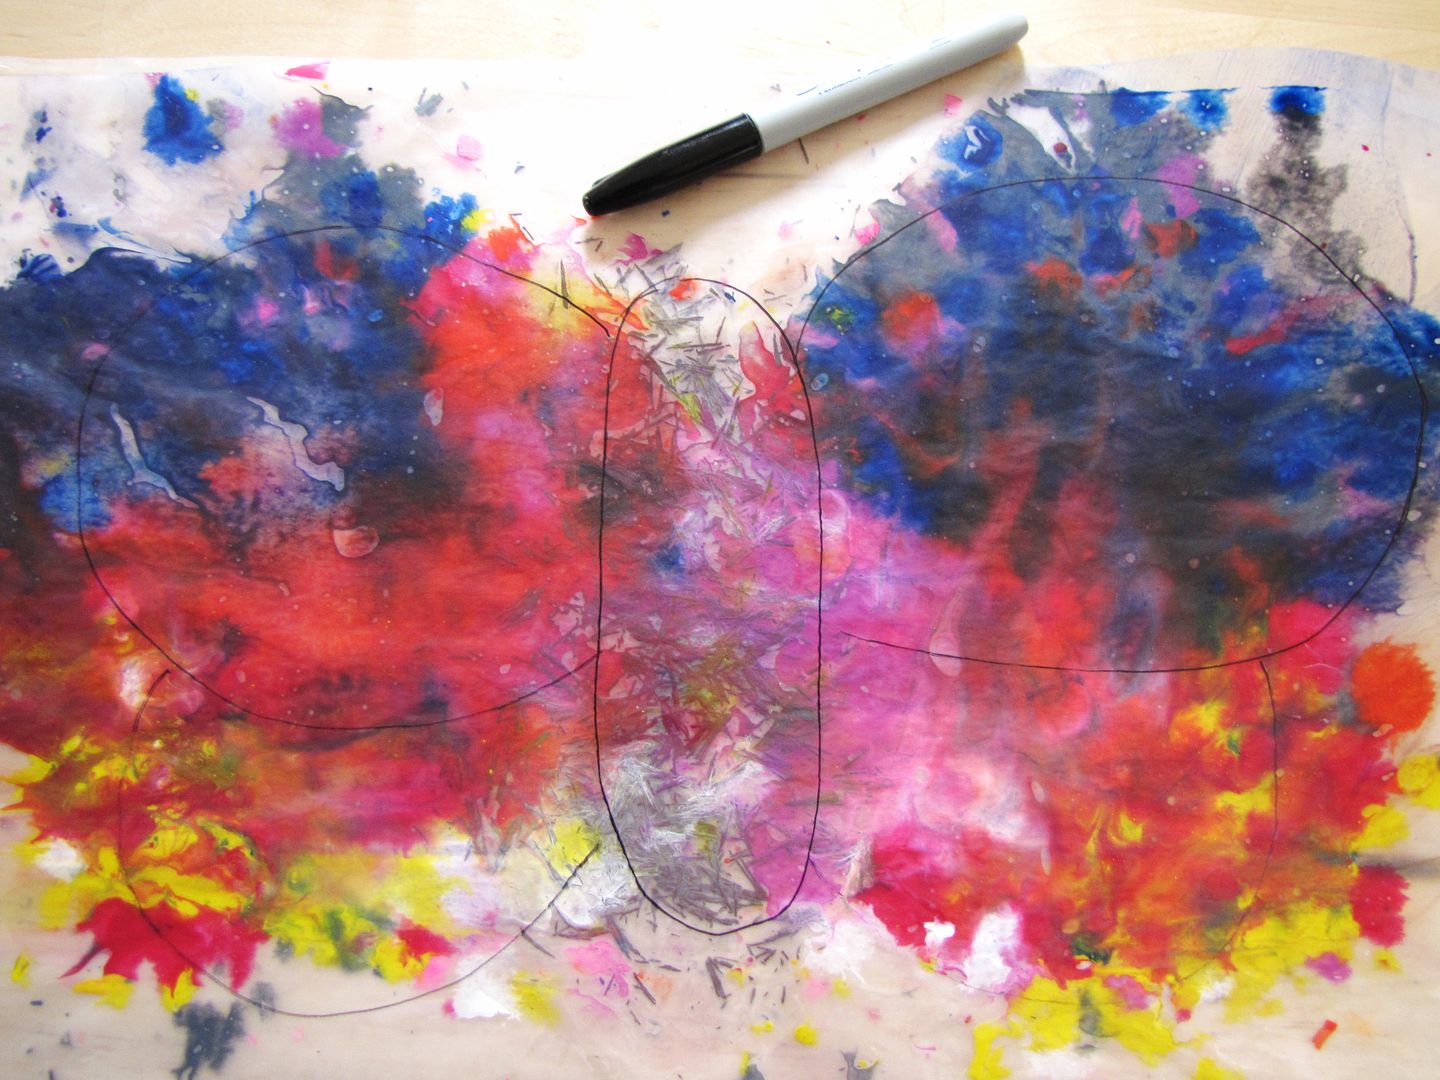
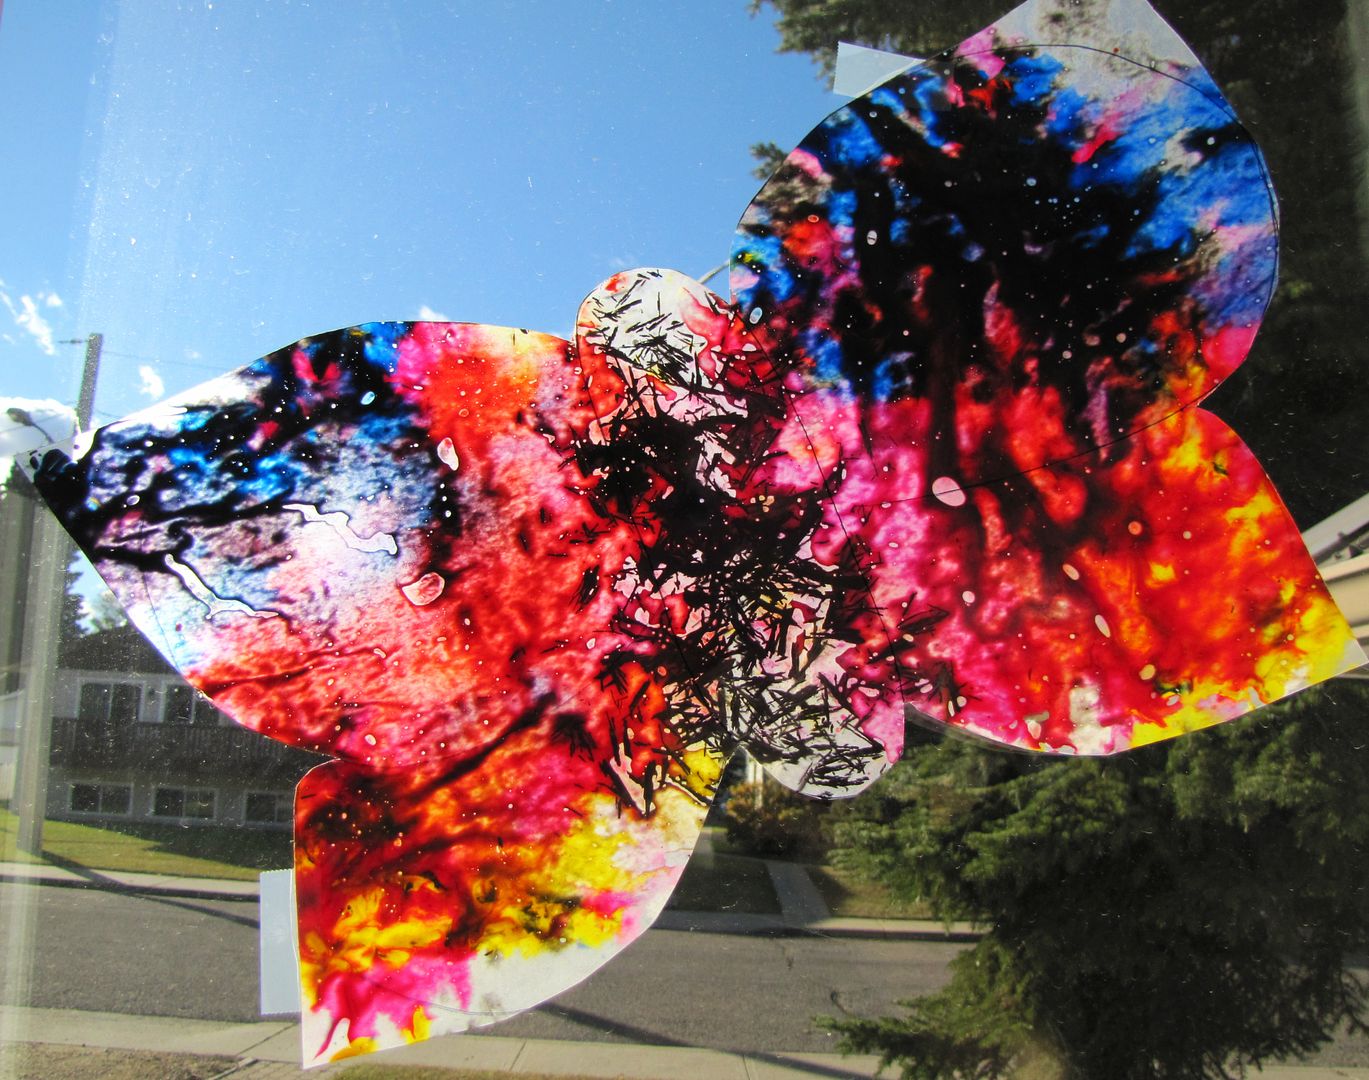
When the wax has cooled, you have a couple options. One is to draw and cut out a shape. Or you can just free form with scissors.
What ever shape you cut, it will look absolutely brilliant when the sun shines through.
Another option is to use some glow in the dark 3D fabric paint to trace out shapes.
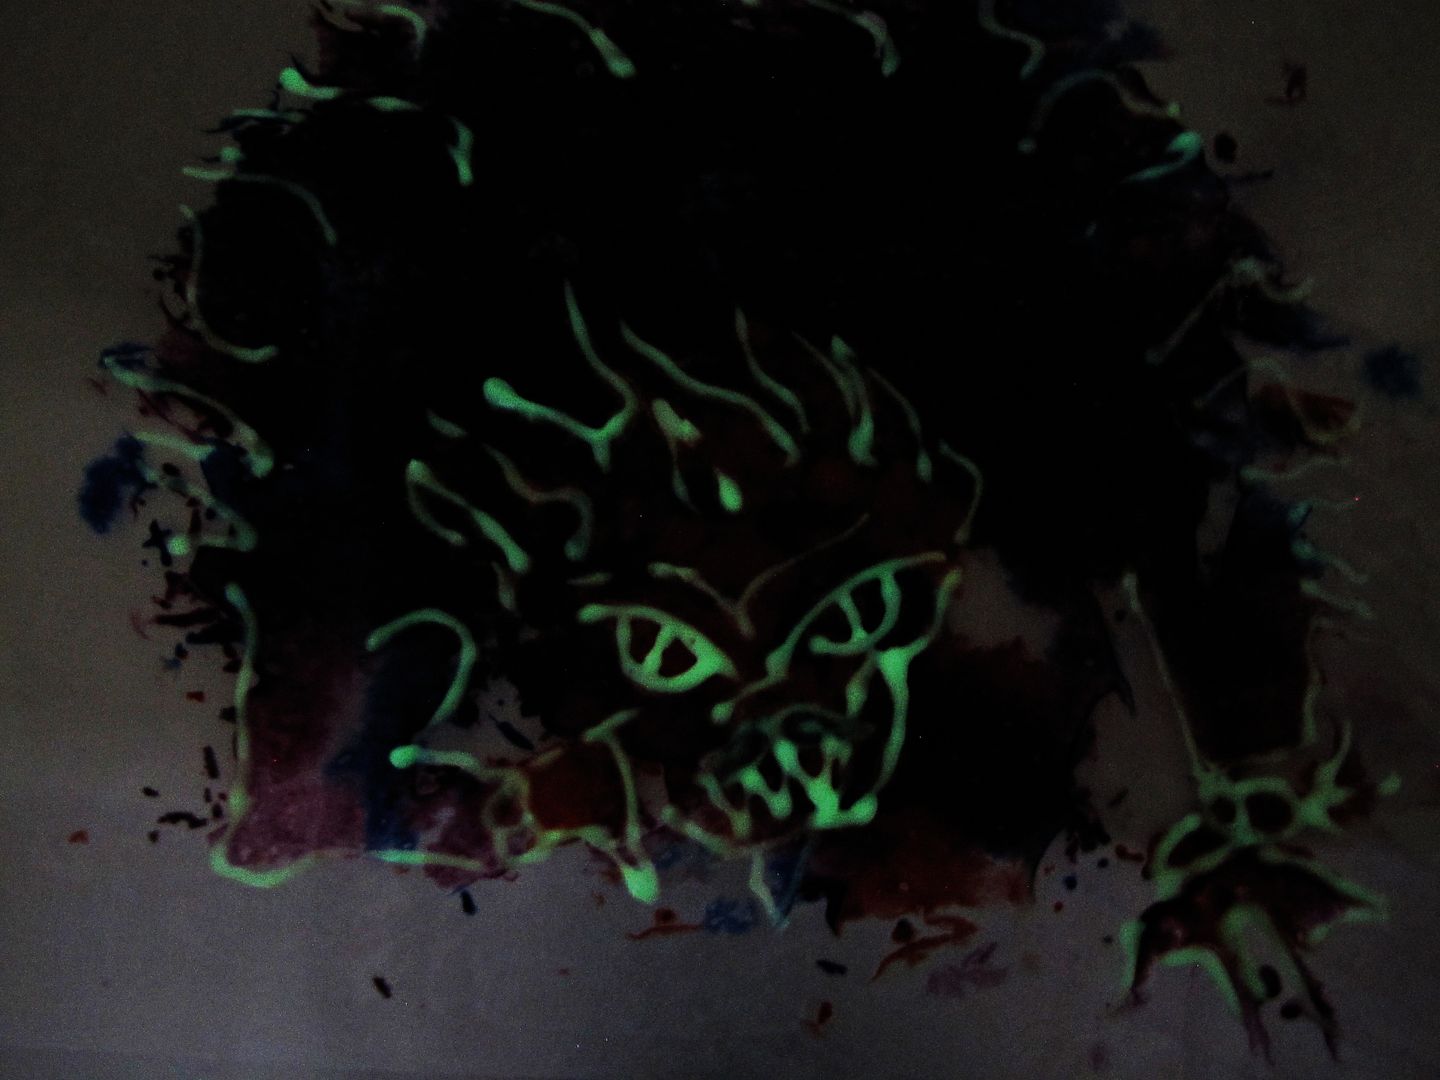
The paint can give shape and character to your wax window art.
And still be visible at night after the sun goes down. We made a number of monsters out of our more or less random melted wax to decorate for Halloween.
Subscribe to:
Post Comments (Atom)

Awesome! We did something like this a few years ago where I shaved various colors into ice cube trays (a single color per cube). My kiddo and the boy I baby sat at the time really enjoyed working with the crayons.
ReplyDelete