Pages

11.30.2009

Do your ears hang low? toque

Onwards with my never ending quest to keep my kids warm. Moving from a cold and dry fall in Alberta to a windy and wet fall on Vancouver Island means some adjustment to our regular outdoor clothes. I'm finding the biggest problem with nearly constant rain is that you need two of everything; one to wear while the other one dries out.

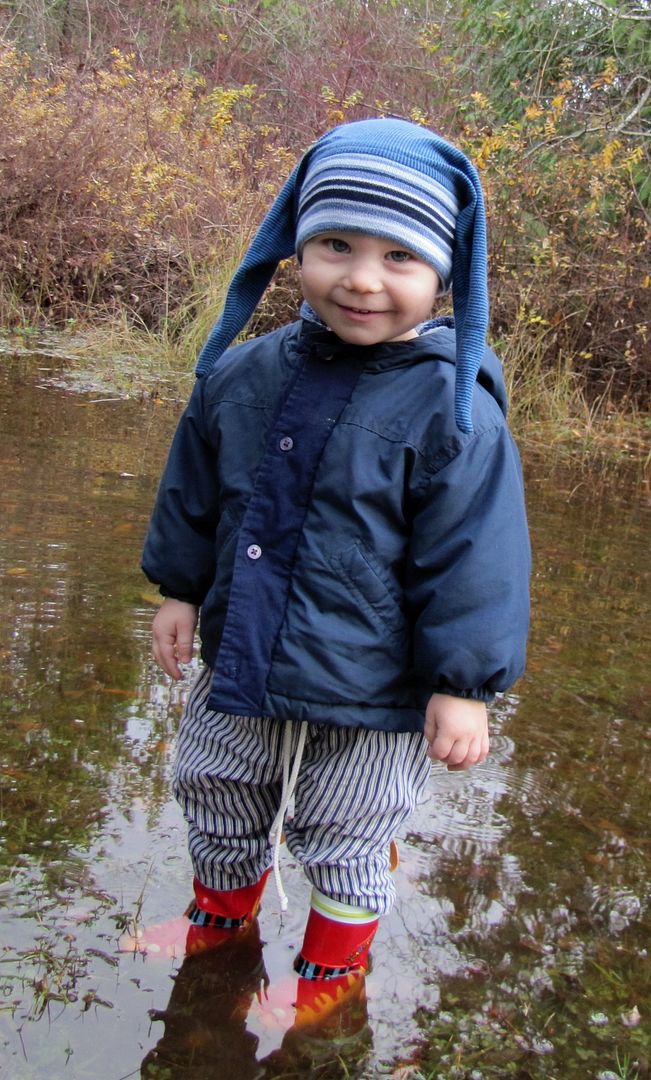
Birdie is just beginning to like his new bonnet, and I like it because I can tie the thing on and know that he won't suddenly whip it off and toss it into a puddle (experience is the harshest teacher). It's not rain proof, though, and we found ourselves needing something dry to cover his mostly bald noggin yesterday.

The toque is my old stand-by, my favorite, and, I'm starting to believe, just as versatile design-wise as t-shirts. Plus, very quick to make, which is usually one of the prime determining factors of what to sew for kids. Another is what's on hand material-wise. The toque wins there too.

I sacked my bin of clothes for repurposing and came up with an xl adult t-shirt and bits of the sweater I used for Birdie's other hat. I decided to make the fastest and most forgiving style I could think of, basically having to race Birdie to the end of his nap so we could go out right afterwards. And I won the race (mwah ha ha!) AND even managed to take pictures of the process for you.

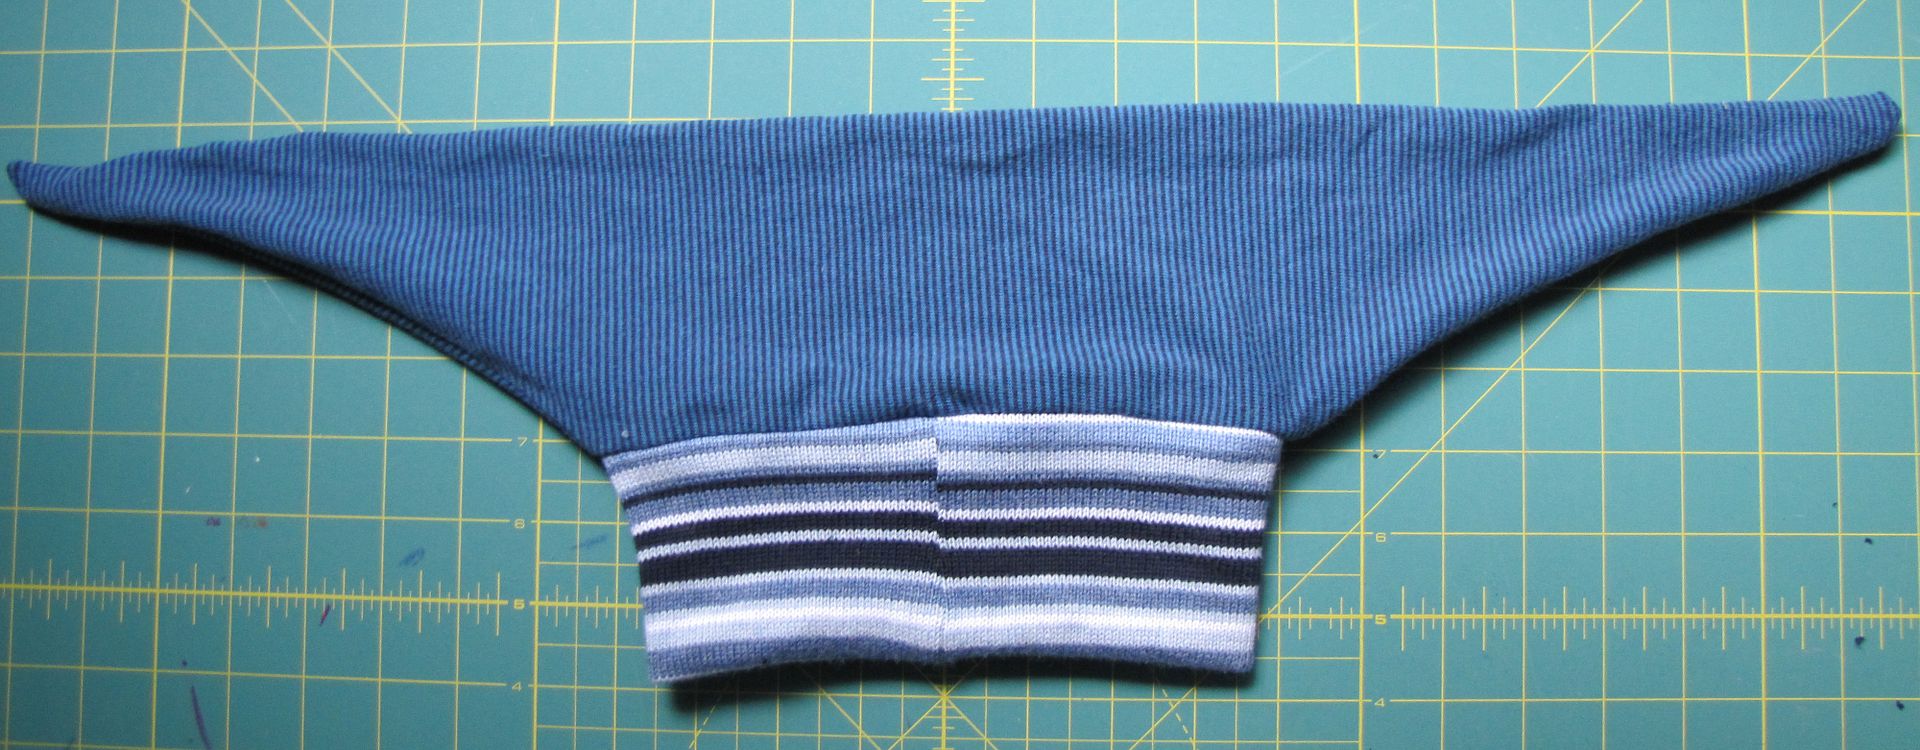
Looking sort of Mother Teresa-ish, here is Birdie's long earred toque (or puppy dog look if you are trying to sell it to a toddler):


And here is Birdie hooting like an owl with ketchup on his face. (It happens. Alot.) He also happens to be wearing his new toque in the knotted position (or the Great Horned Owl look, if you are trying to sell it to an older sister who has a fanatical obsession with them. Don't ask, I don't know why either.)


To make your own long earred toque:

Start with:

head circumference measurement
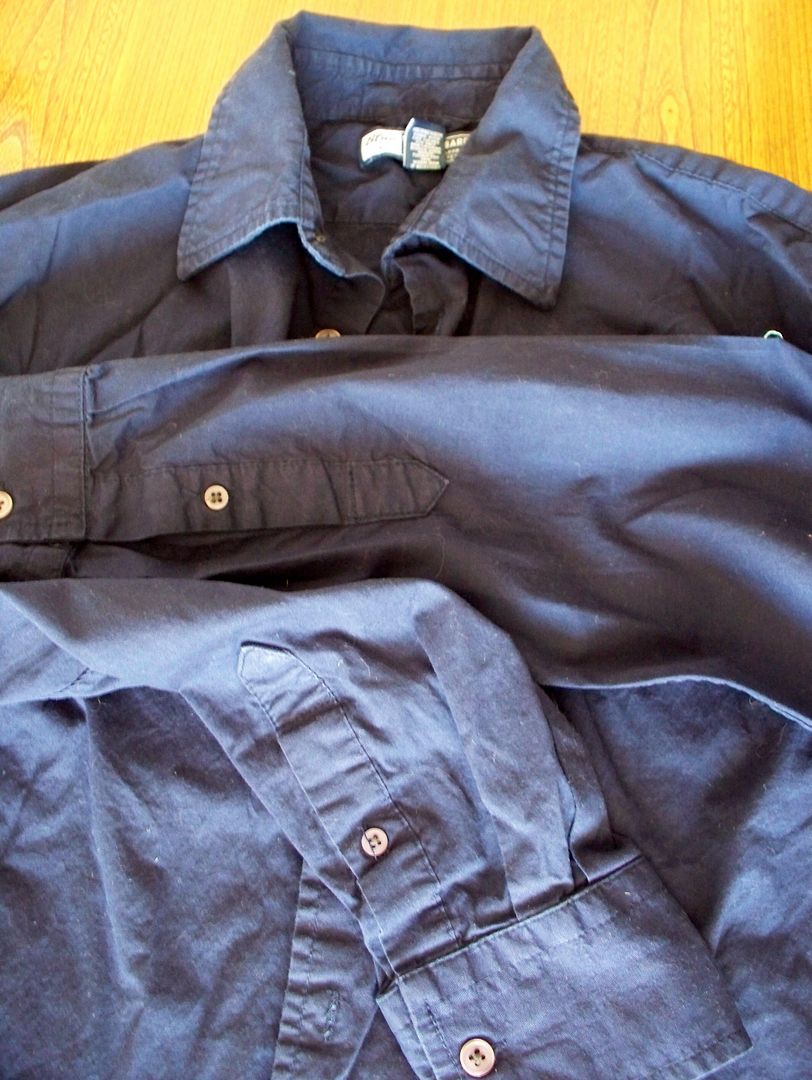
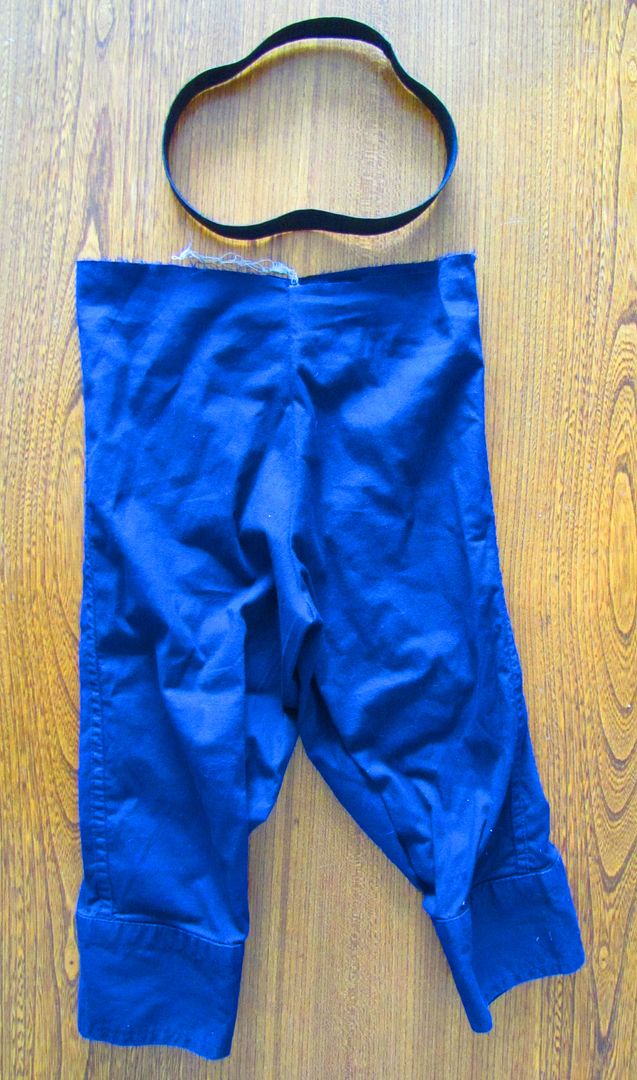
an adult t-shirt (the longer the better) or some knit fabric
a bit of sweater material or ribbing


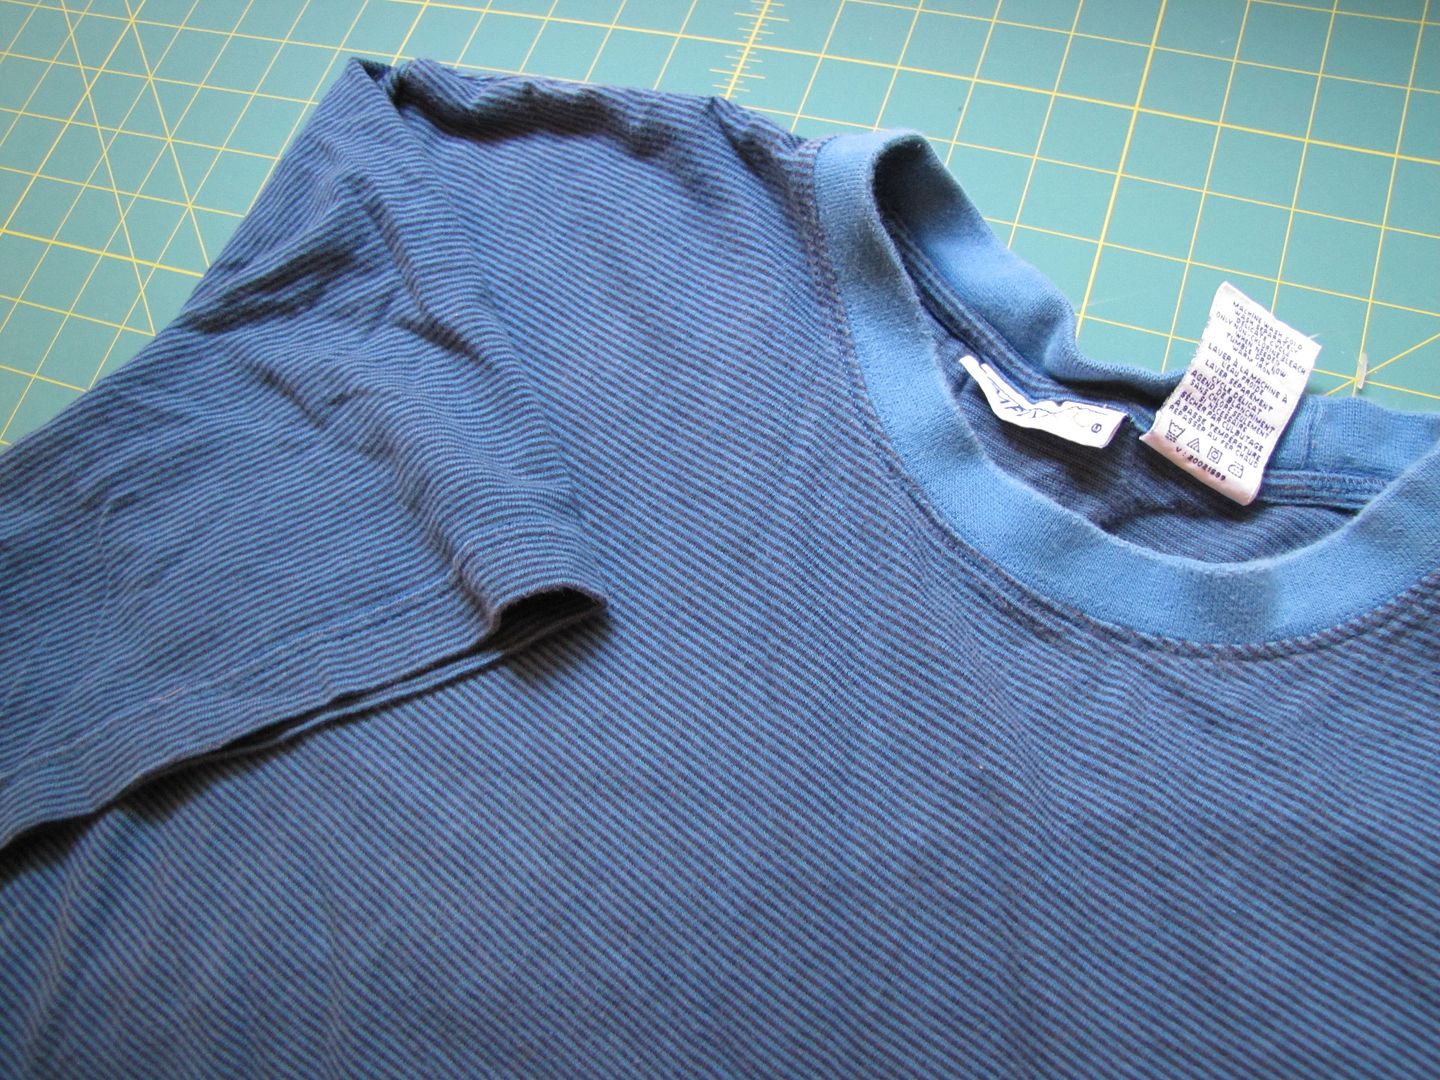
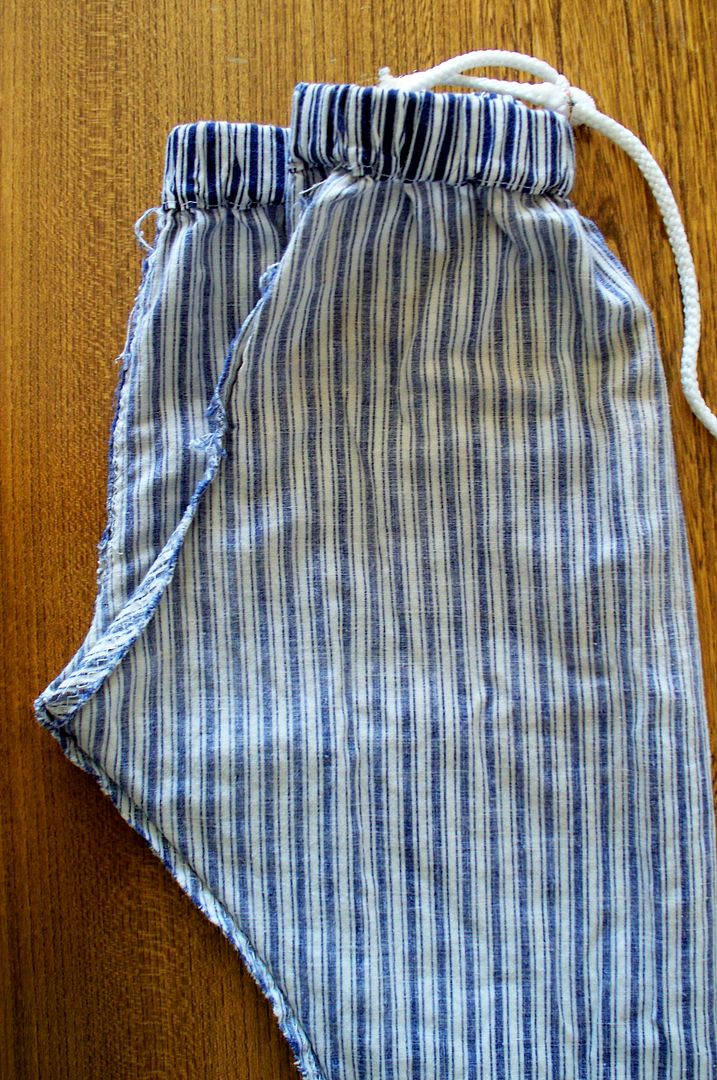
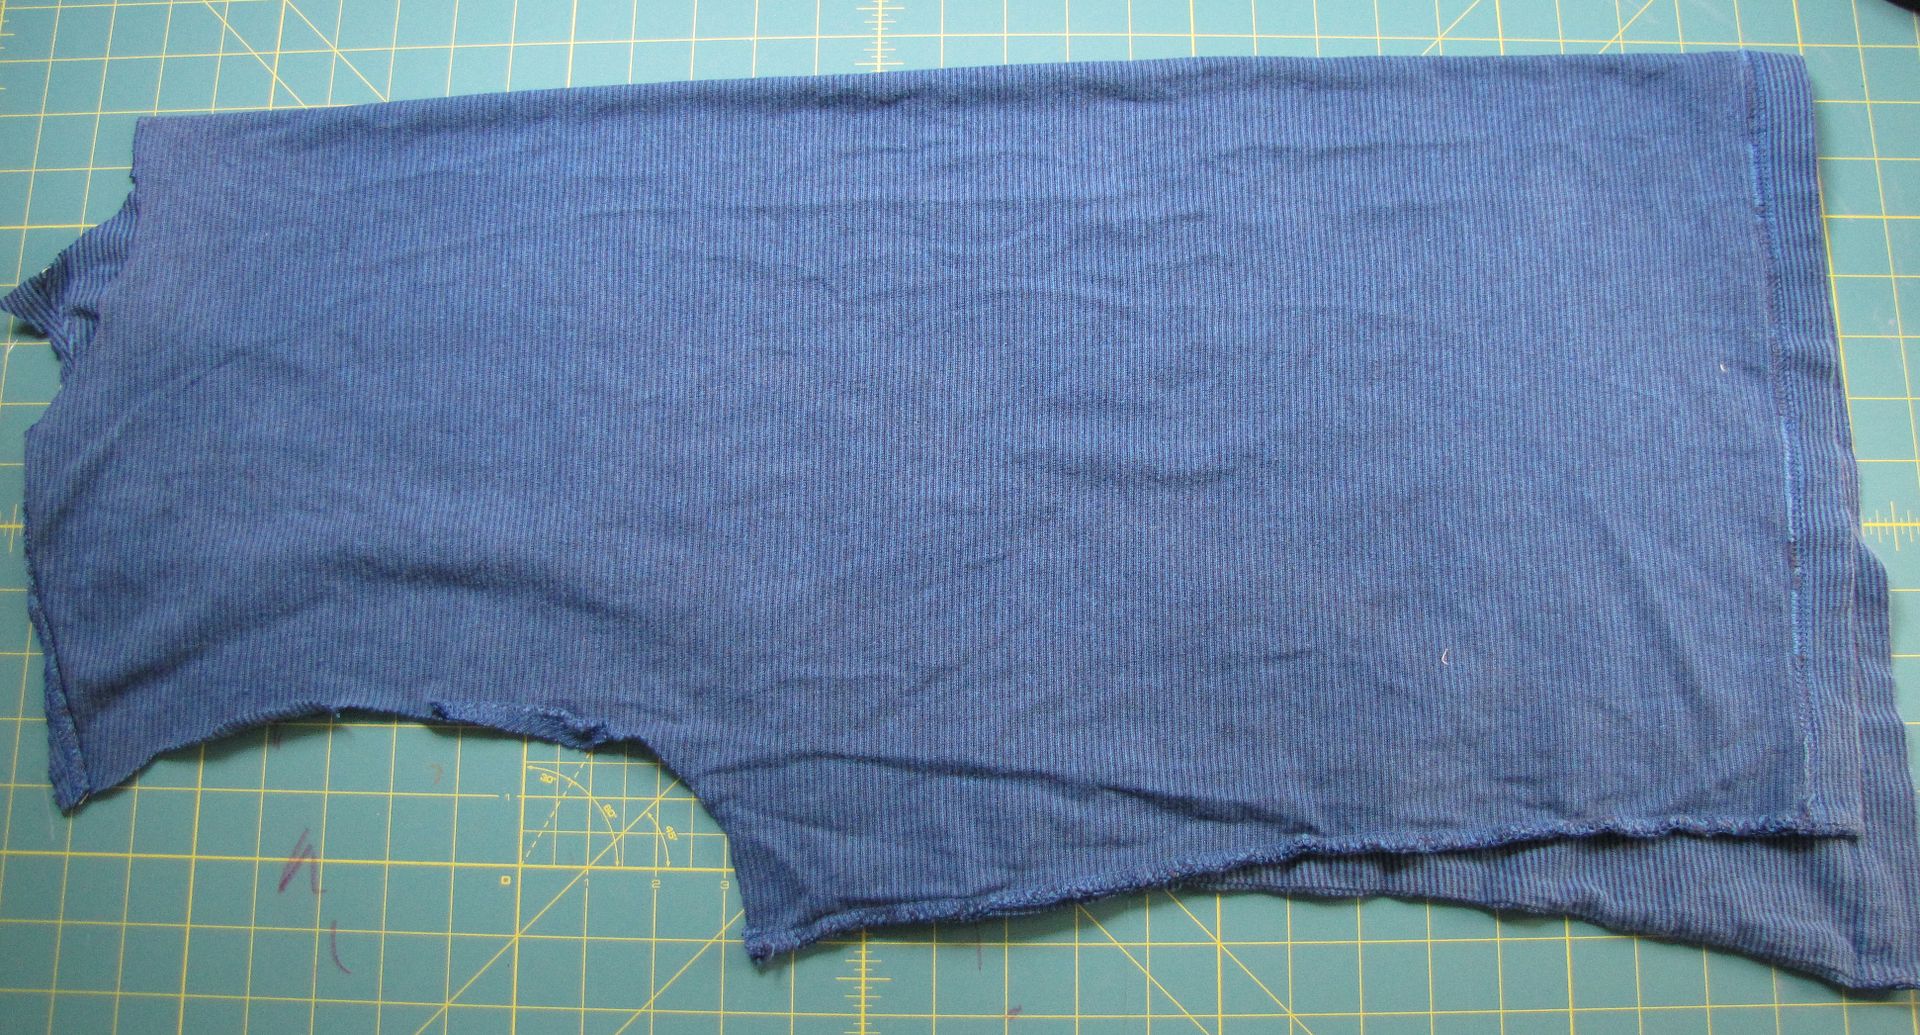
The ears of the toque are made with just one piece of t-shirt fabric. Prepare the t-shirt by separating either the front or back of the shirt from the sleeves and neck ribbing.

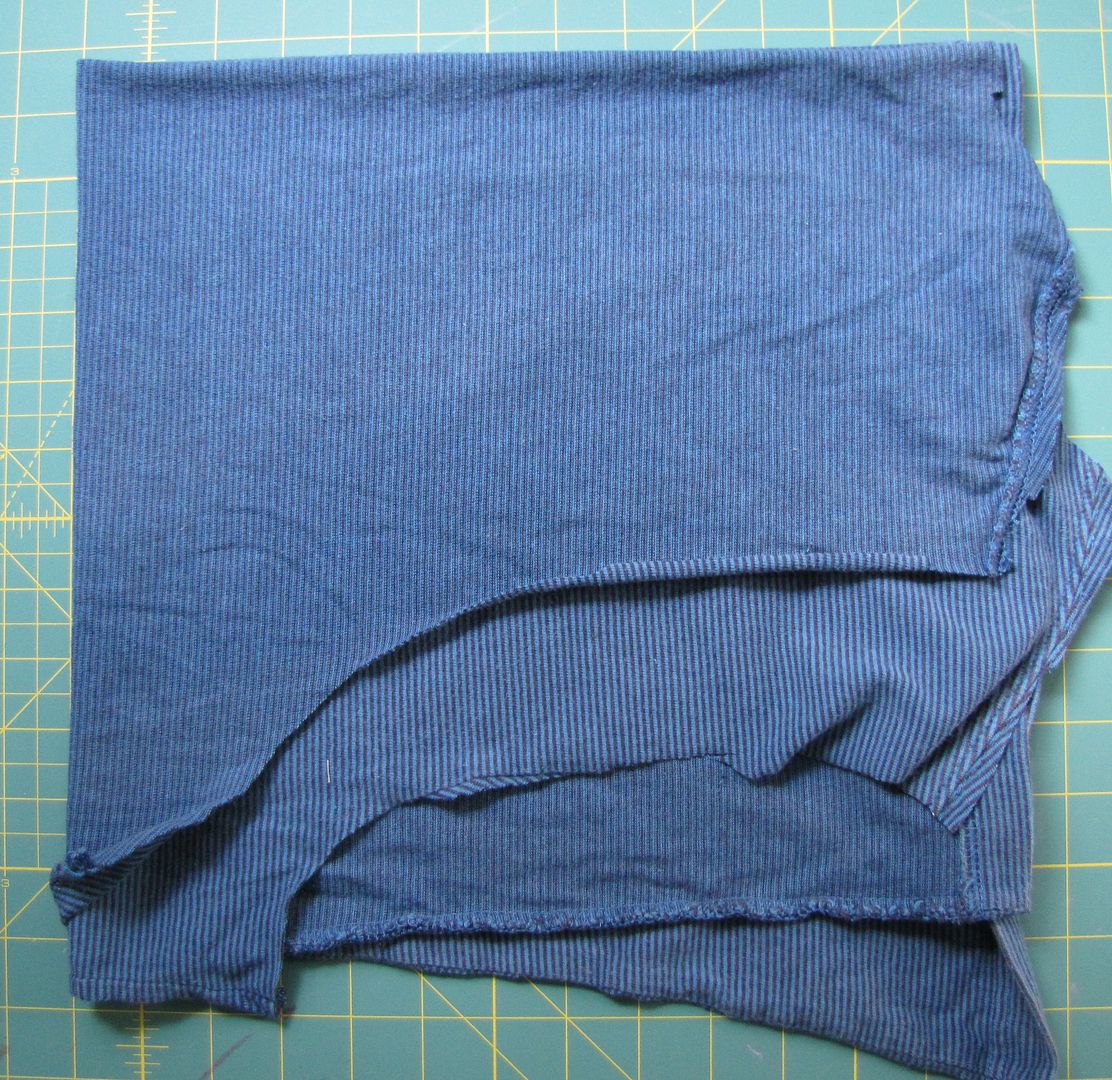
Fold the shirt piece in half length-wise, wrong side out.


Then, fold the shirt in half again, aligning the folded edge.


Alright, (not scary) math time. Take your head circumference (in inches) and minus 2". Then, divide that number by 4. Then add a seam allowance.

Example: my 19 month old boy's head is 18".
18"-2 = 16"
16"/4 = 4"
4"+1/2" = 4 1/2"

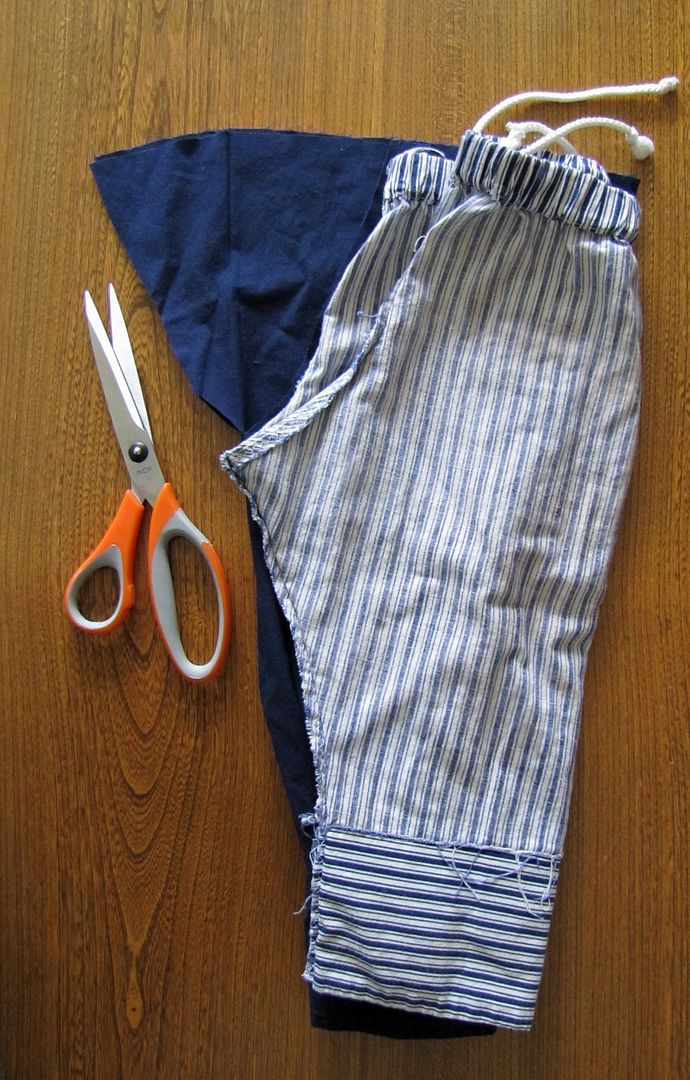
That final number (4 1/2" in example) is used to mark out a square on the corner where the folded edges meet on your t-shirt fabric.


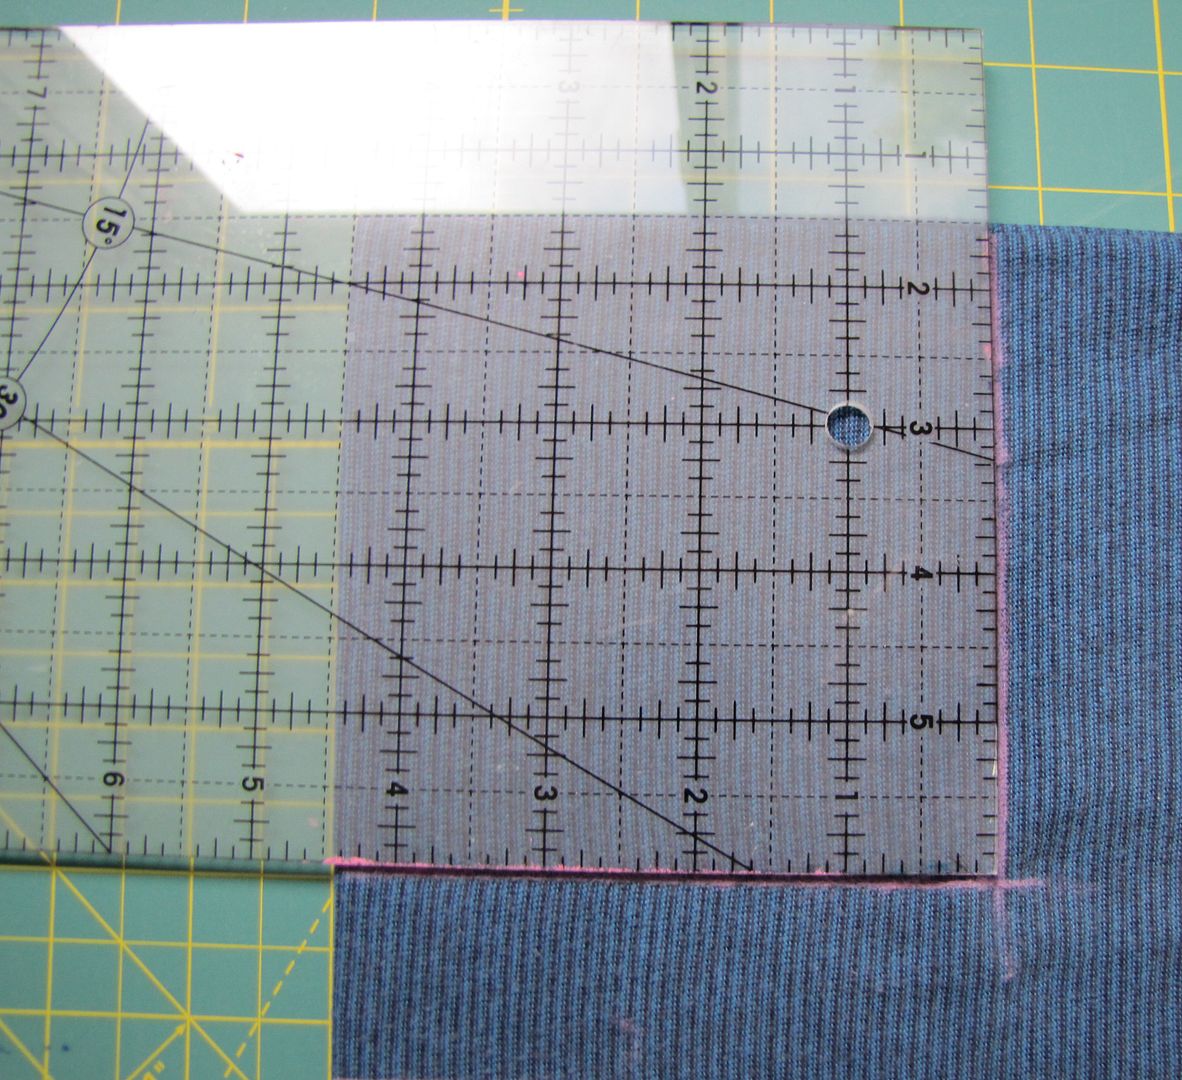
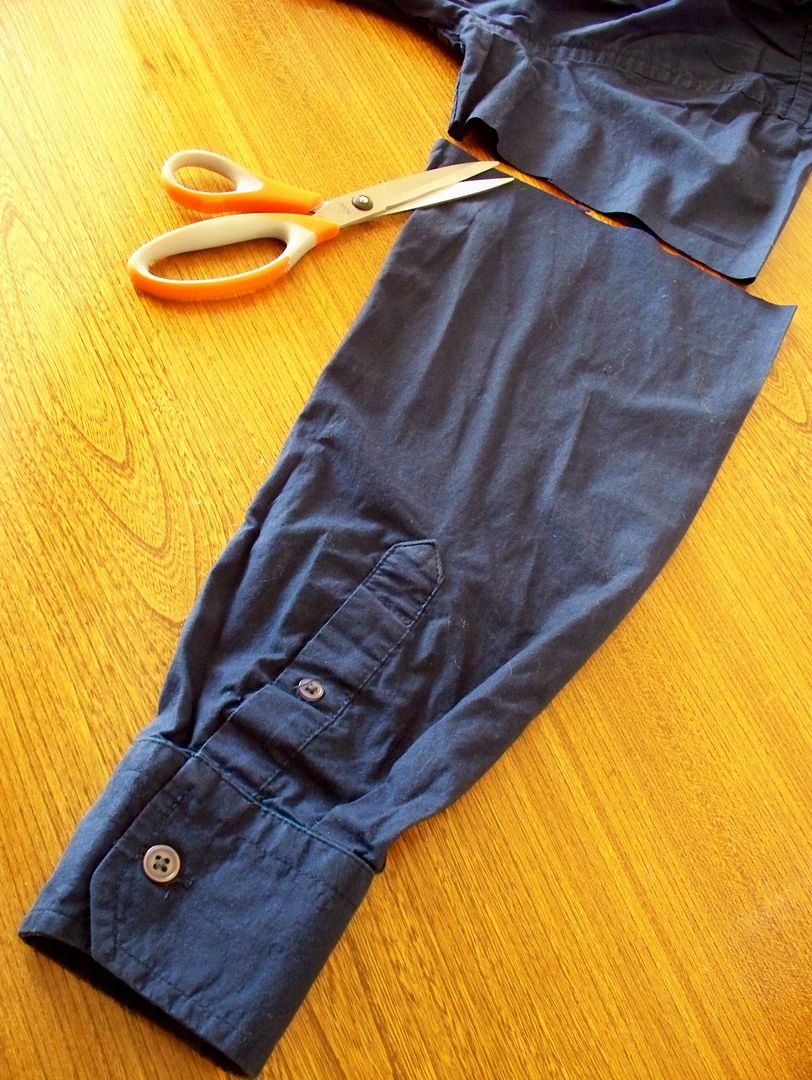
Cut from the shorter folded edge out along your chalked line and then angle up away from your cut to meet the further part of your fabric, as shown in the illustration below (ignore those extra lines - the measure twice, cut once rule is finally beginning to sink in for me.)


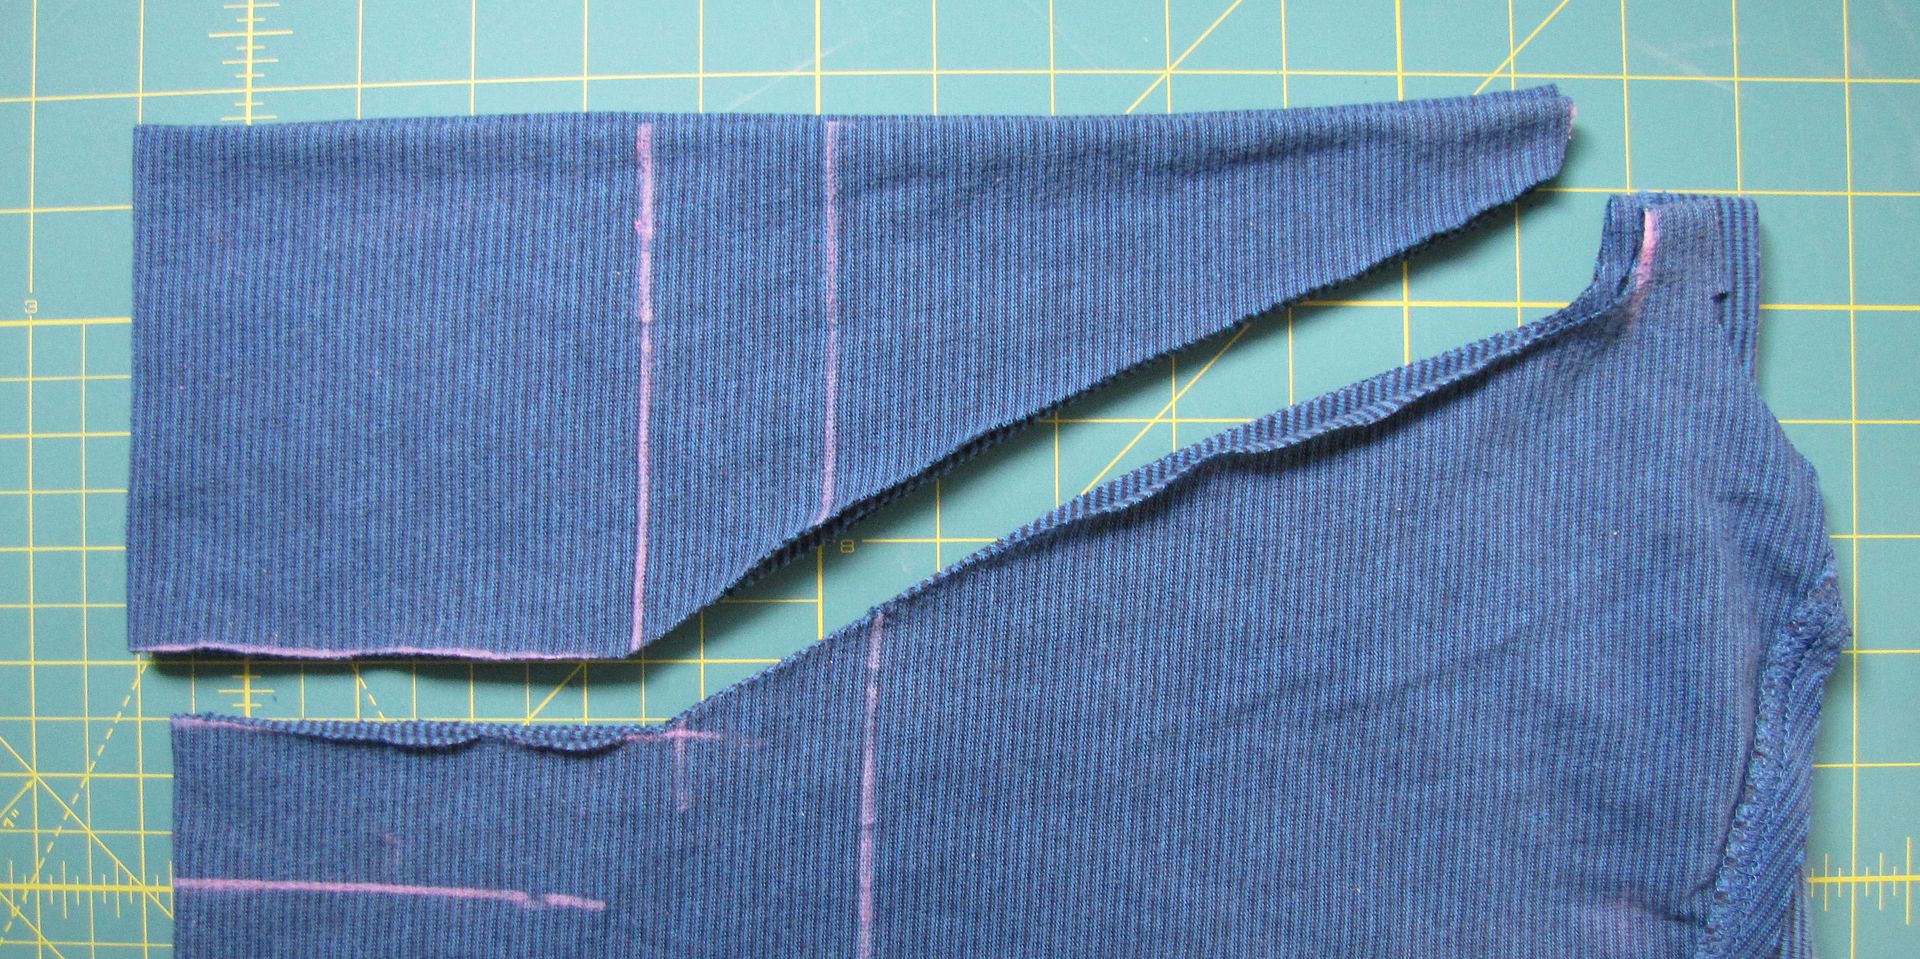
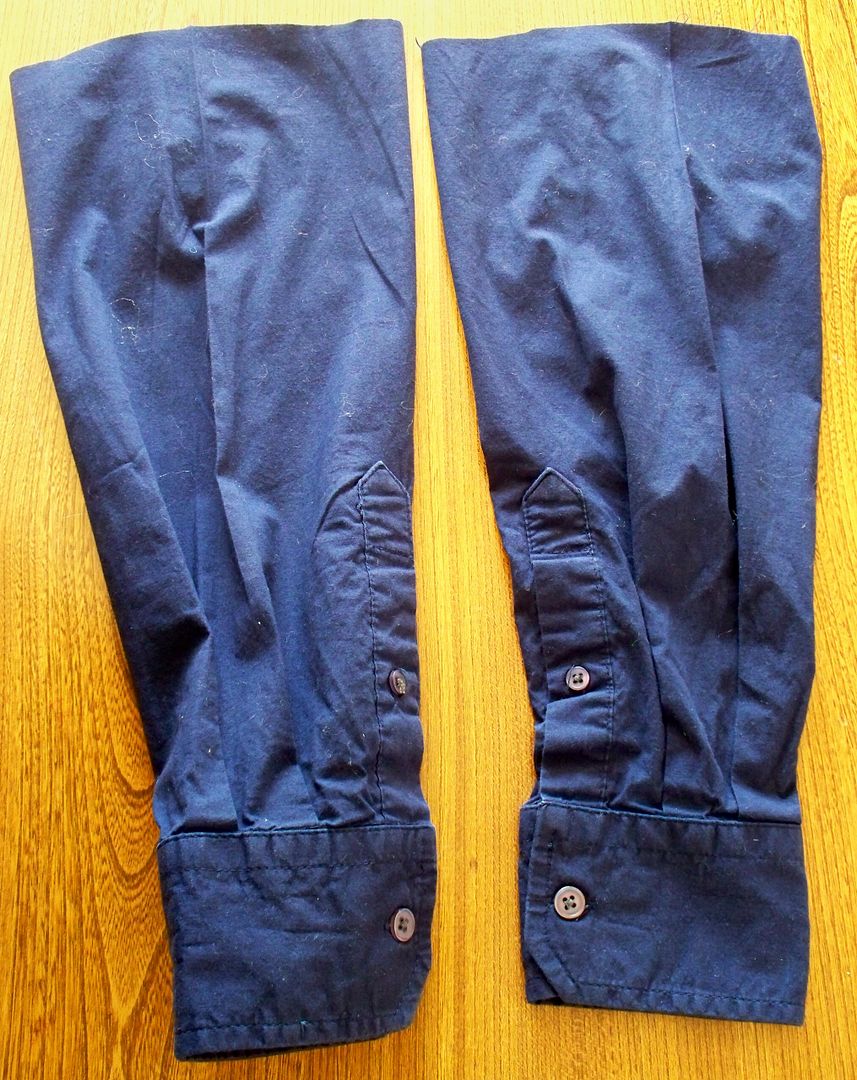
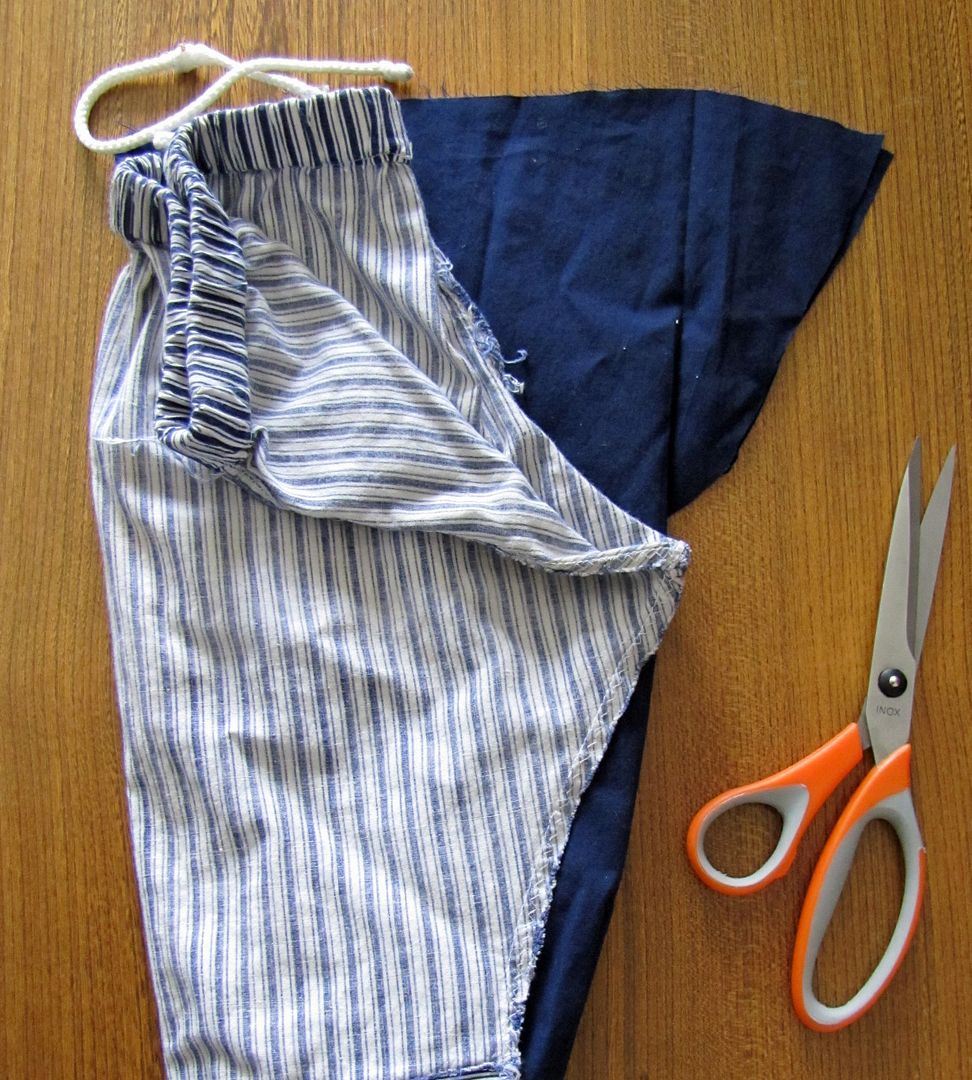
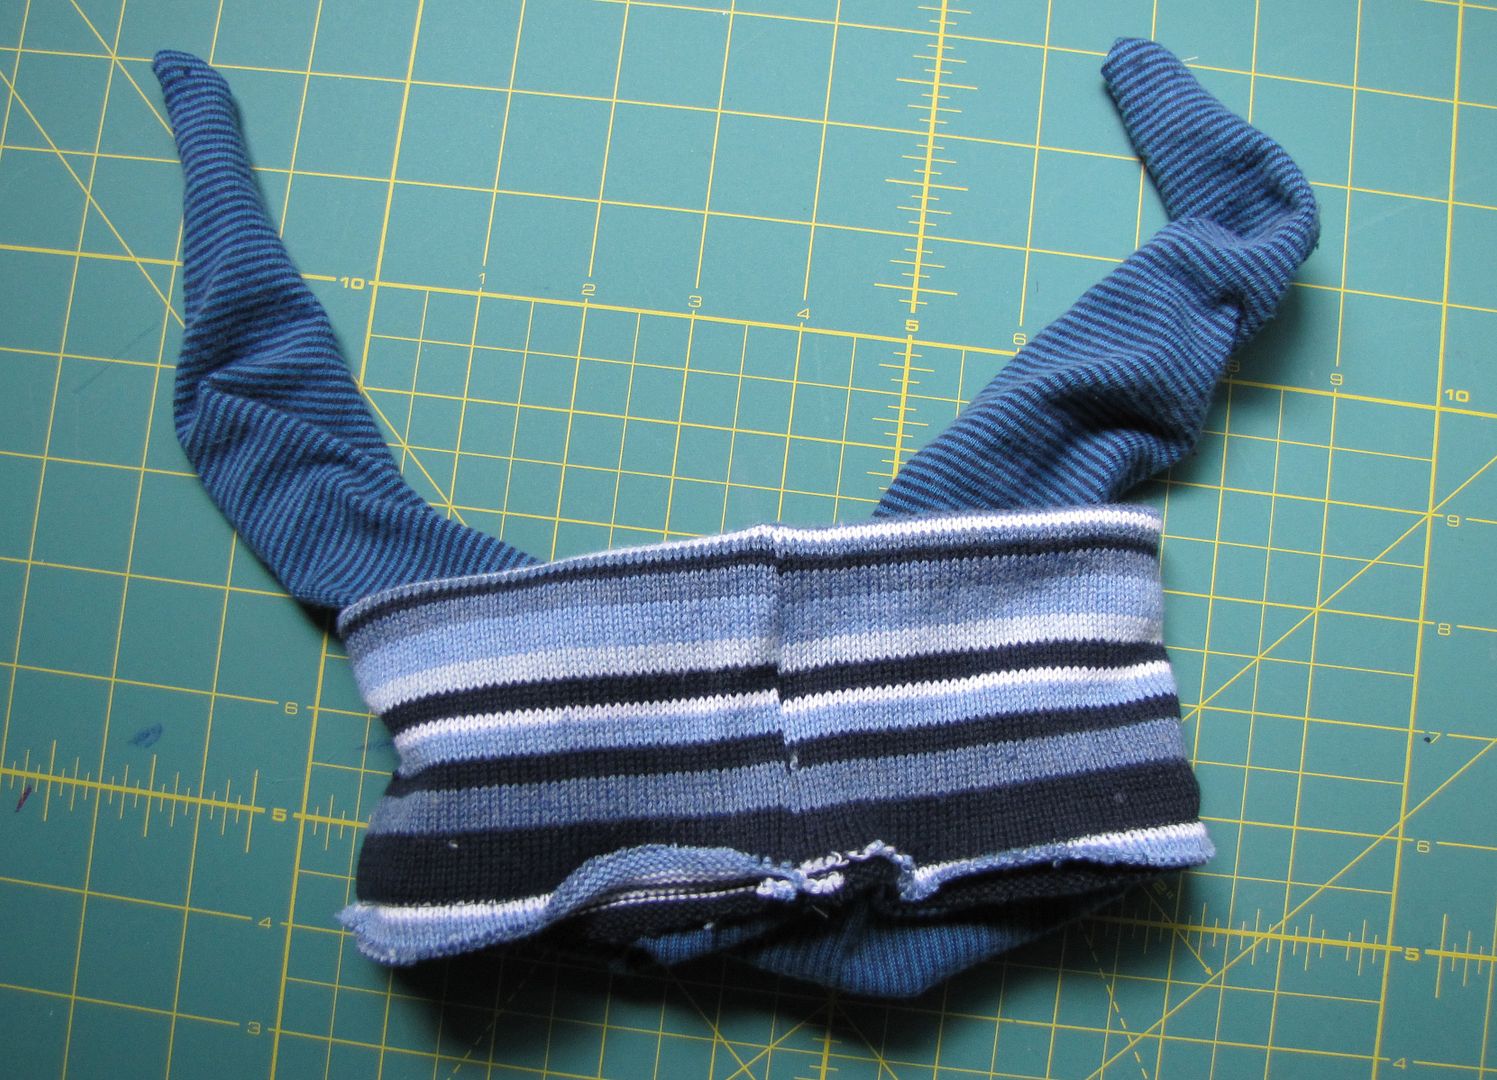
Unfold the cut fabric lengthwise for an anvil shape. The wings of the anvil will be your ears and the bottom flat bit the head opening.


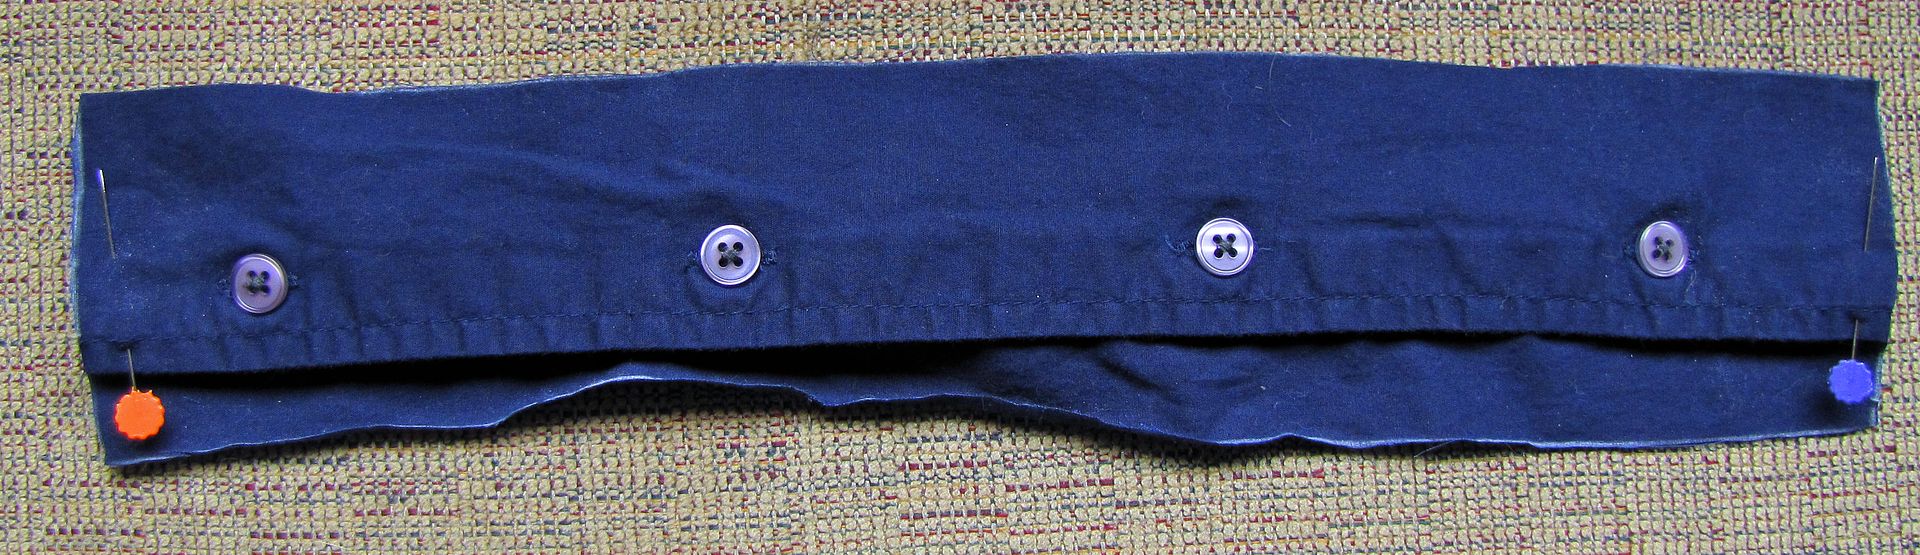
Sew the ears closed on their bottom edges, leaving the very bottom of the anvil open (the bit between the pins in the above photo).

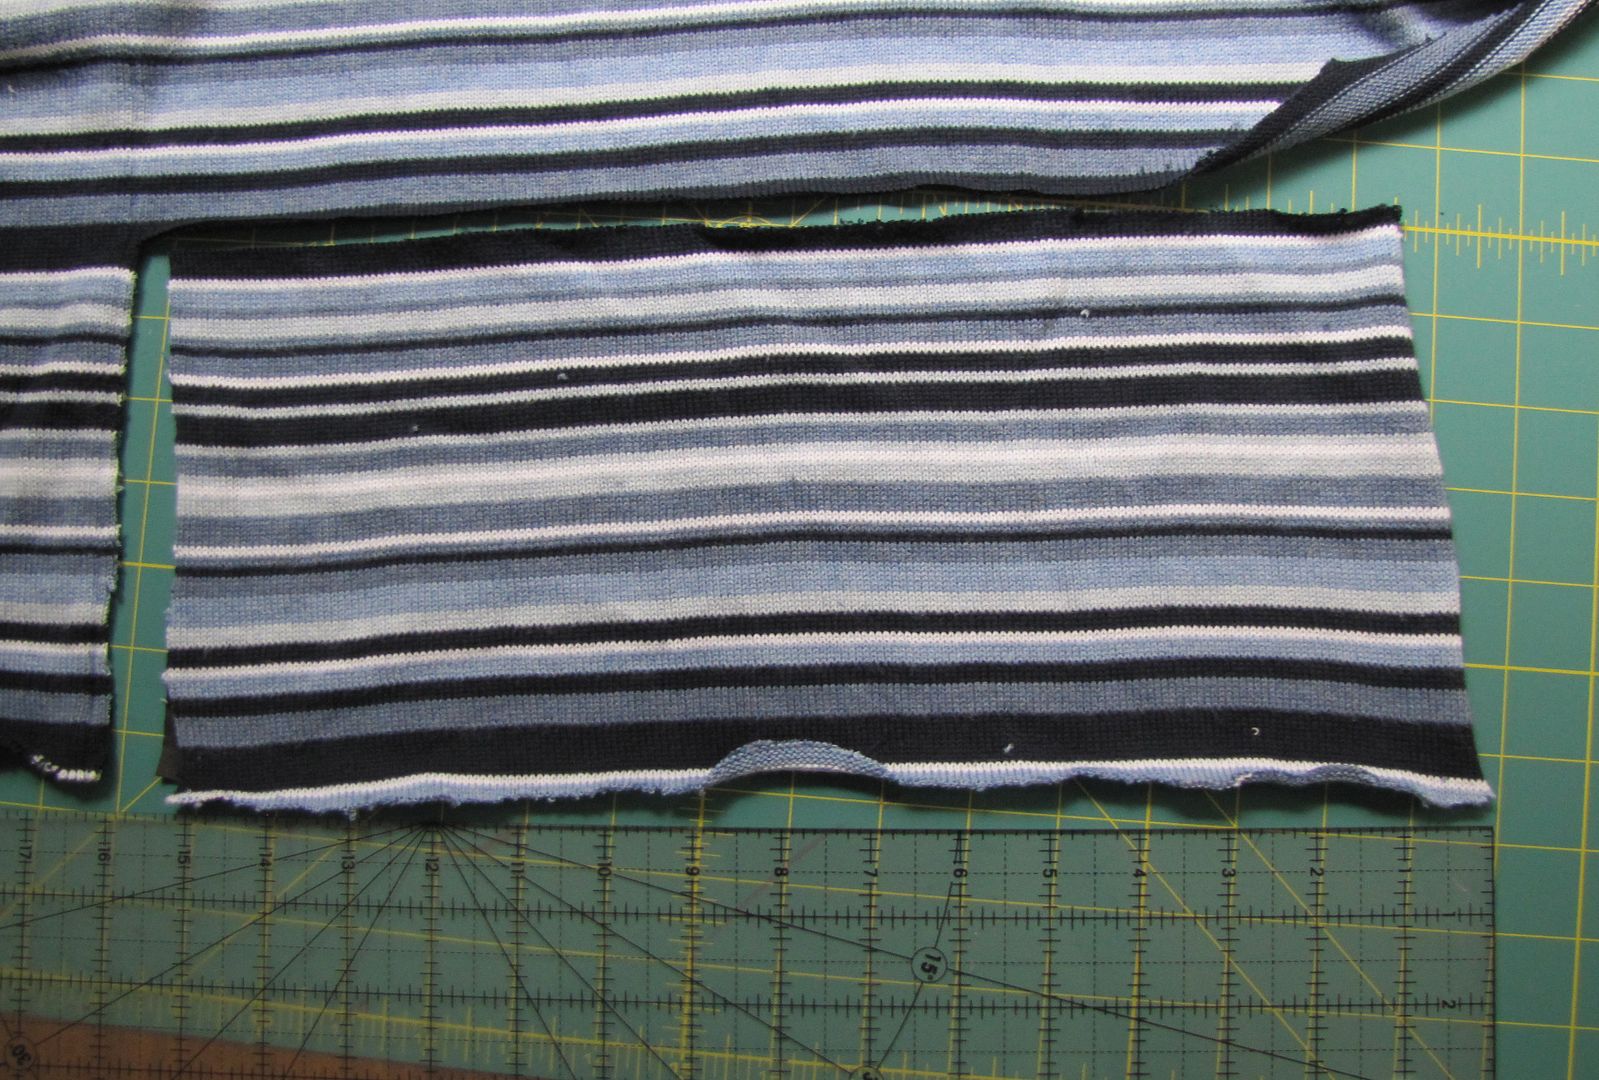
Cut a piece of sweater or ribbing to cover the forehead approximately 6 1/2" wide and as long as is a comfortable stretch for your knit piece, which can be determined by holding the sweater/ribbing up to your head opening of the anvil and stretch it out a bit. Generally, you will want to cut it a bit smaller than the opening, keeping in mind that the opening is doubled over. In other words, make sure you account for the whole circumference, not just half.

My sweater piece was 6 1/2" by 15".


Fold the sweater piece over length-wise, right sides together, and stitch end closed to form a loop.


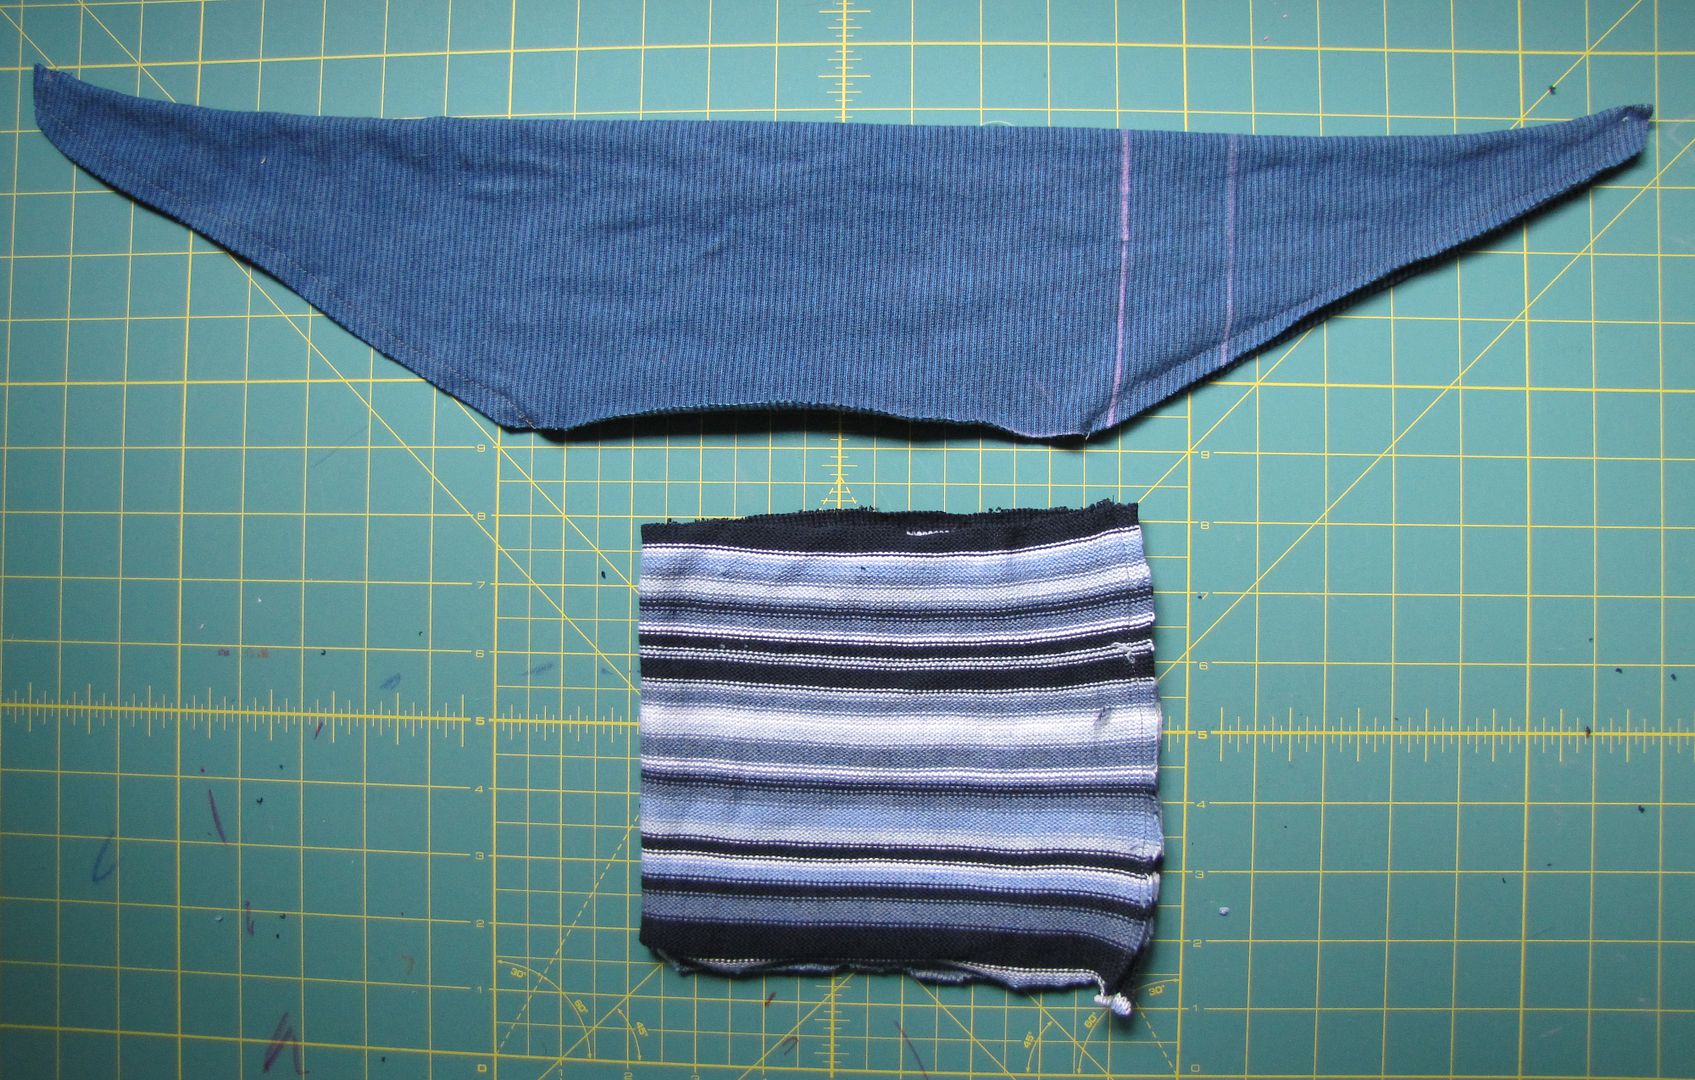
Fold the loop in half width-wise, right side out. This hides the side seam inside, forming a band for the forehead.


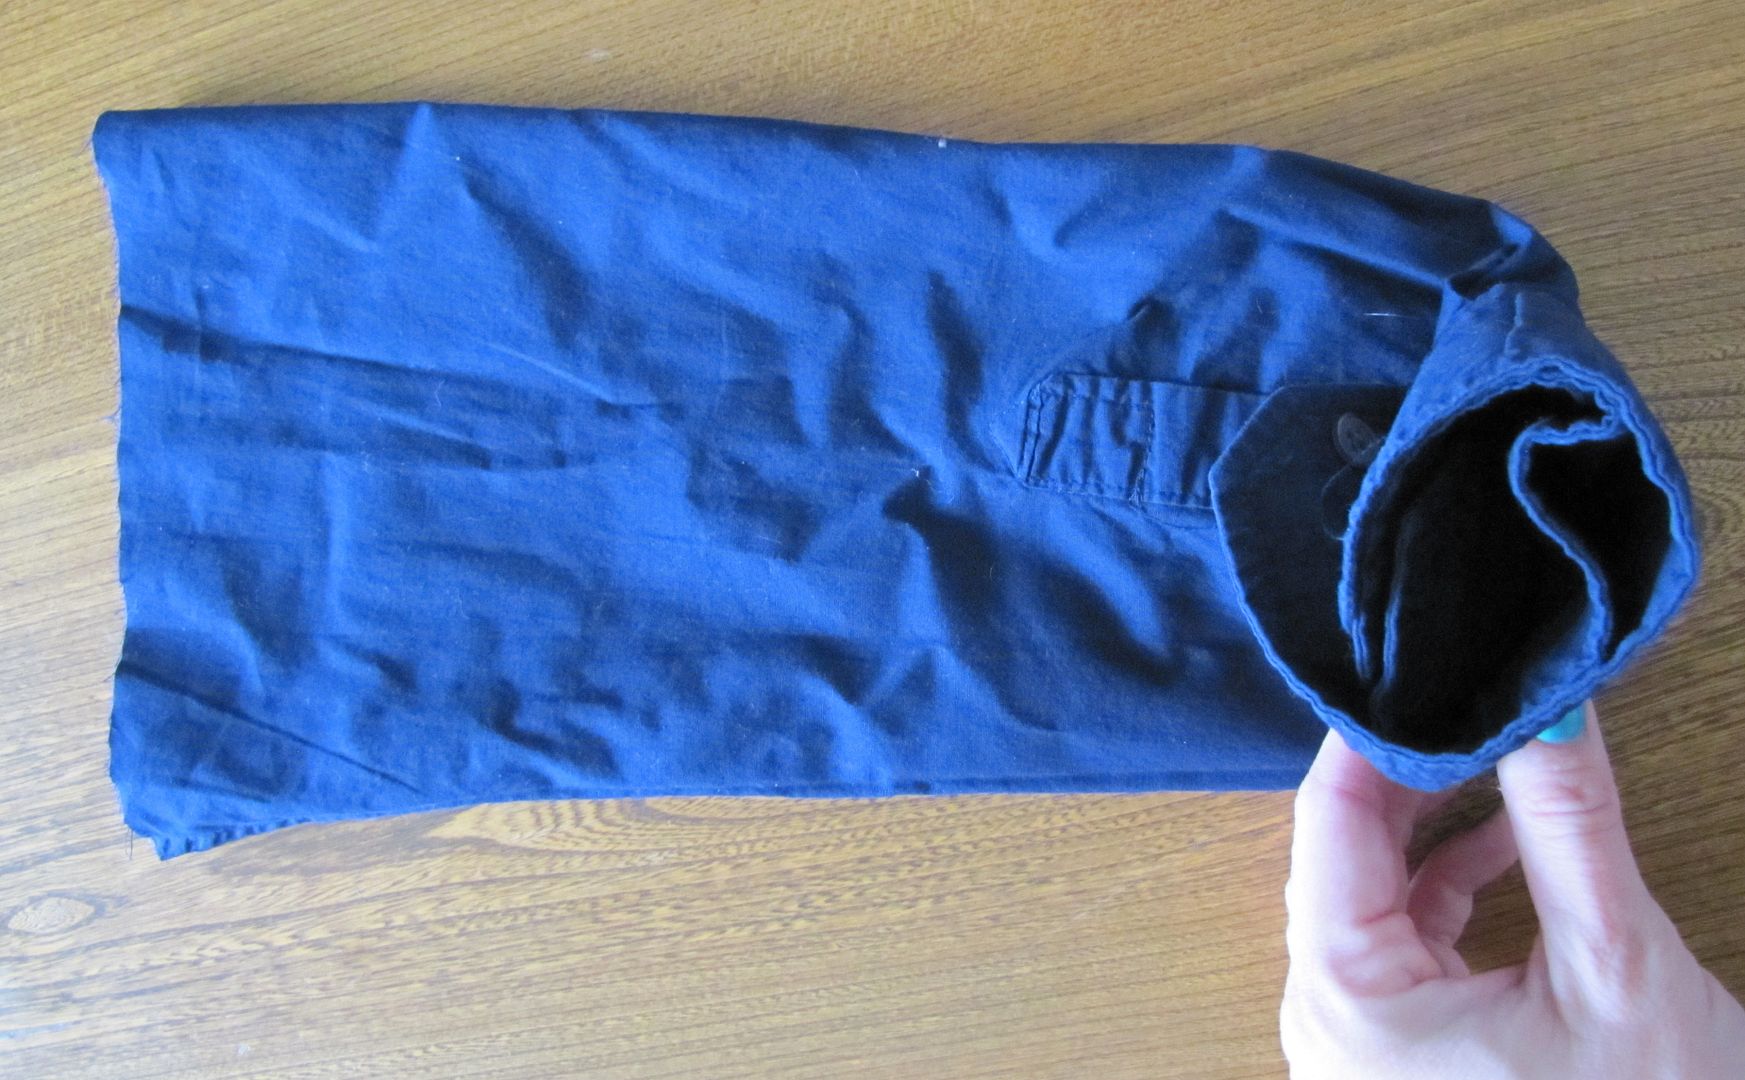
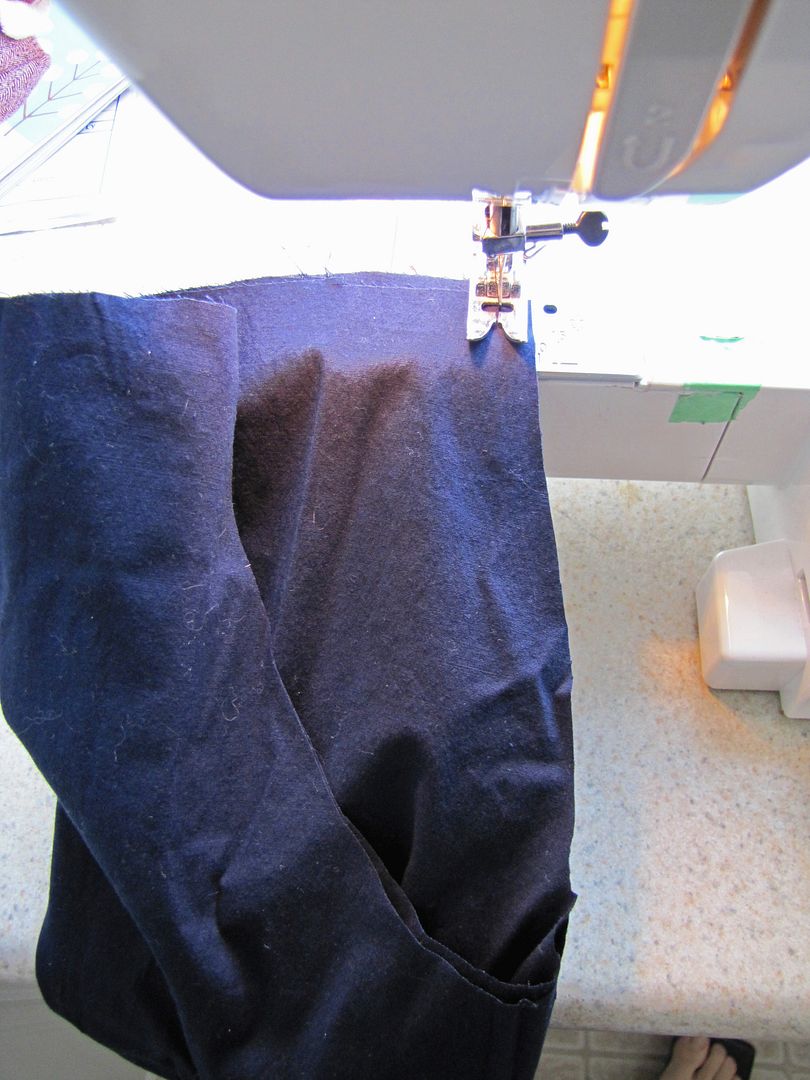
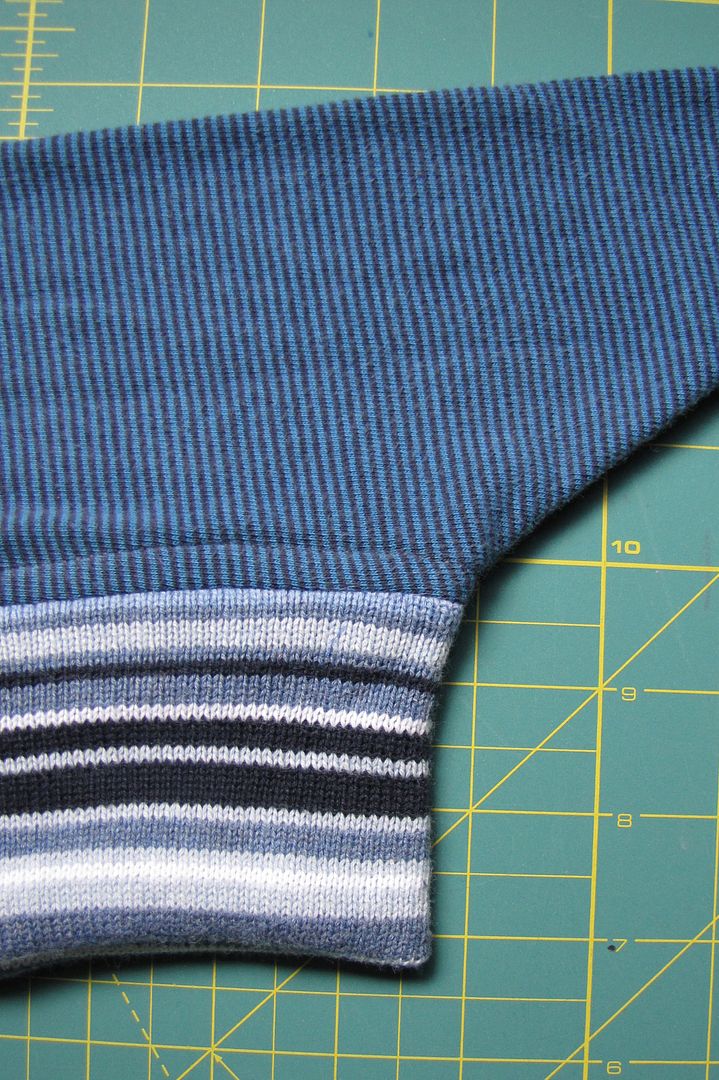
Turn the ears right side out. Align the raw edges of the band with the head opening of the ears, right sides together (or right side of the ears to whatever side of the band). Evenly pin the band to the ears and sew together. With knit fabrics, stretch them slightly as you sew to avoid puckers. Use the steam from from your iron on the seam, by hovering over or gently pressing down with the steam on, to tighten up the fabric afterwards.


Turn the band right side out.


Top stitch the seam allowance to the ear portion around the band. Use iron steam to press fabric back into shape.


Apply hat to head and head outdoors.


Don't forget to sing and dance :)

Do Your Ears Hang Low?
Do They Wobble to and Fro?
Can You Tie Them in a Knot?
Can You Tie Them in a Bow?
Can You Throw Them Over Your Shoulder Like a Continental Soldier?
Do your ears hang low?


******************************************

This is a free tutorial and I encourage you to use the information in any way you need to (check the disclaimer at the bottom of the page). If it works for you, please consider supporting my etsy shop by purchasing a Little Print Design pattern or toss a dollar or two in my paypal to show appreciation and to encourage me to offer up even more quality patterns and tutorials.


Thank you!
Questions about the Donation? FAQ here.

11.29.2009

Fair Weather Jacket pattern giveaway winners

Thank you to everyone for your very kind comments! Random.org came up with two numbers, which turns into:

Laini who said, "OOOH Enter me please! I have been drooling over this pattern for ages :)"

and

Leigh7911, who said "This pattern looks great. All of your patterns and tutorials do, actually. Maybe I should get off the computer and sew one up. :)"

Could you both please get a hold of me with your address and desired pattern size at vegbee@littleprintdesigns.com and I can get your pattern sent out to you.

Thanks again everyone! The pattern will be up for sale in the next day or so at my etsy at a temporary discount (to compensate for some strange typos - blopspot, anyone?). I also have another tutorial in the hopper for you, so come here soon too :)

And Happy Thanksgiving to my American friends!

11.26.2009

Fair Weather Jacket pattern giveaway

The new Fair Weather Jacket patterns are back from the printers and they look very fine. I've got a few days of folding and they will be avaliable December 1st on my etsy. I can now offer children's US sizes 2-8 in two separate pattern booklets.


The original pattern, which has been avaliable for a year or so now has computer drawn illustrations, rather than hand drawn, and has a fancy new cover and back page too.


And the new sizes US 5-8! Thank you to all of you who have been very patient with me.


It also will be avaliable to purchase December 1st.


Now, I would really like to giveaway a couple of patterns! Would anyone like one?

To enter a random draw contest for a free Fair Weather Jacket pattern in either sizes 2-4 or sizes 5-8 (your choice) please leave a comment on this thread. I will make a random number draw on Sunday night 9:00 pm (pacific standard time) to select two winners.

Good luck and thanks for playing :)

11.25.2009

helmet hats

I have internet! It took a week and a half longer than expected, produced some bitterness with our internet and phone provider with whom communicating with was as productive as trying to sew with a hammer, but wasn't all bad as it also presented some extra time to put together a few much needed winter items and do a bit of scheming too.

First up: I'm getting many questions on the trouser pattern. I am definitely making that available in the new year in infant and toddler sizes. I've got a sweetly rough little top and vest to go along with it and I will bundle all the patterns together, plus some extra stuff too. More on that as time goes on.

And now, a bit of sewing with other people's patterns. The latest issue of Ottobre found it's way to my mail box (with no less than three address change stickers), which is funny, because I keep canceling my subscription and they keep sending it anyway. With a bill attached.

But, the issue was here and the bonnet on the front cover caught my eye. Here is Smootch with my first try (in which I completely forgot to do the second dart and blamed Ottobre for making a wonky pattern that turned out to be all my fault. Ahem.) The shell is suiting and the lining and ties are made from a recycled tee shirt.


Does it make you think racing too? I'm wishing we had a set of goggles and long scarf for her. And that she was flying a biplane, instead of a Neon.


Zooooooommmm!

My next go I thought I'd make it a bit smaller for Birdie, though that was probably not so wise as his head is only a 1/2" smaller than Smootch's, and he's catching up fast. I also added a brim, reasoning that it will direct some rain away from his eyes. The shell and ties are from a recycled sweater and the lining is a recycled fleece pajama top.


Birdie was initially pretty hostile to the bonnet. Which isn't surprising - I can't keep a hat on the kid for anything. But ties help, and he's grown to almost like his hat. Well, if not like, he associates it with going outside and will fetch it if he wants to go out (reminiscent of a dog presenting a leash to its master when it's time for a walk. Maybe I should be rethinking my parenting techniques?)


That hat will do for now anyway. Next time I will be looking for something with more forehead coverage. I may be tragically Canadian, but I don't think anything beats a decent toque.

Today is the day the new Fair Weather Jackets come back from the printers. You have no idea how excited I am. Mostly about justifying watching a few movies while I do endless amounts of folding and collating the patterns. I've been experiencing some nostalgic feeling for Revenge of the Nerds and Weird Science lately, most likely brought on by reading back issues of Make: magazine from our new library. I'm also excited because I get to do a giveaway here on the blog of the new pattern. So come back Friday and we'll get that going ;)

11.11.2009

cookies

Once again it's moving week. By sunday we should be situated on the other side of the mountain, trying to get a grip on living without a furnace or drinkable water on tap. Sounds good, hey?

Facing this latest relocation with, strangely, more furniture then I think we've ever had, combined with three weeks of rain, has created this intense desire for cookies. Yum. Sweet, fat comfort food.

I've started reading food blogs. Bless them all for sharing their recipes. And bless all the talented food photographers. I'm not one of them, having my cocoa thumb cookies look a lot like the leavings of a berry eating moose, but they do taste amazing.


While this moving stuff and setting up of the new work space is going on, I'm going to put away the sewing machines and focus on getting stuff sorted and keeping my kids from losing their minds with another big change. I'll let you know if anything crafty goes on over the next couple of weeks, of course, but blogging service will definitely be interrupted. If you miss me, you can always pop over to my family blog. I'll have some move updates there as we progress.

And I will be making cookies. Lots and lots of cookies.

11.10.2009

jacket placket-ish

For me, sewing is all about making things that are needed, recycling materials, and saving our family time and money. It's a fairly utilitarian view, but it is satisfying for me (and it doesn't hurt that I occasionally define 'things we need' as a monster coat or any dress-up clothes).

Still, straight out mending is the pits. Especially replacing zippers. Especially, especially zippers on winter coats. It's mending hell squared.

But how could you not replace a broken zipper on a perfectly good (expensive) jacket? When you know that the alternative is the landfill because no one else is going to fix it either. We crafty types are the last hope to extend the lives of good clothes that just need a bit of mending. In my mind, this justifies a bit of zipper-replacement discomfort.

Or does it? There is nothing quite like a dreaded chore to get the ol' mind ticking away. Knowing that Birdie Boy's hand-me-down jacket needs the zipper fixed NOW has been on mind for a week, but having no zipper to replace the old one with, plus a healthy dose of procrastination (laziness), has made this bit of mending positively loom.

Which was why I was tickled pink when an alternative solution to the broken zipper dilemma presented itself. In fact, it was not only a good way to duck having to replace the zipper, it was actually more environmentally friendly as there is no need for a new zipper and recycles part of an endlessly usable man's button down shirt. All in all, this is cheaper, faster, greener and doesn't require a drink to steady my nerves before I begin.

Ahhhh! I love getting out of mending!

With that huge build up, you all are going to be disappointed at this simple little fix. Here is Birdie Boy (with a stick, as always), with his jacket closed up snug:


Covering a broken zipper with a front placket
(or, what to do when you can't face replacing a zipper)

First, locate a button down shirt in a coordinating or contrasting material.


My shirt here, in addition to being a good-enough matching shade of blue, had already had it's arms removed to make sleevy pants, making it a good candidate for this project. I can see how some fun could be had, turning a boring jacket into something fantabulous with coordinating colours and patterns or contrasting top stitching.

Measure the length of the broken closure and determine an appropriate width for a placket. I chose 3" for my width.


Add 1" to the length measurement for 1/2" on top and bottom for a hem (add more if you require for a double fold hem).

Add 1/2" to the width for a 1/4" seam allowance on the sides.

With your shirt buttoned up and pressed if necessary, use your ruler and tailor's chalk to outline your placket. Keep in mind button placement as it will on the jacket - you want a button fairly close to the top, but not so close as to interfere with the presser foot as you hem the top.


Cut out your placket.


Hem the top and bottom edges (separately from each other - thanks Rachel R) with a 1/4" wide double fold. Finish the raw edges of the sides with either a zig-zag stitch (as shown below) or a serger.


With placket still buttoned, lay it down on top of the jacket with the buttons running down the length of the zipper. Fold under one side edge 1/4" to determine where to stitch on the placket. Turn over whole placket, with folded under edge held in place, and pin placket to jacket, right sides together.


Stitch placket side to jacket at 1/4"

Flip placket back over top zipper and orientate the other side in the appropriate place. Fold in other side edge and put in a couple pins to mark the correct place.


Undo the buttons, turn unsewn side back with right sides together, and pin the placket in place. Stitch side edge to jacket at 1/4".


If you are feeling up to it, top stitch the side edges to the jacket (which I didn't because I was feeling good-enoughness at this point, also see above comments on laziness).

And there it is, one once-again snuggly warm jacket.


I estimate that this bit of repair saved me $2.00 for a zipper, 20 minutes of seam ripping, 40 minutes of sewing in the zipper (including 20 minutes of breaks for deep breathing and centering), and half a bottle of wine (or $5, as I usually get what's on sale). Oh, and the whole cost of a new (previously loved) jacket.

****************************************************

This is a free tutorial and I encourage you to use the information in any way you need to (check the disclaimer at the bottom of the page). If it works for you, please consider supporting my etsy shop by purchasing a Little Print Design pattern or toss a dollar or two in my paypal to show appreciation and to encourage me to offer up even more quality patterns and tutorials.


Thank you!
Questions about the Donation? FAQ here.

11.08.2009

doll blanket

I sometimes worry that Smootch is going to grow up to resent my inability interpret a simple request like, "Mom, will you play dolls with me?" without angling in some time with the sewing machine.


On the other hand, she's getting lots of hands-on skills training in design and textiles manufacture, right?


The good times with my children all seem to be in the details and moments, not so much what we are doing, but how we go about it.


I suppose it's all right, this tendency to get lost in the triviality of pleasure, and that play is most satisfying when all involved have a say.


I imagine Barbie and Quasimoto agree. Or at least relieved we finally got around to the part where we actually play with the dolls.

11.05.2009

sleevy pants


I know there are a few tutorials floating out there on how to turn sleeves into pants for children. There are so many because it's such a simple and convenient thing to do, not to mention cute. They make great pajamas from a knit material, winter coverings from a felted sweater, regular pants from almost any shirt, and are perfect using up the extra sleeves from a men's dress shirt when making a cheytown dress. I have made a dozen or so over time and I've gotten the method down to a quick 15 minute pair of pants (even faster if Birdie Boy is napping).


So, here is,

Shirt sleeves to a child's pants (vegbee's way)

Before you start, locate a pair of pants (of the same type of material, either woven or knit, depending on what kind of shirt you are using) of the child's that fits well to use as a guide. You could use a pattern to make these pants, but better to use something that fits well now.

Begin with an adult's long sleeve shirt. The larger the child, the larger the shirt needed.


Use the pants as a guide to cut the sleeves off at the appropriate length, noting that there will be no need to hem the bottom, but adding extra room at the top to put in an elastic waist.


Turn one sleeve inside out. Tuck the rightside out sleeve inside of the wrongside out sleeve, lining up seams and, if necessary, plackets. Also, with plackets or decorative elements, you may also want to note which way should be the back, side, front, or whatever way you would like the sleeve's details to be orientated.


Smooth down and place your sleeves with your desired front side facing up, noting which edge is to be the inside leg and which to be the outside.

Take your well fitting guide pants and turn them inside out. Fold the pants along the center crotch seam. Take note that the center seam allows for more room in the back of the pants.


Lay the guide pants down over top the sleeves in the appropriate orientation. Slip you finger into the sleeves to separate the top parts of each sleeve from the bottom. Cut along the front part of the guide pants center seam, including a seam allowance, of the top two layers of the sleeves only (though, you cut all four layers right now, it's actually no big deal, so don't sweat it).


Flip over your sleeves and place the guide pants over once again in the appropriate place. Peel back the front center seam of the guide pants to reveal the back side of the pants. Cut the final two layers out according to the back side of the center seam, adding seam allowance.


Your sleeve pants now are already in the perfect position to sew up the center seam.


Turn your pants right side out. Add an elastic waistband.


Apply sleeve pants to child.


*****************************************************
This is a free tutorial and I encourage you to use the information in any way you need to (check the disclaimer at the bottom of the page). If it works for you, please consider supporting my etsy shop by purchasing a Little Print Design pattern.