Birdie is just beginning to like his new bonnet, and I like it because I can tie the thing on and know that he won't suddenly whip it off and toss it into a puddle (experience is the harshest teacher). It's not rain proof, though, and we found ourselves needing something dry to cover his mostly bald noggin yesterday.
The toque is my old stand-by, my favorite, and, I'm starting to believe, just as versatile design-wise as t-shirts. Plus, very quick to make, which is usually one of the prime determining factors of what to sew for kids. Another is what's on hand material-wise. The toque wins there too.
I sacked my bin of clothes for repurposing and came up with an xl adult t-shirt and bits of the sweater I used for Birdie's other hat. I decided to make the fastest and most forgiving style I could think of, basically having to race Birdie to the end of his nap so we could go out right afterwards. And I won the race (mwah ha ha!) AND even managed to take pictures of the process for you.
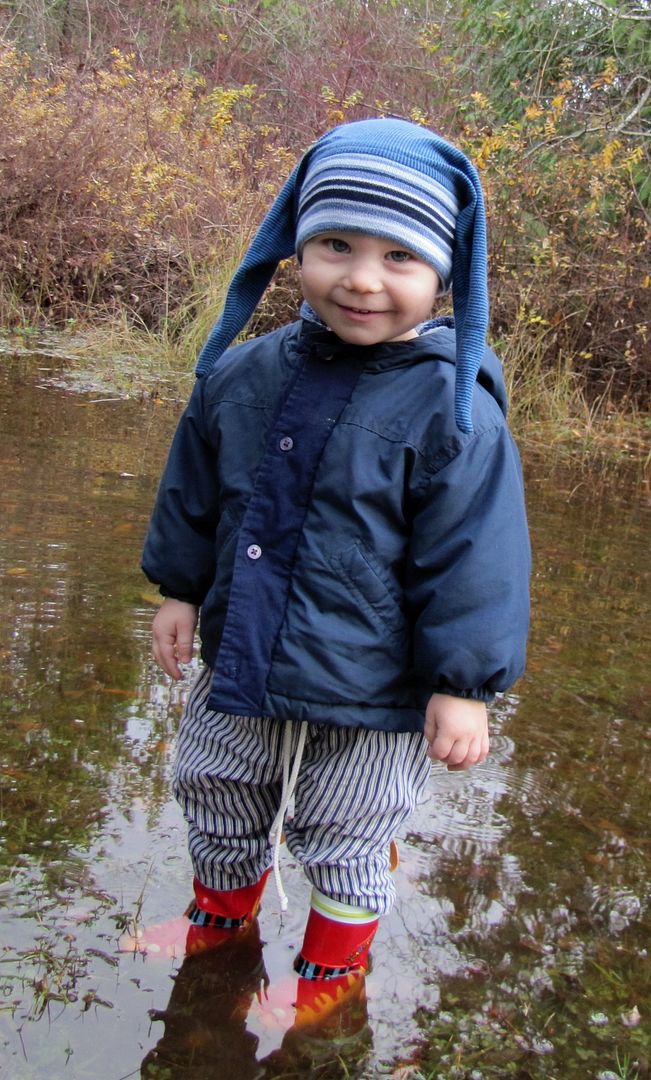
Looking sort of Mother Teresa-ish, here is Birdie's long earred toque (or puppy dog look if you are trying to sell it to a toddler):

And here is Birdie hooting like an owl with ketchup on his face. (It happens. Alot.) He also happens to be wearing his new toque in the knotted position (or the Great Horned Owl look, if you are trying to sell it to an older sister who has a fanatical obsession with them. Don't ask, I don't know why either.)

To make your own long earred toque:
Start with:
head circumference measurement
an adult t-shirt (the longer the better) or some knit fabric
a bit of sweater material or ribbing
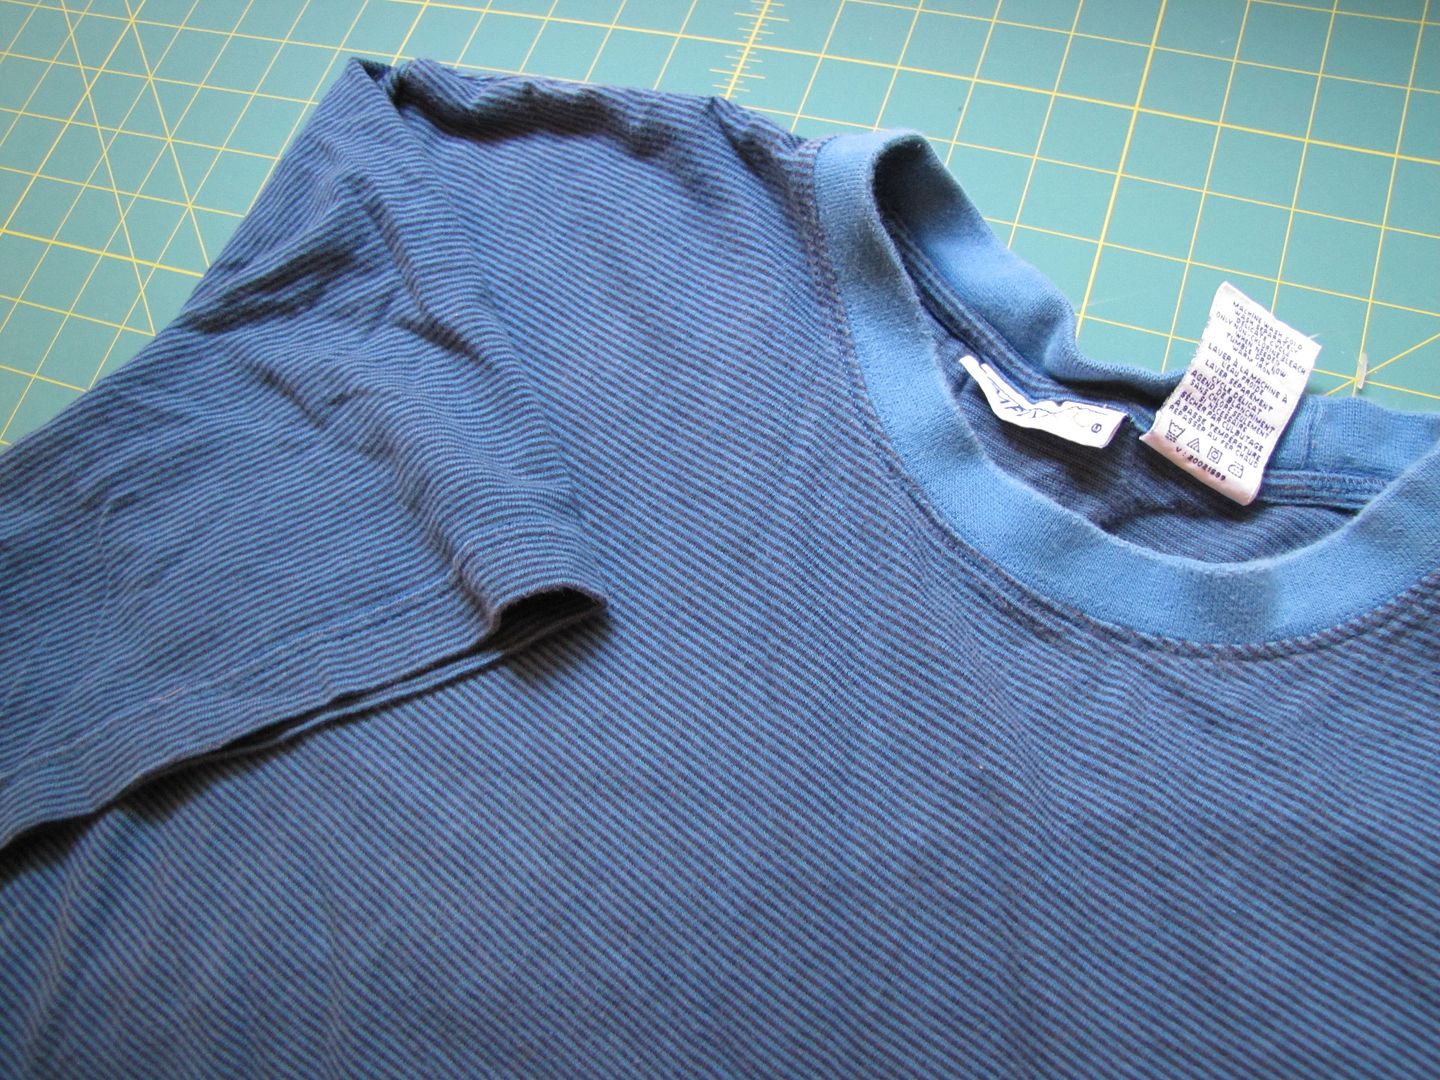
The ears of the toque are made with just one piece of t-shirt fabric. Prepare the t-shirt by separating either the front or back of the shirt from the sleeves and neck ribbing.
Fold the shirt piece in half length-wise, wrong side out.
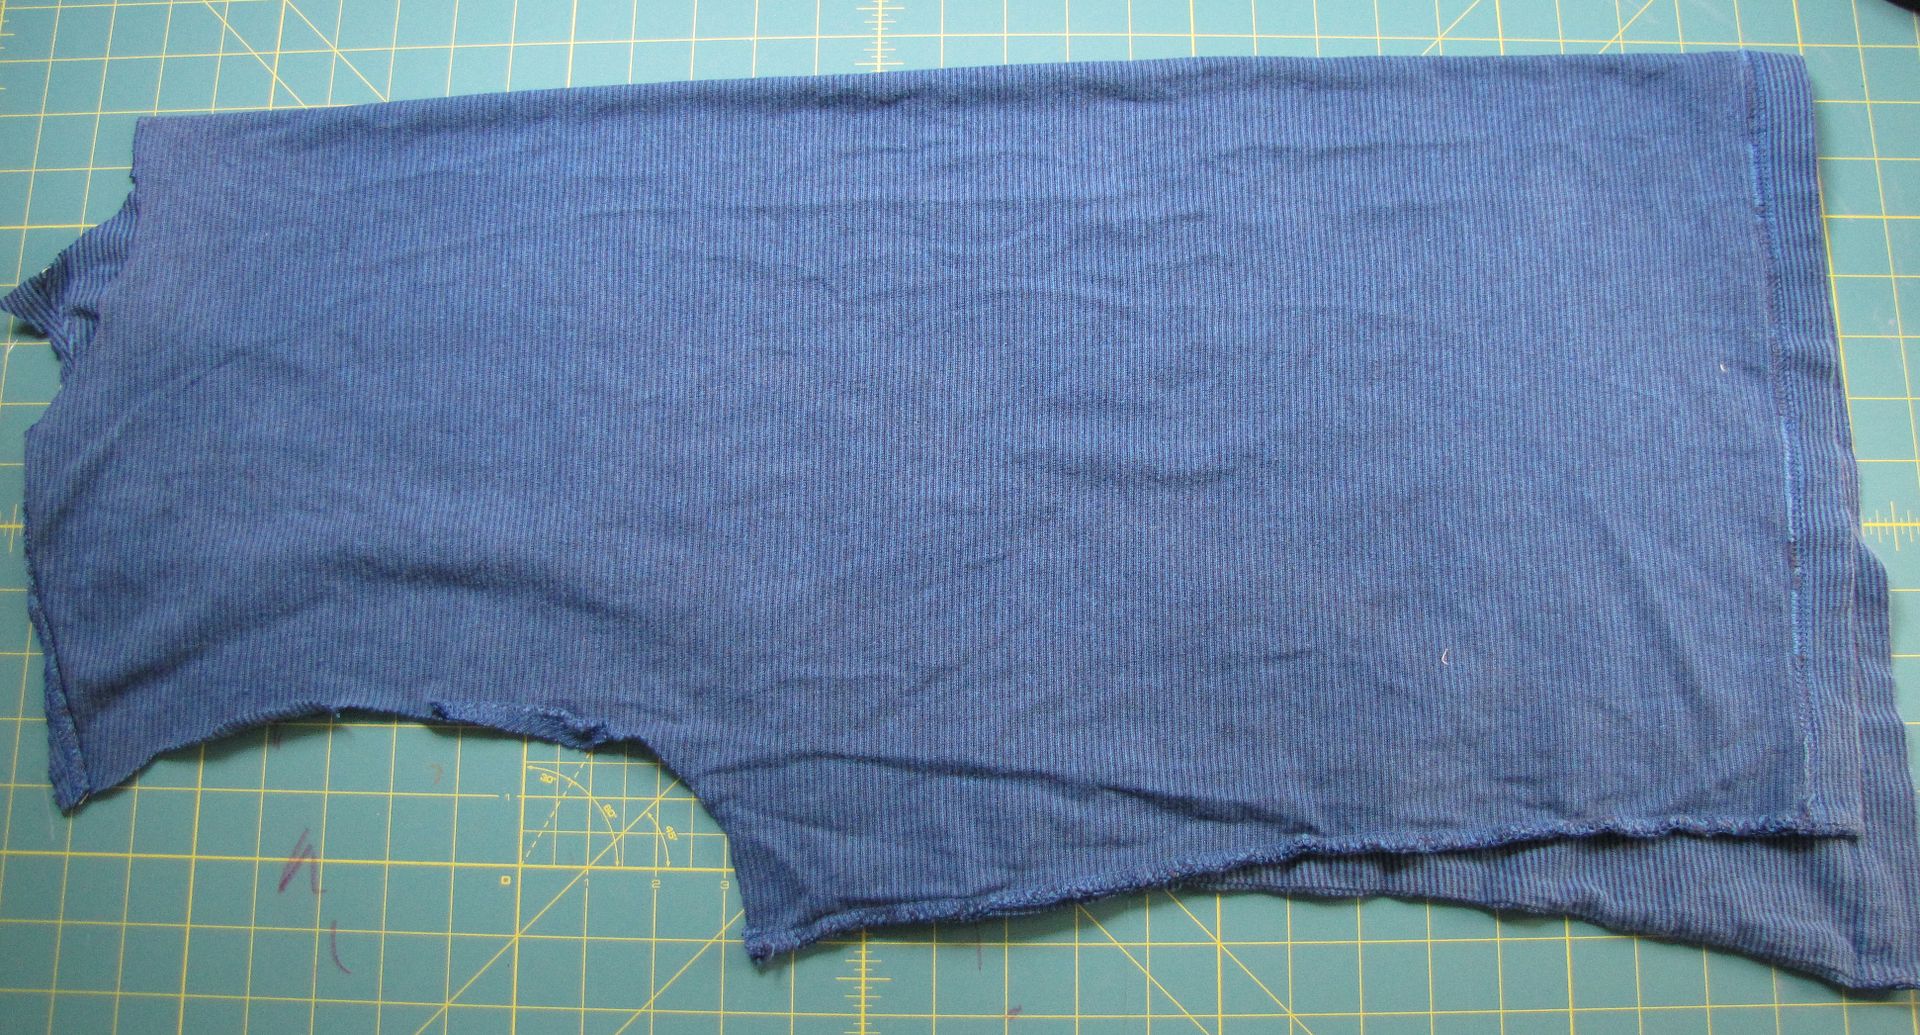
Then, fold the shirt in half again, aligning the folded edge.
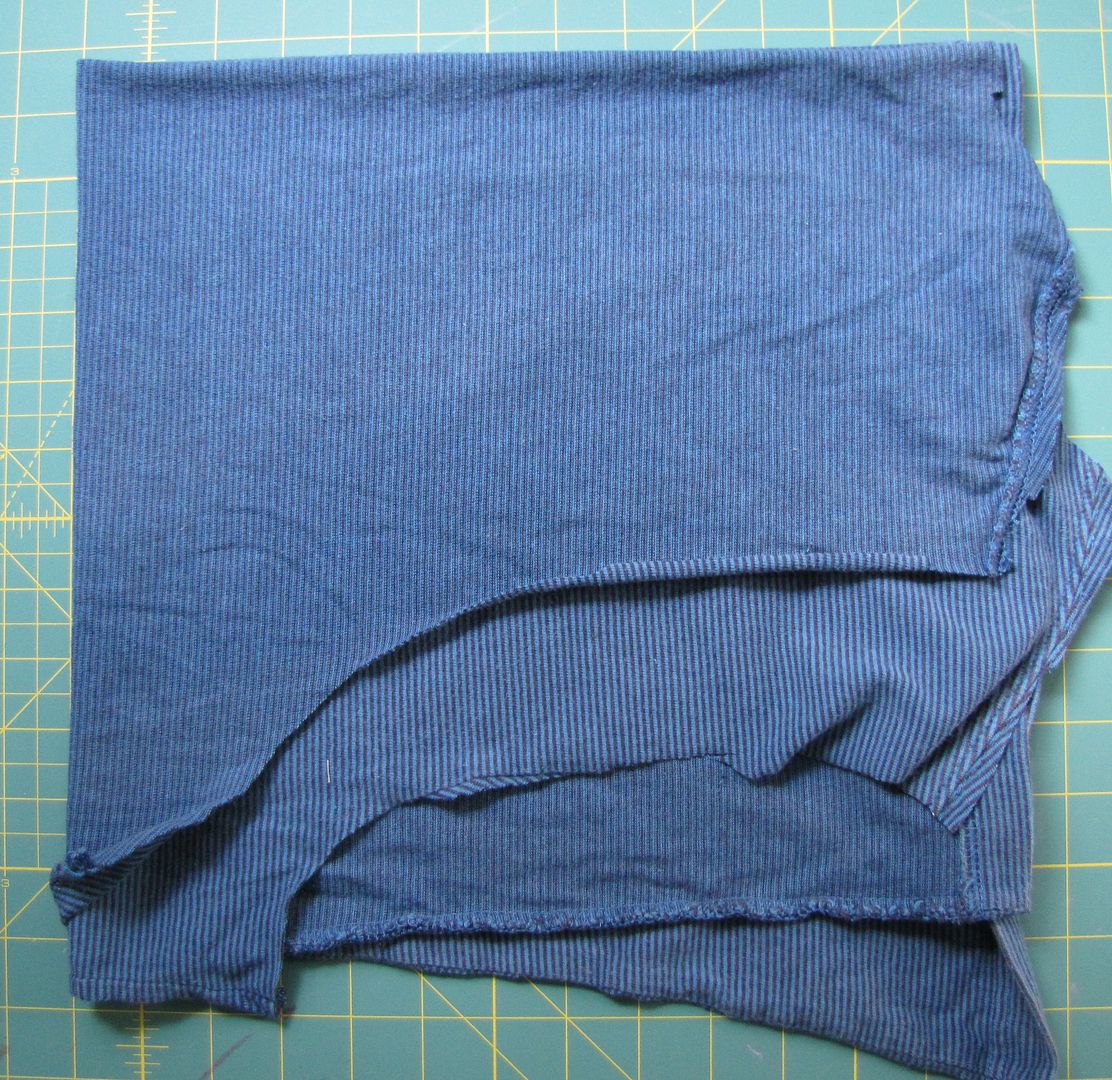
Alright, (not scary) math time. Take your head circumference (in inches) and minus 2". Then, divide that number by 4. Then add a seam allowance.
Example: my 19 month old boy's head is 18".
18"-2 = 16"
16"/4 = 4"
4"+1/2" = 4 1/2"
That final number (4 1/2" in example) is used to mark out a square on the corner where the folded edges meet on your t-shirt fabric.
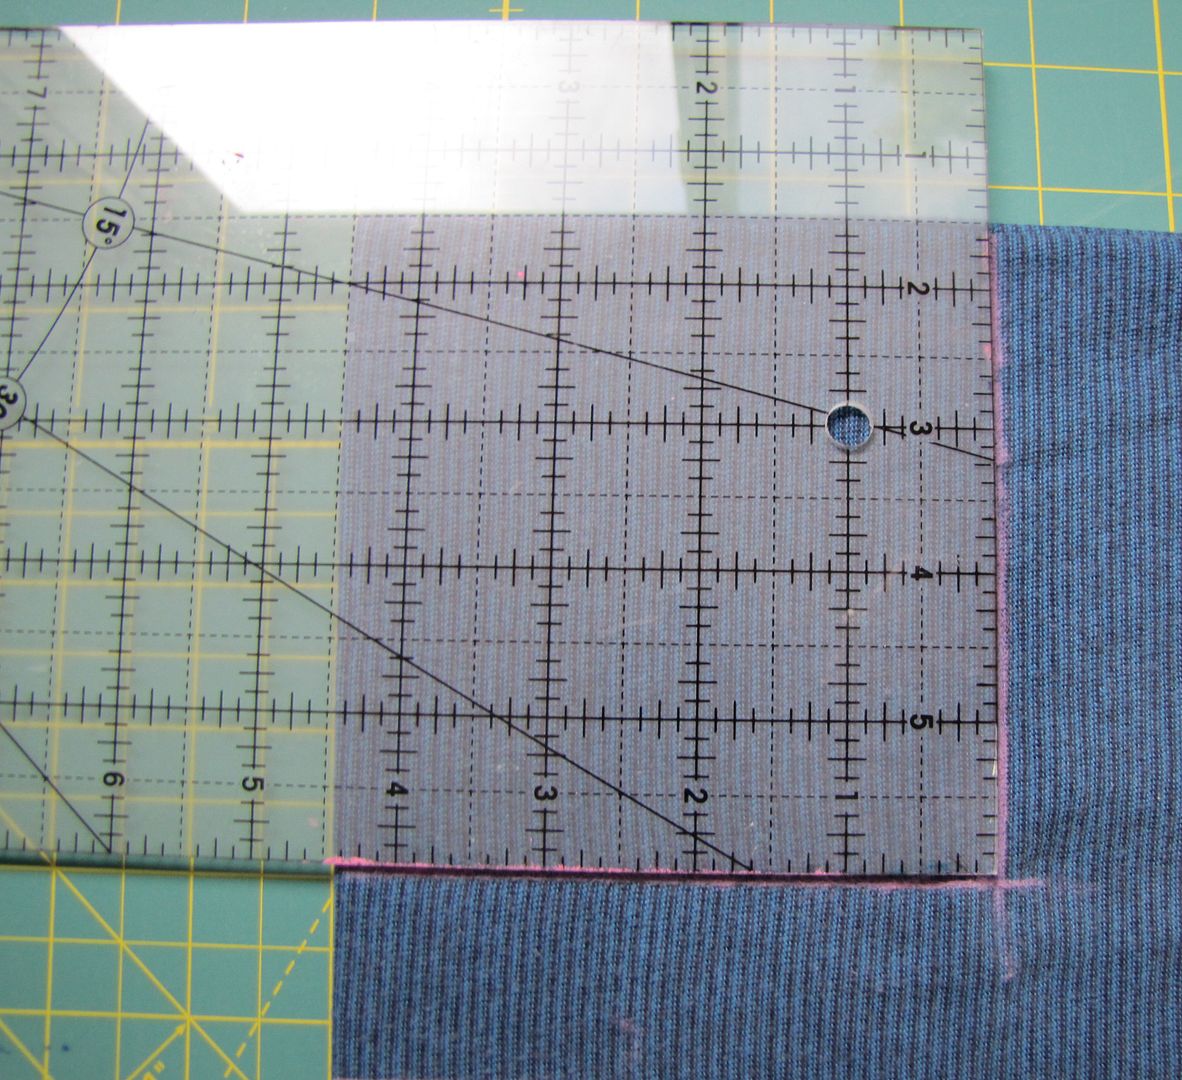
Cut from the shorter folded edge out along your chalked line and then angle up away from your cut to meet the further part of your fabric, as shown in the illustration below (ignore those extra lines - the measure twice, cut once rule is finally beginning to sink in for me.)
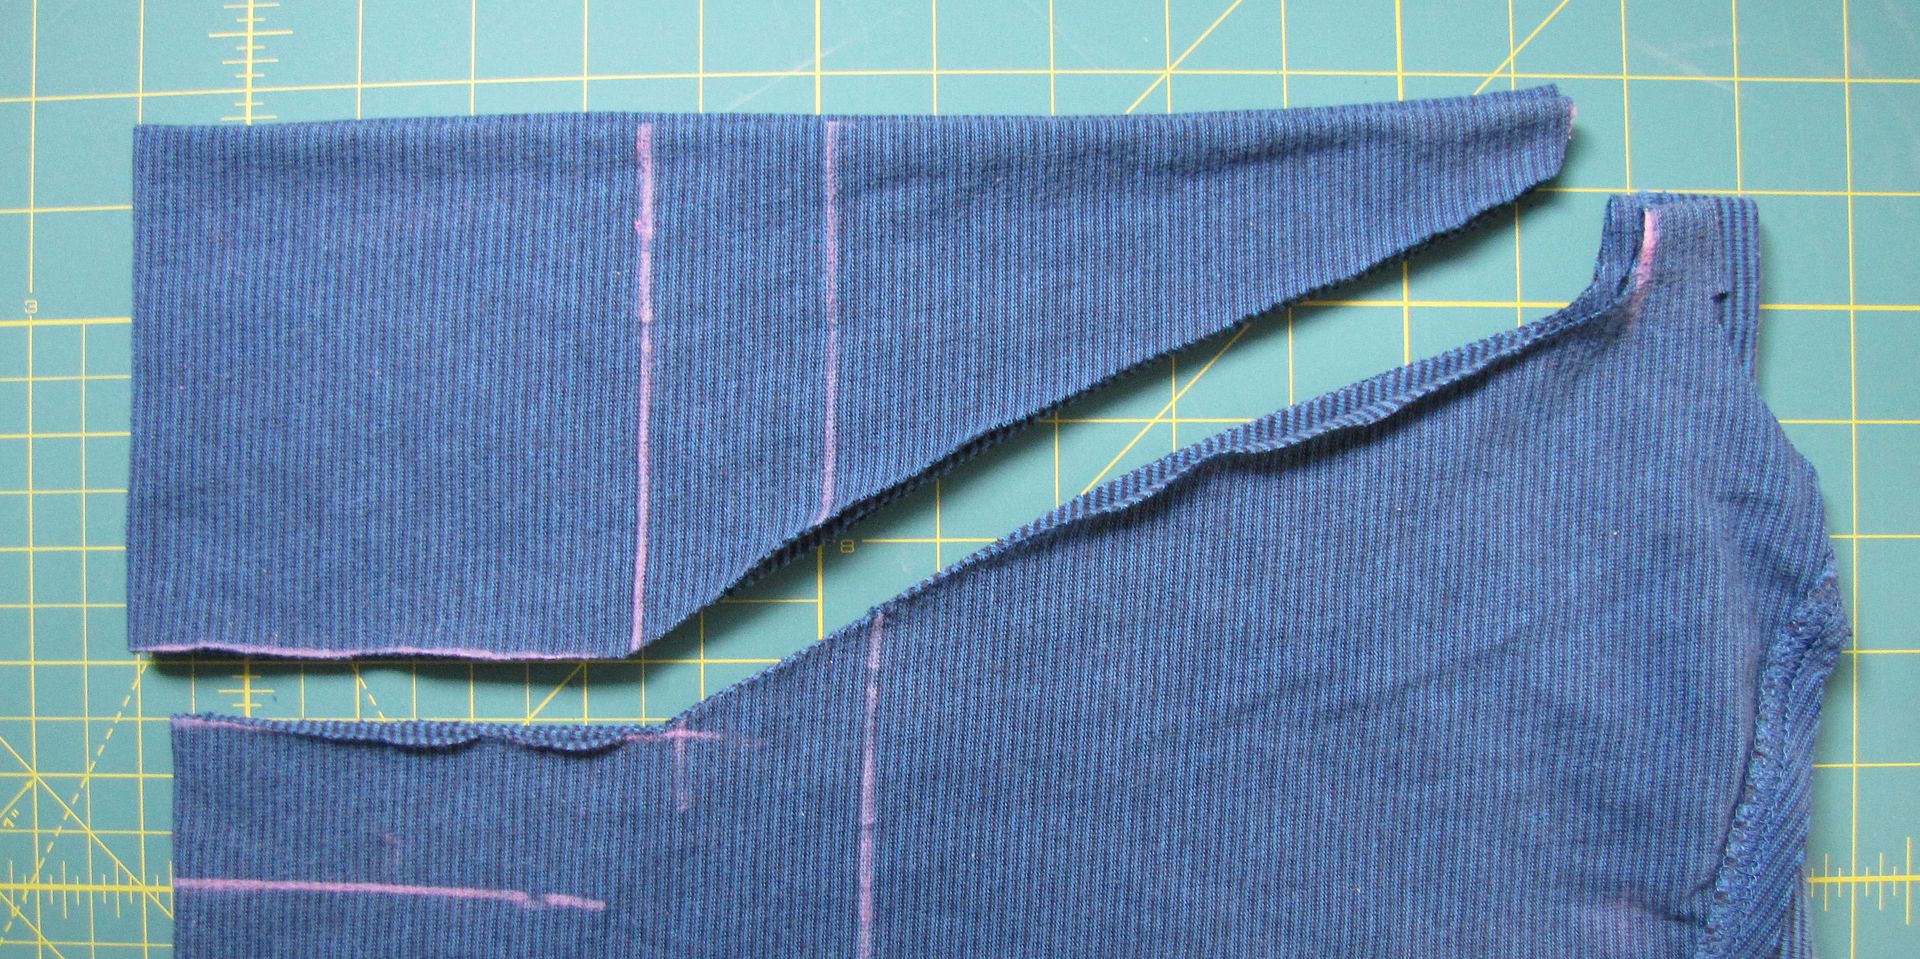
Unfold the cut fabric lengthwise for an anvil shape. The wings of the anvil will be your ears and the bottom flat bit the head opening.

Sew the ears closed on their bottom edges, leaving the very bottom of the anvil open (the bit between the pins in the above photo).
Cut a piece of sweater or ribbing to cover the forehead approximately 6 1/2" wide and as long as is a comfortable stretch for your knit piece, which can be determined by holding the sweater/ribbing up to your head opening of the anvil and stretch it out a bit. Generally, you will want to cut it a bit smaller than the opening, keeping in mind that the opening is doubled over. In other words, make sure you account for the whole circumference, not just half.
My sweater piece was 6 1/2" by 15".
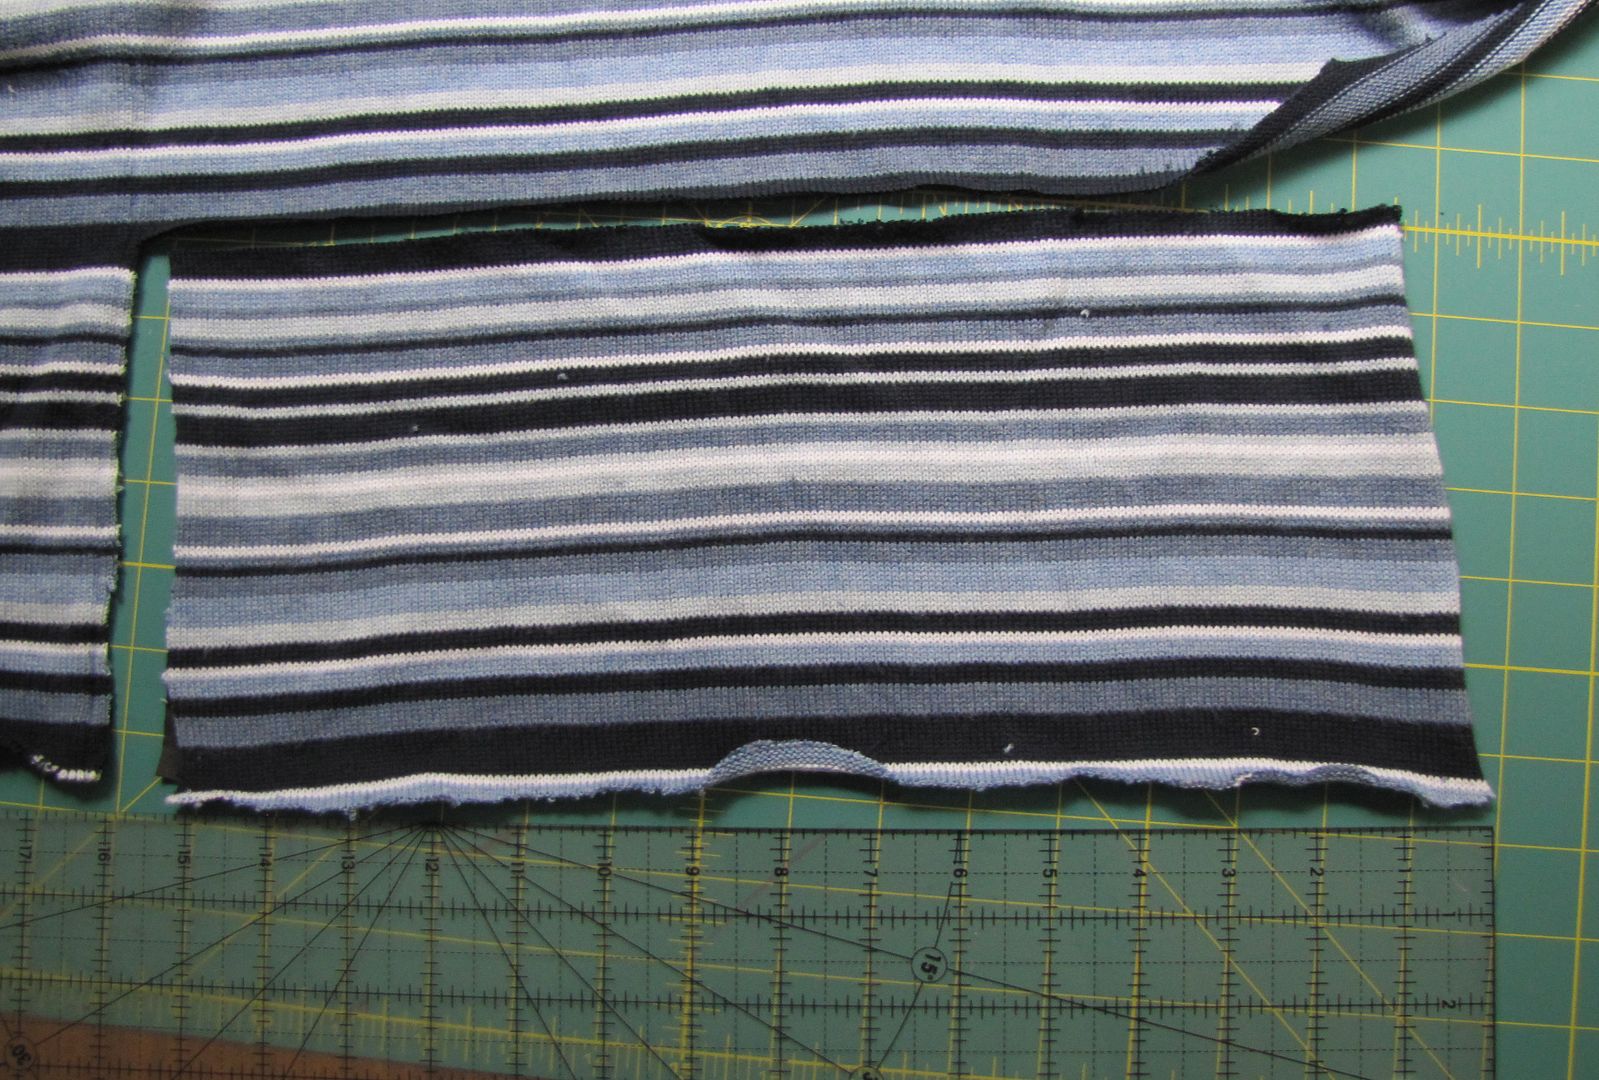
Fold the sweater piece over length-wise, right sides together, and stitch end closed to form a loop.
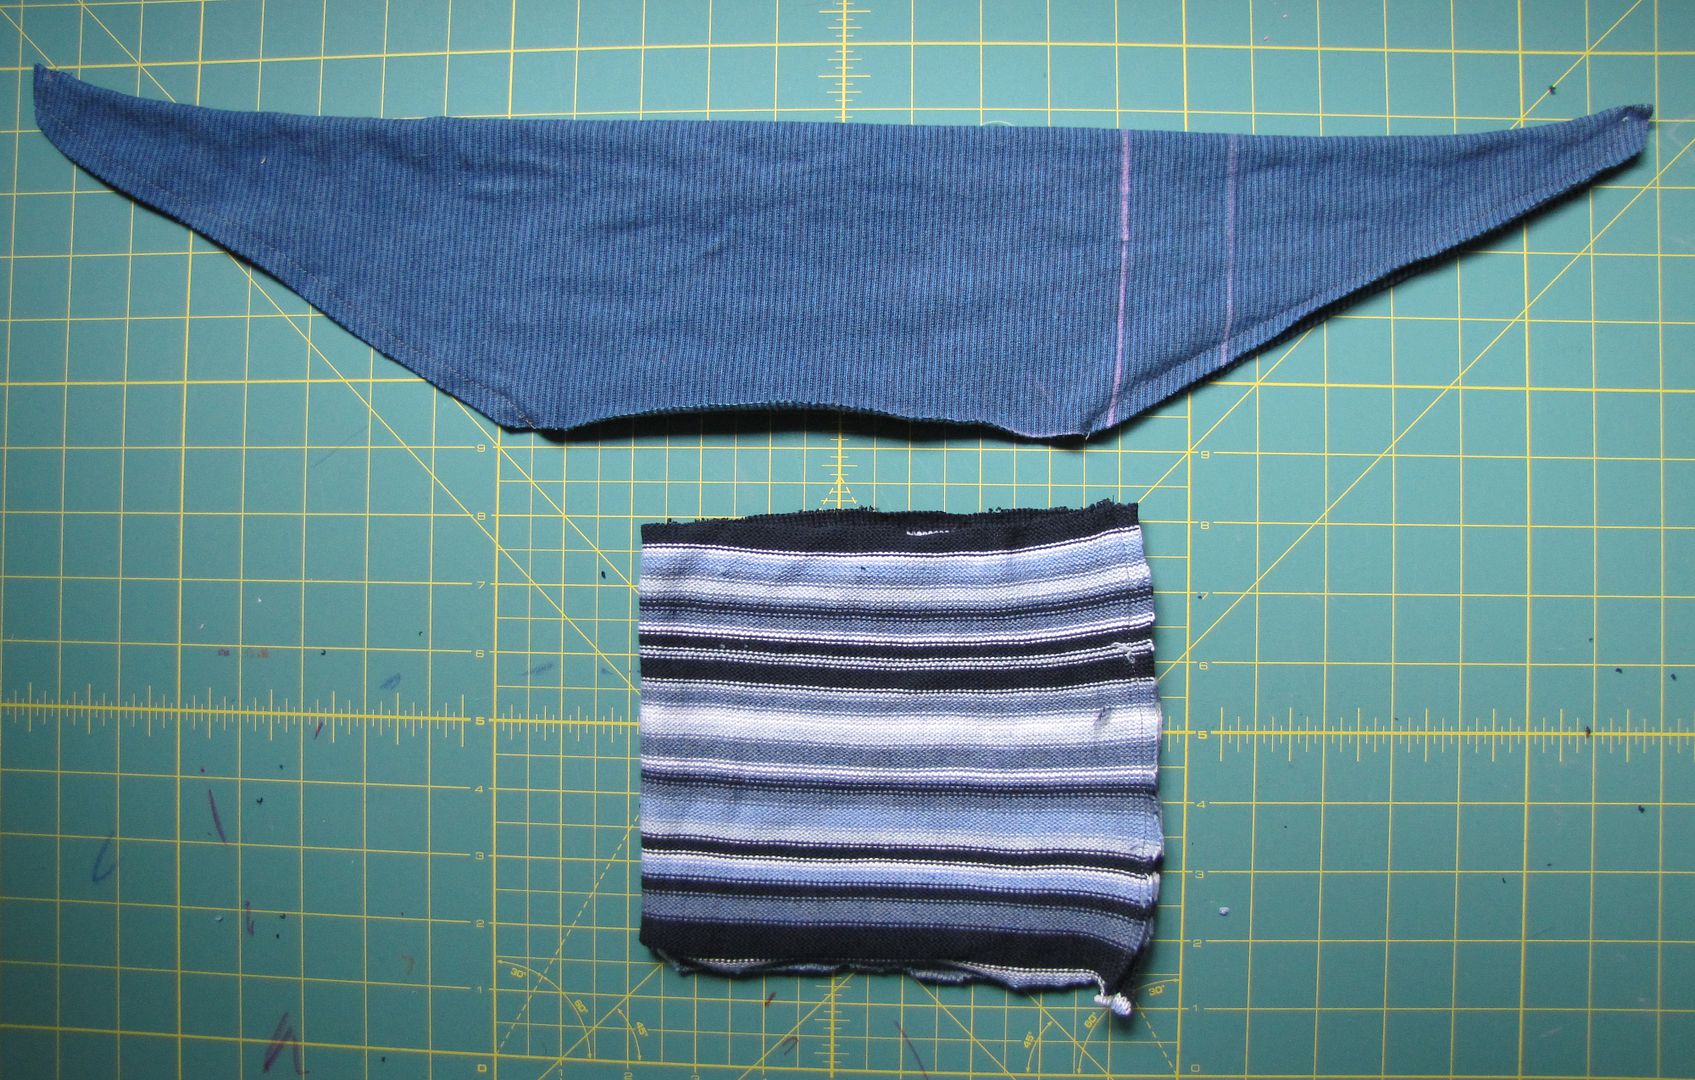
Fold the loop in half width-wise, right side out. This hides the side seam inside, forming a band for the forehead.

Turn the ears right side out. Align the raw edges of the band with the head opening of the ears, right sides together (or right side of the ears to whatever side of the band). Evenly pin the band to the ears and sew together. With knit fabrics, stretch them slightly as you sew to avoid puckers. Use the steam from from your iron on the seam, by hovering over or gently pressing down with the steam on, to tighten up the fabric afterwards.
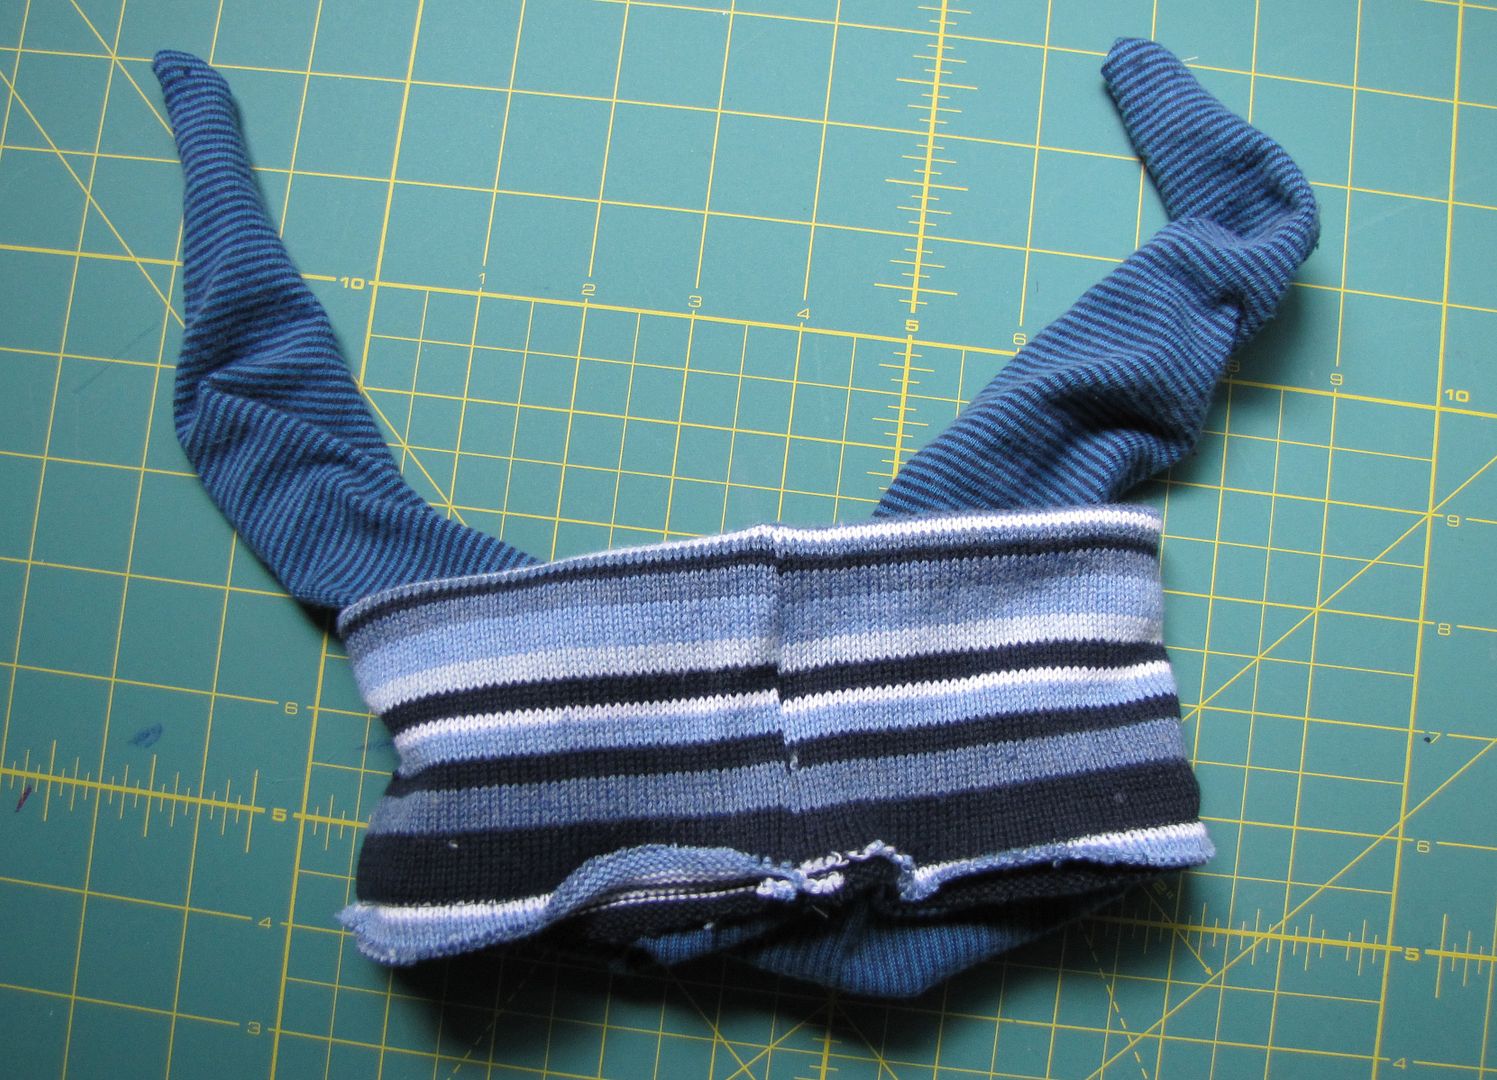
Turn the band right side out.
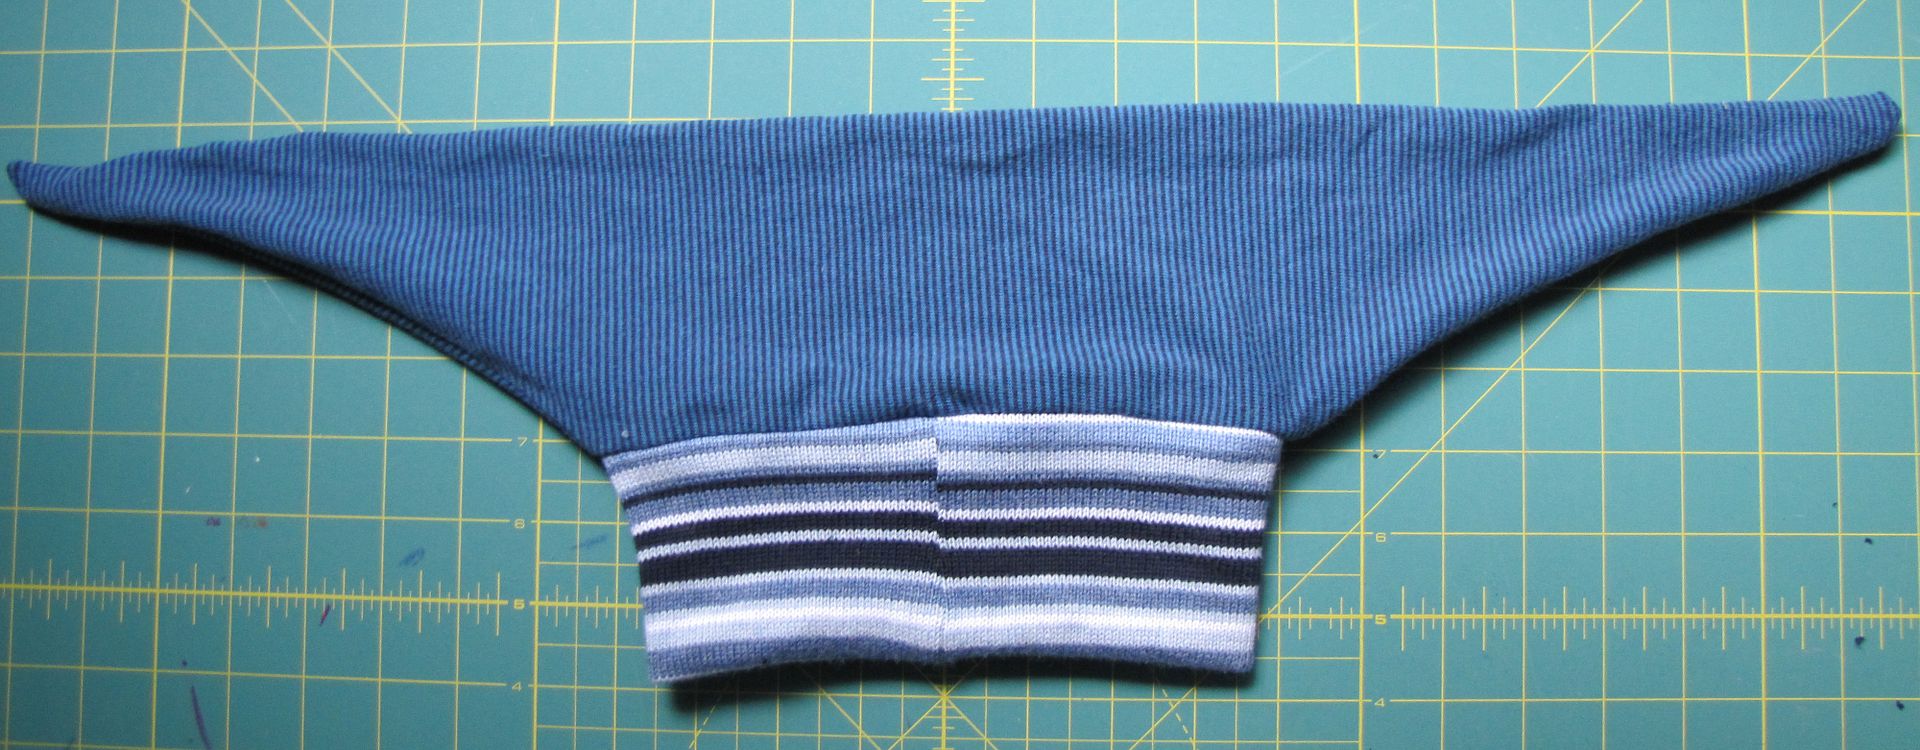
Top stitch the seam allowance to the ear portion around the band. Use iron steam to press fabric back into shape.
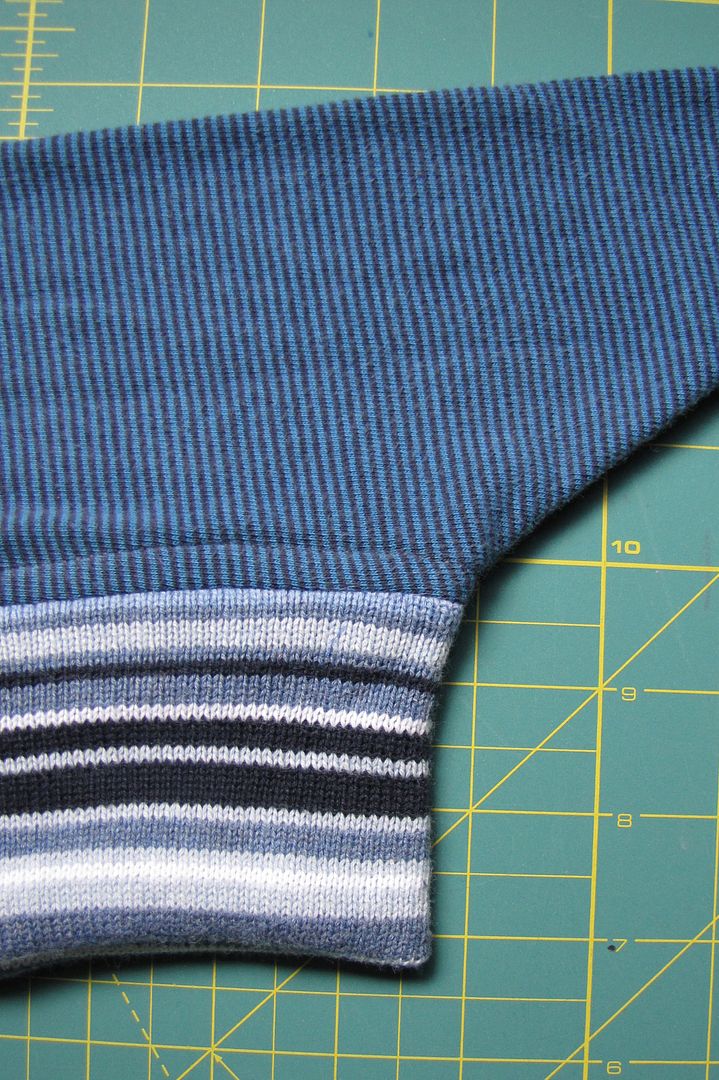
Apply hat to head and head outdoors.

Don't forget to sing and dance :)
Do Your Ears Hang Low?
Do They Wobble to and Fro?
Can You Tie Them in a Knot?
Can You Tie Them in a Bow?
Can You Throw Them Over Your Shoulder Like a Continental Soldier?
Do your ears hang low?
******************************************
This is a free tutorial and I encourage you to use the information in any way you need to (check the disclaimer at the bottom of the page). If it works for you, please consider supporting my etsy shop by purchasing a Little Print Design pattern or toss a dollar or two in my paypal to show appreciation and to encourage me to offer up even more quality patterns and tutorials.
Thank you!
Questions about the Donation? FAQ here.

How cute! The adorable factor of the last picture, with ears hanging low, made me laugh right out loud.
ReplyDeleteOh my goodness! I agree with sweet limes.. that last photo is too adorable! I can't wait to try this!
ReplyDeleteThanks xoxo
It almost looks like you could tie the "ears" under his chin...which might come in handy!! Great job mama.
ReplyDeleteI love it!!! :)
ReplyDeleteSo cute!
ReplyDeletecute model! What a wonderful blog!
ReplyDeleteHey there,
ReplyDeleteI am so totally in love with your blog! I was going do this amazing little hat and some suit sleeve pants soon for my younger babe and I was wondering if I could pop a link on my blog so people could see what I was going for? I'm at http://www.afloatingrockinthesea.blogspot.com .
Keep up the good work, I especially love how you re-purpose things!
Thanks again,
Crystal
Thanks for the kind words! Link away and have fun making them :)
ReplyDeleteThis is absolutely the cutest hat I have ever seen! I think I'll make some for friends children -my guys are all grown up. :)
ReplyDeleteGod bless,
Penni
I love your blog and this project in particular.
ReplyDeleteI have a toddler who is obsessed with Great Horned Owls, too. I don't know why either. Weird.
-Susan
Great tute! Love this idea. I live on Vancouver Island as well, in Victoria. Whereabouts are you? it's so rare that I come across fellow Canadian bloggers it would be great to chat.
ReplyDeleteHey luv, I dig your blog! I didn't know you were in Victoria. I'm up in the Parksville area, though not for long. I think we need a western Canada crafty blogger convention :)
ReplyDelete