Pages

10.29.2009

trouser saga part IV (or so)

You remember that whole dealie with the boy needing bottoms, and I made him some, but then the girl child stole them, but then dad made him another pair, and then I made him a few more just to make sure he's good and covered? And the whole thing happened just a month ago?

Right. I'm trying not to take it personally, but it really does seem like the boy is conspiring against me. First he doesn't sleep (well, hardly ever) and now he grows. All of his new trousers are sitting an inch and a half above his ankle bone. An inch and a half! In a month!

Fine. It's a good thing trousers are simple to make and allow for a touch of creativity with embellishments and whatnots. Actually, I've made so many now that I slip into a meditative like trance by the time I'm reinforcing the crouch seam. Trouser zen: when I hem I hem.

Here we go with the first of the new set of boy trousers. Please note my superb mothering skills as the boy:

Stands on car


Dangles dangerously over the railing (tide was low so it's okay, right?)

Eats god awful amounts of chocolate


But cute pants right?

10.28.2009

scoodie junior


As far as fresh ideas go, this one is has been sitting at the back of the fridge for so long it's evolved new life. But, with winter creeping down the mountain here I'm suddenly scrambling for warmer clothes. We moved to Vancouver Island in the last part of summer, with only a half suitcase each full of clothes, so the scramble is a bit more frantic this year. Casting about for quick ideas I ran across my pictures I took last year of my scoodie lite: a hood with a small collar, buttoned at the neck with a couple of snaps. For when I needed the warmth up top in the wind but didn't want the bulk of the scarf.


It served me well last winter in Alberta but it is currently stashed in our abandoned RV some 1200 kilometers away, along with all our other toques, mittens and scarves, save but my red wizard mittens with stars on I received in a craft swap a few years ago and I love so very much. Yes, you are probably thinking that perhaps we aren't too bright and I'm nodding along with you on that one. How's that go? Crafty but stupid?

Still, this is an excellent opportunity to make some winter gear more suited to island life, where it is more rainy than snowy. I am going to make another that will be water resistant as well as warm. But try not to be too plastic rain hat, a la pensioner with a fresh perm. The kids could use some warm rain wear too, so perhaps some fun could be had...

For anyone wantiing to make a scoodie lite, visit the scoodie page and forgo the scarf, putting on a rectangler collar instead. Snaps or buttons work a treat to keep your hood on.

Okay, humor me with one more pic so I can remind myself how tiny Birdie was a year ago. He is now draped across my lap having an illicit early evening nap, while I type one-handed at you.

Ah, baby bliss!

10.26.2009

sewing a yoke

I've just put up the newest post editor for blogger and its image editing is throwing me through a loop.  Hopefully I can get through this with the illustrations in the right place.  Bear with me.

Last post was about creating a yoke by modiifying a bodice sloper or pattern.  Assembling the yoke is slightly more involved.  The instructions here are for front and back yoke pieces and corresponding linings.

Depending on how your yoke is closed will affect the yoke assembly.  I am going to assume that you are using a yoke with snaps on one shoulder, but if you have a back closure with buttons or zipper, you can just stitch together the front and back yoke pieces at the shoulder, skip the shoulder snap info, and then jump back in where the yoke and the lining are joined together.

Begin by stitching the front to back at the shoulders, if your design calls for it, of the yoke and the yoke lining.


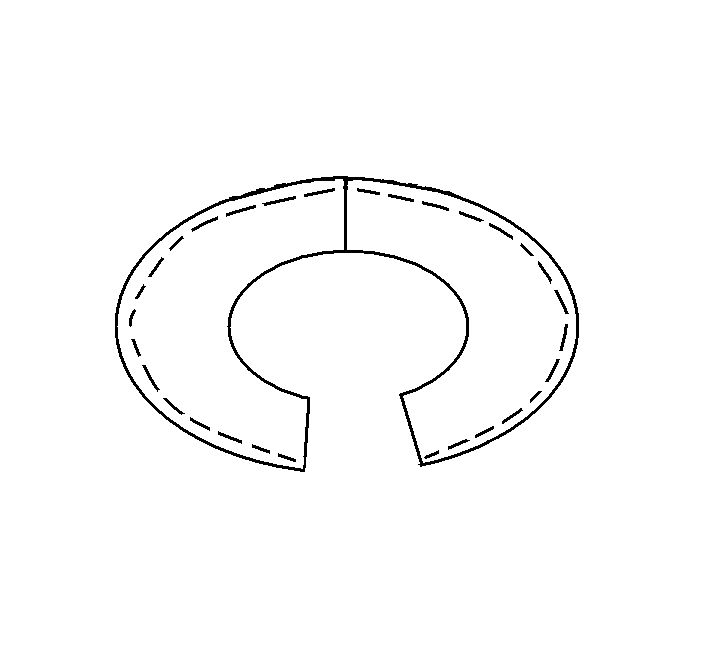
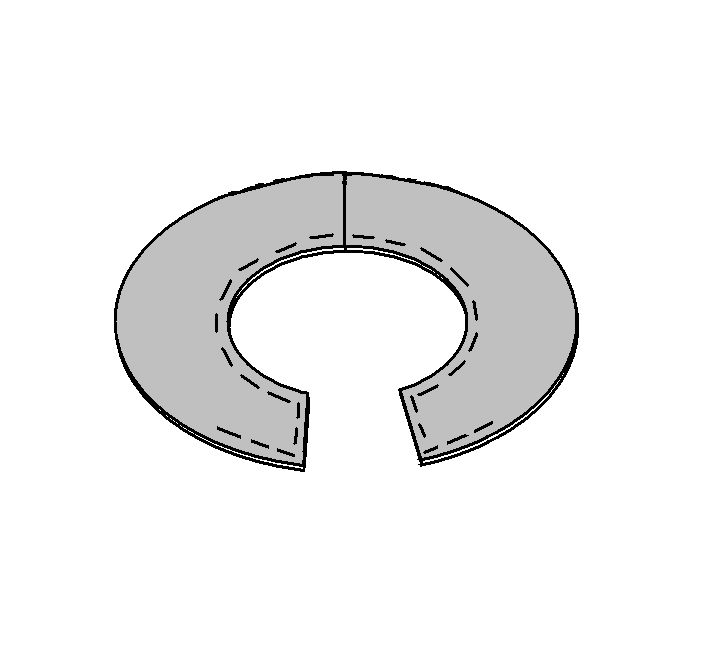
Stitch at the seam allowance all the way round the yoke lining.  This is to be a guide when sewing the yoke to the lining. 

Clip along the curve by making a small vertical cut from the raw edge to almost where the seam allowance is to facilitate a smooth curve when sewn.  Put aside the lining for now.   

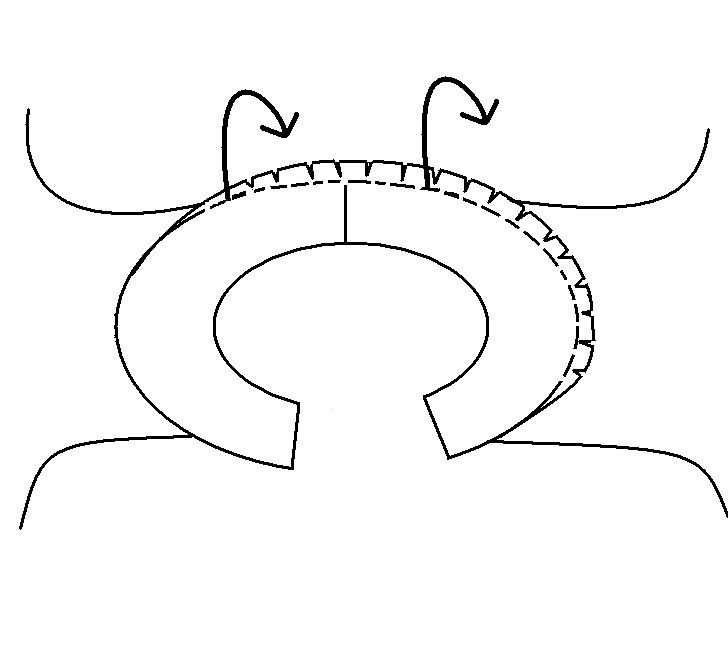
Attach the bodice front and back to the yoke piece in the appropriate postions.  Continue the stitching around the arc from the one bodice piece around across any attached shoulders to the other bodice piece.  This stitching will serve as a guide to pressing the curved edge.

Align the yoke with the lining, right sides together, and stitch together around the center arc, around any ends intended for closures and around the outside of the outside arc edge, stopping when the bodice is attached.  Clip curves.

Turn the yoke right sides out and press seams.  Use the stitching as a guide on the lining and the yoke to turn under and press any portions not attached to the bodice pieces.

Pin together the yoke and lining and top stitch all around the edges.  Attach snap or button closures on shoulder.

I hope that was reasonably clear.  Questions are welcome, of course :)

*****************************************************
This is a free tutorial and I encourage you to use the information in any way you need to (check the disclaimer at the bottom of the page). If it works for you, please consider supporting my etsy shop by purchasing a Little Print Design pattern or toss a dollar or two in my paypal to show appreciation and to encourage me to offer up even more quality patterns and tutorials.


Thank you!
Questions about the Donation? FAQ here.

10.25.2009

easiest way to create a yoke

Yokes are great for adding drama to a dress, especially when there are so many fantastic fabrics to play with. Creating a yoke from a sloper or an existing basic bodice pattern is simple and quick. Here is one of the fastest, easiest way to make yourself a yoke dress pattern.

Before you begin, a couple of quick notes. The instructions and illustrations show just the front bodice but if you desire your yoke to continue around back just repeat the steps for the back bodice piece. If you are chosing to modify a commercial pattern that includes seam allowances, remember about those seam allowances where appropriate once your yoke is created (I'll talk more about this down further.)

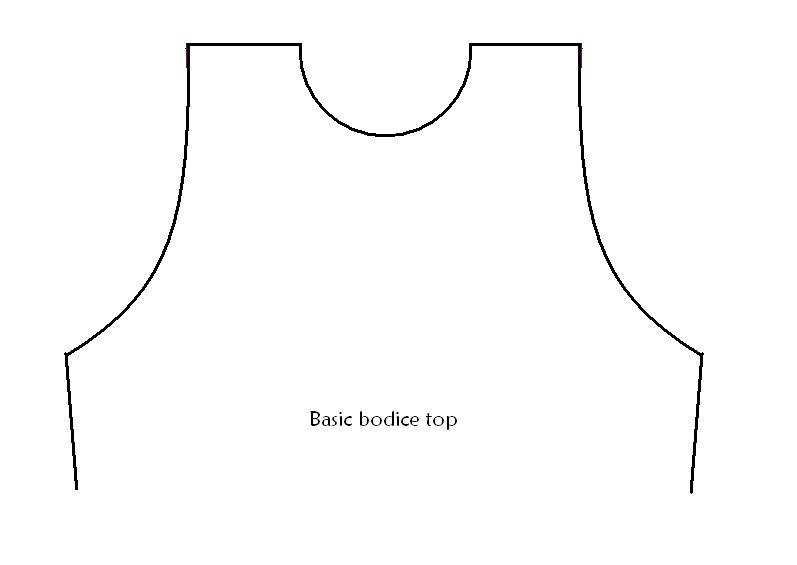
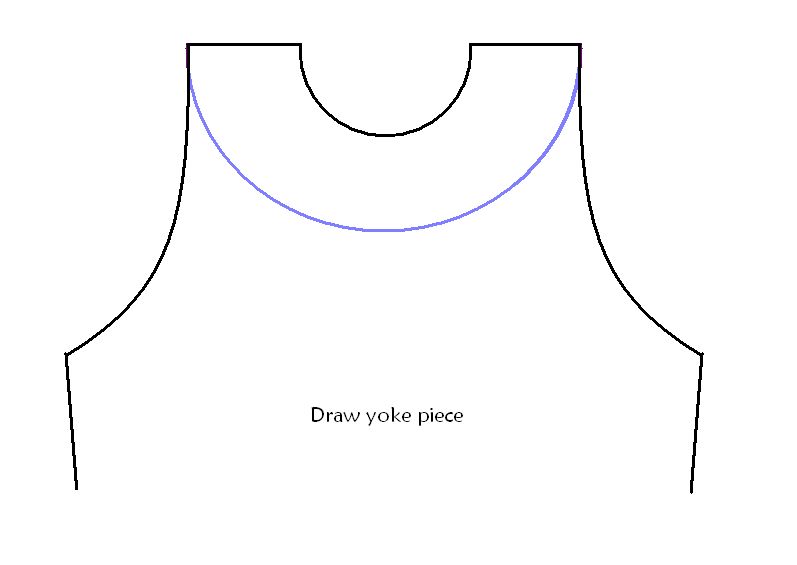
Begin with your bodice sloper or commercial pattern bodice piece. Trace the sloper or pattern piece onto a piece of paper (you may only have a half bodice intended to be laid out on a fold - that's cool, just work with it as it is and cut out the yoke on a fold when it is time). Pull out a ruler (and french curve if you have) and measure the width of the shoulder. From several different points measure out from the neckline, marking the same distance as the width of the shoulder. When you connect the dots, you should have a yoke drawn around the neck.
Cut along the line to seperate the yoke from the bodice.

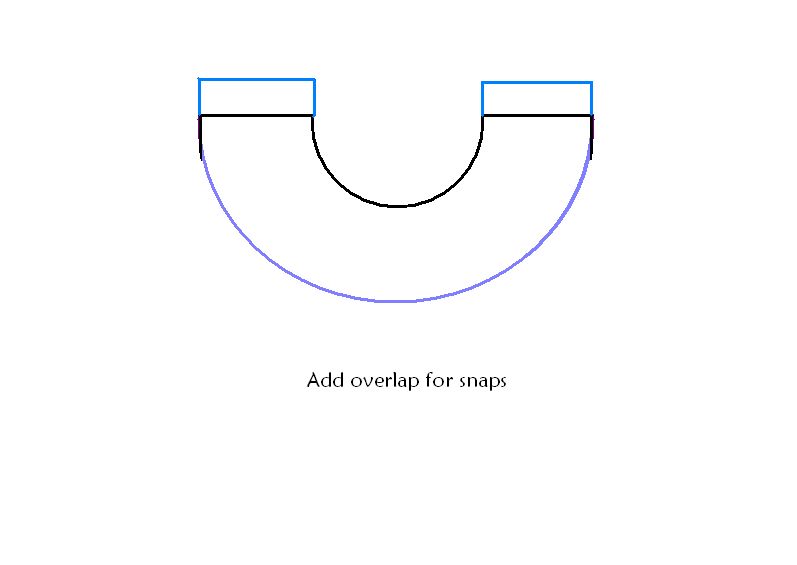
If you are using a commerical pattern with seam allowances included, either redraw the pieces on another piece of paper ADDING a seam allowance to the yoke and bodice portion just cut (blue line in illustrations) or make a note of it on your already existing bodice and yoke.
With a yoked bodice it's easy to eliminate the zippers or buttons in the front or back of a dress by by adding an overlap for snaps or buttons on the shoulders.
And that is that.
Make a practice version first with inexpensive fabric before you cut into the good stuff. You may want to make some modifications to the style once you've got your basic shape.
Sewing the yoke can be a bit tricky, depending on how your closures work. I will have come back again tomorrow and share my method of sewing yokes. Any questions you have I can also address next post. Until then :)

**************************************************

Find out how to sew a yoke here.


*************************************************
This is a free tutorial and I encourage you to use the information in any way you need to (check the disclaimer at the bottom of the page). If it works for you, please consider supporting my etsy shop by purchasing a Little Print Design pattern or toss a dollar or two in my paypal to show appreciation and to encourage me to offer up even more quality patterns and tutorials.


Thank you!
Questions about the Donation? FAQ here.

10.22.2009

birthday gift

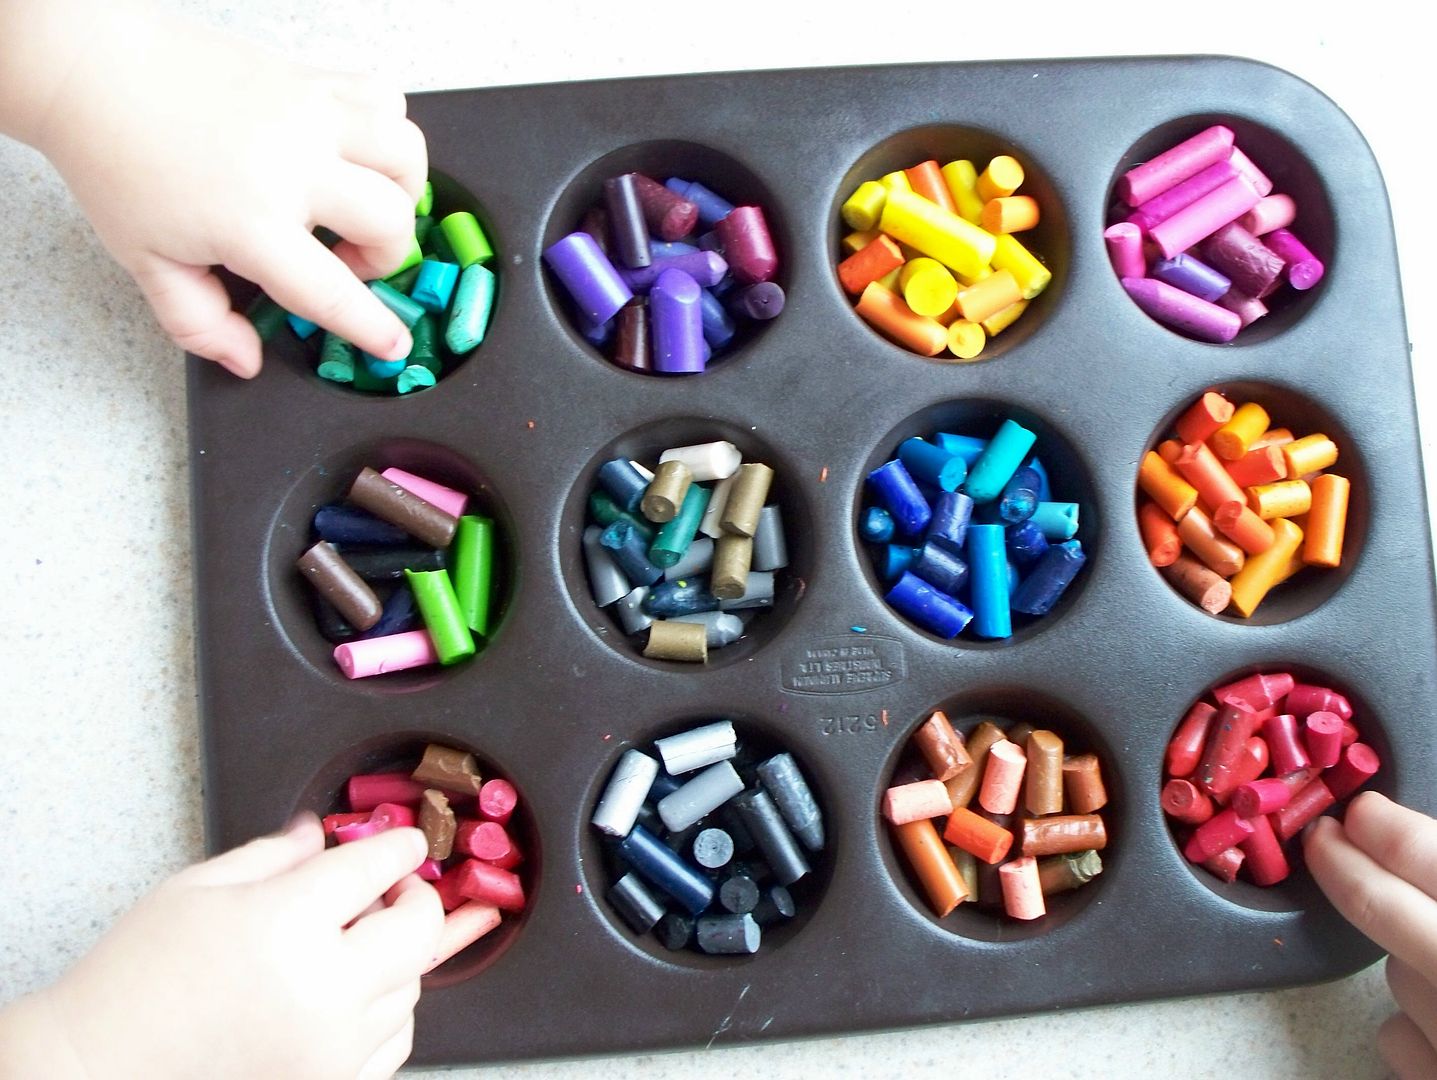
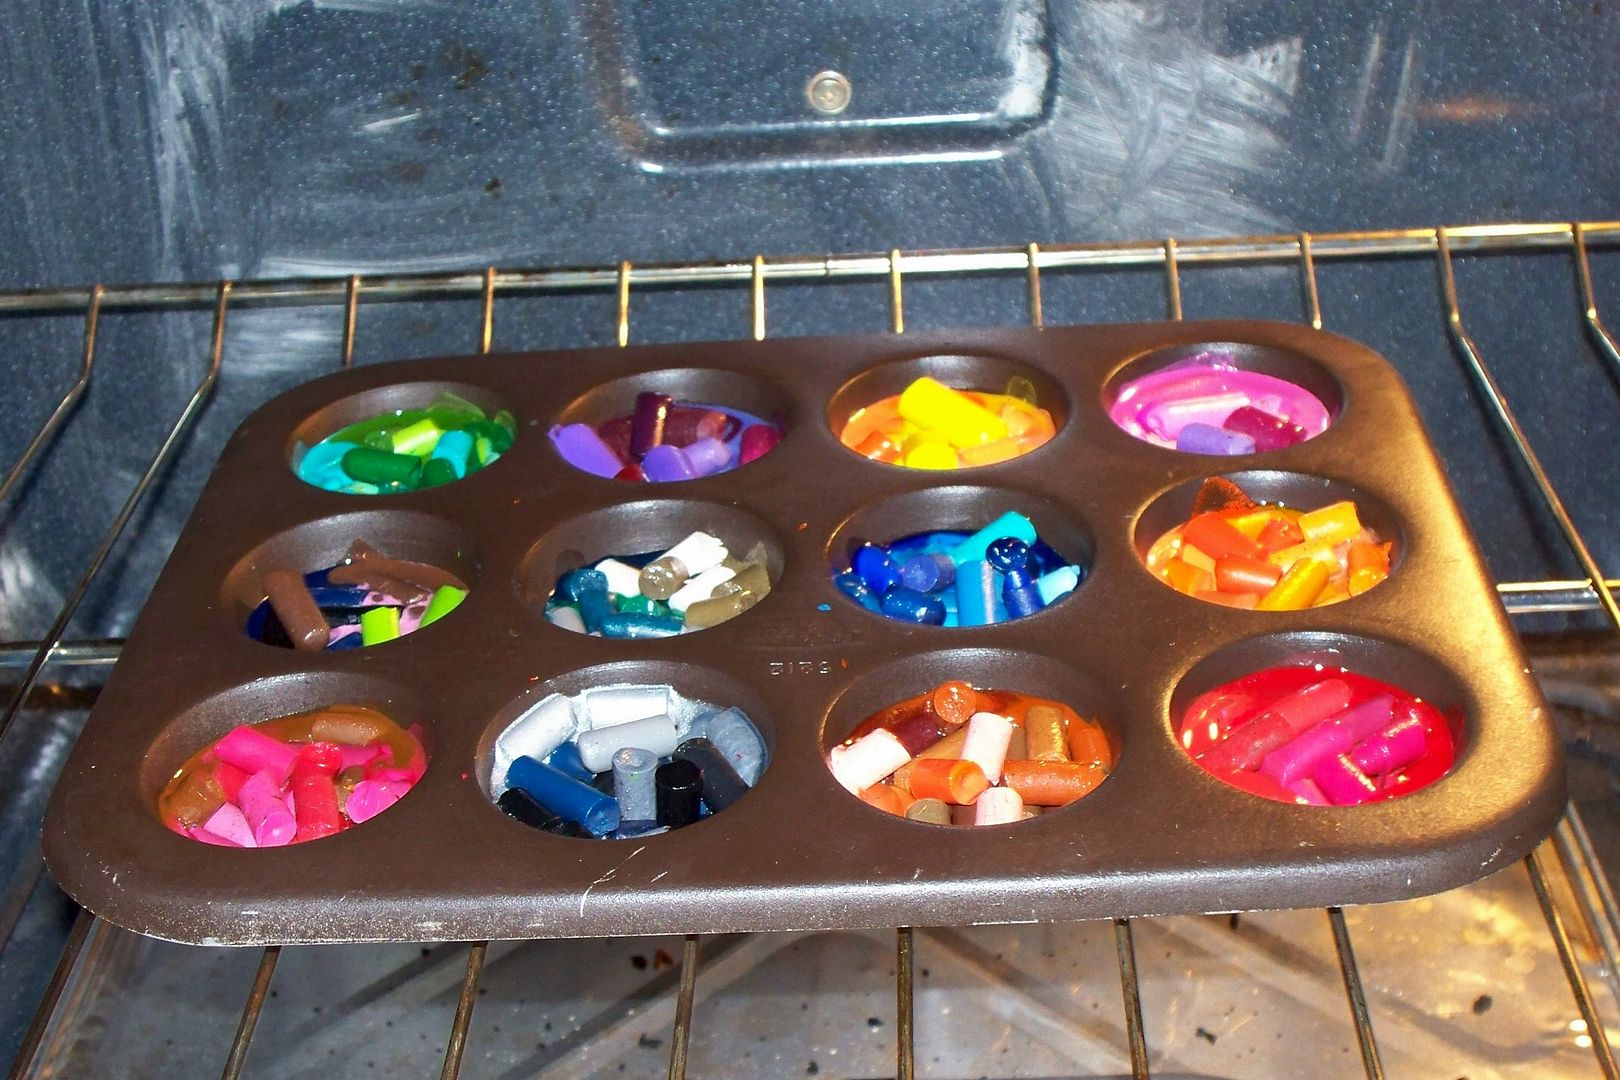
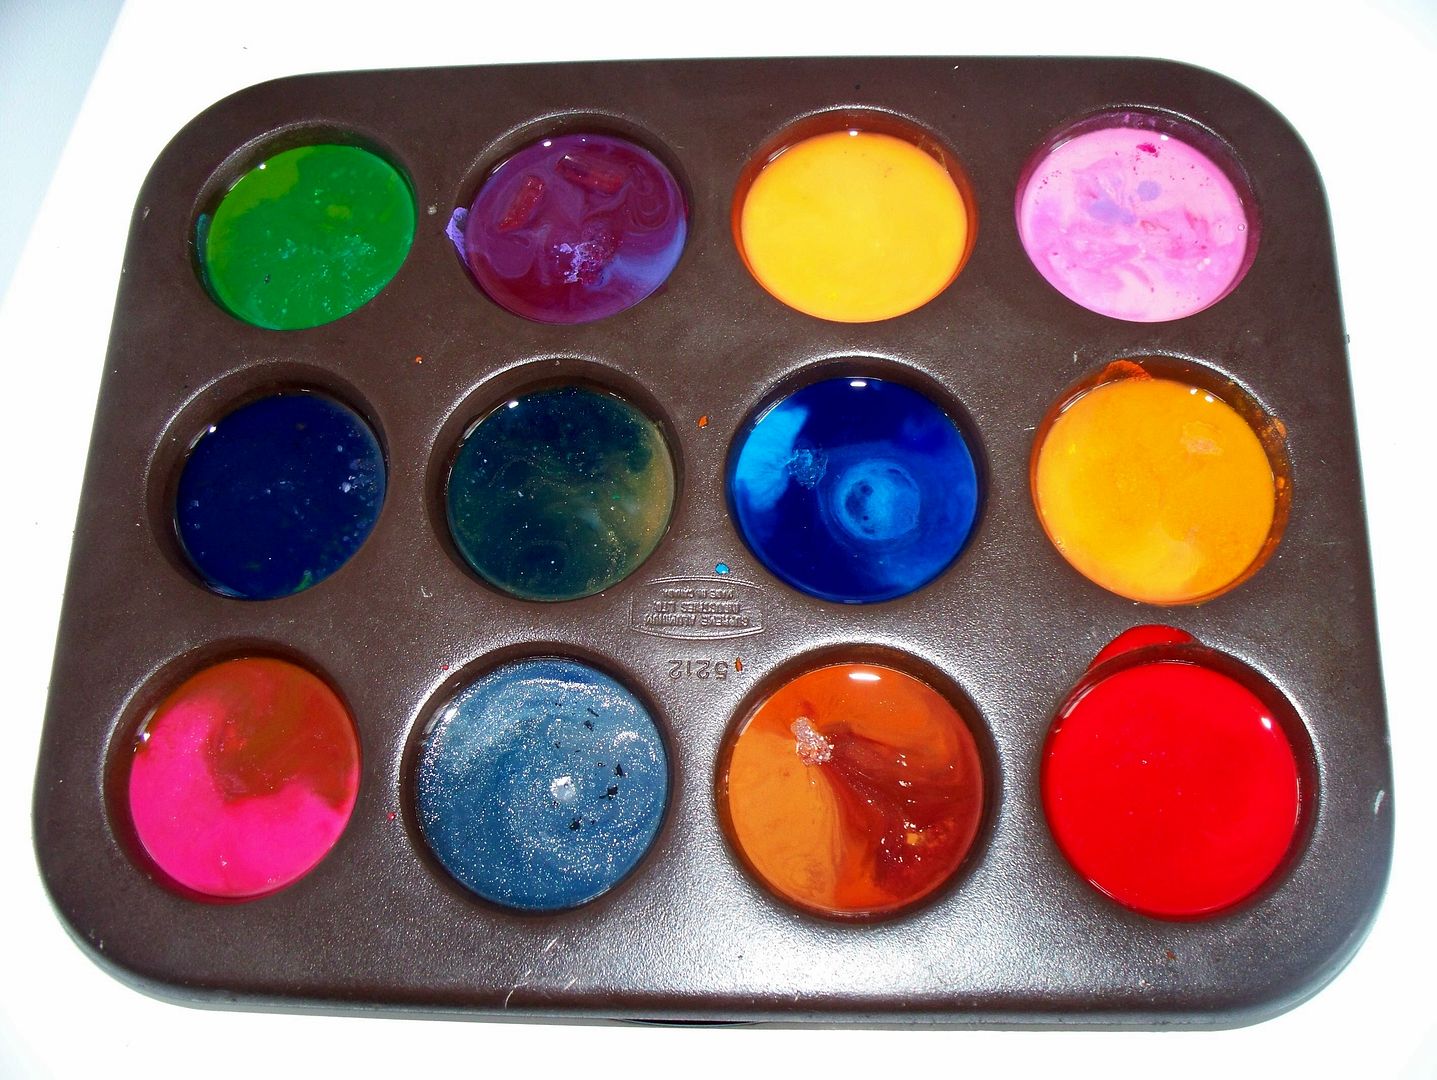
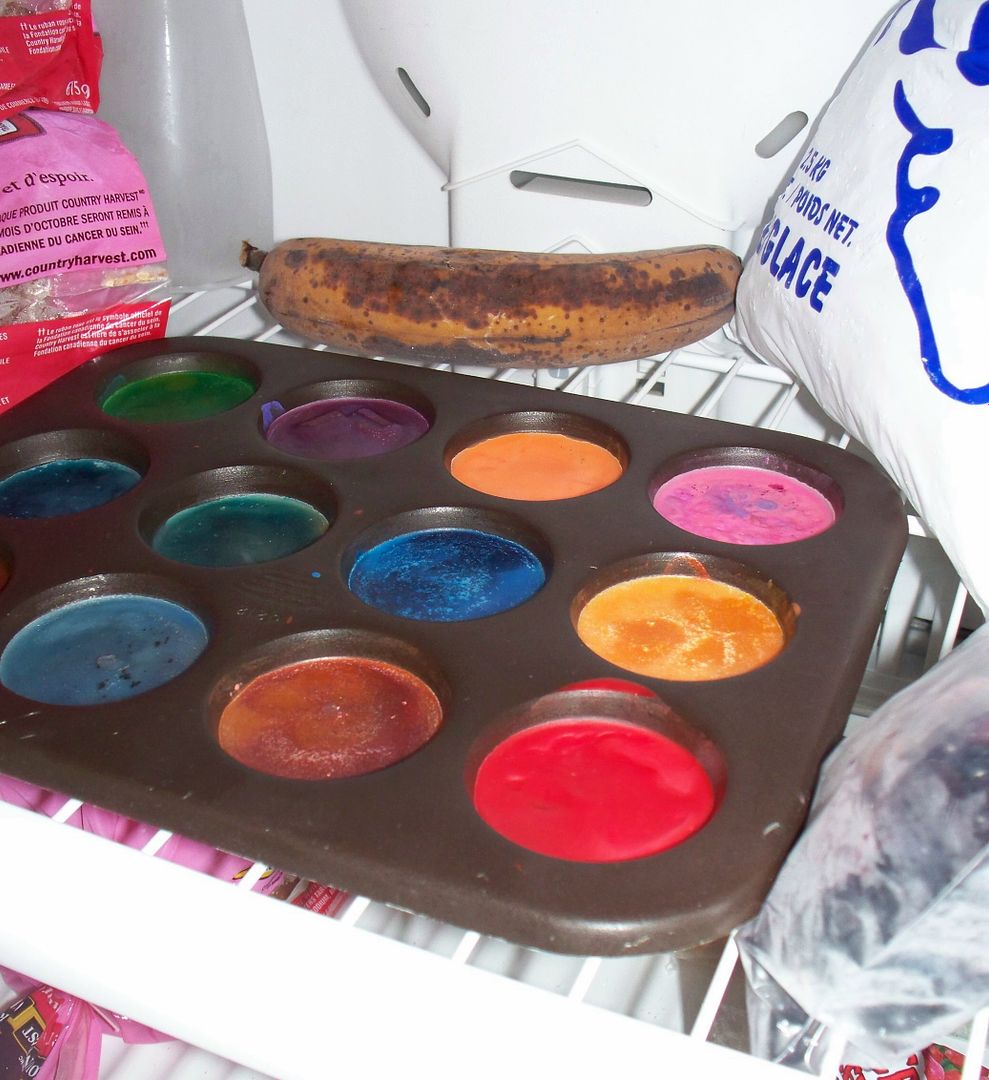
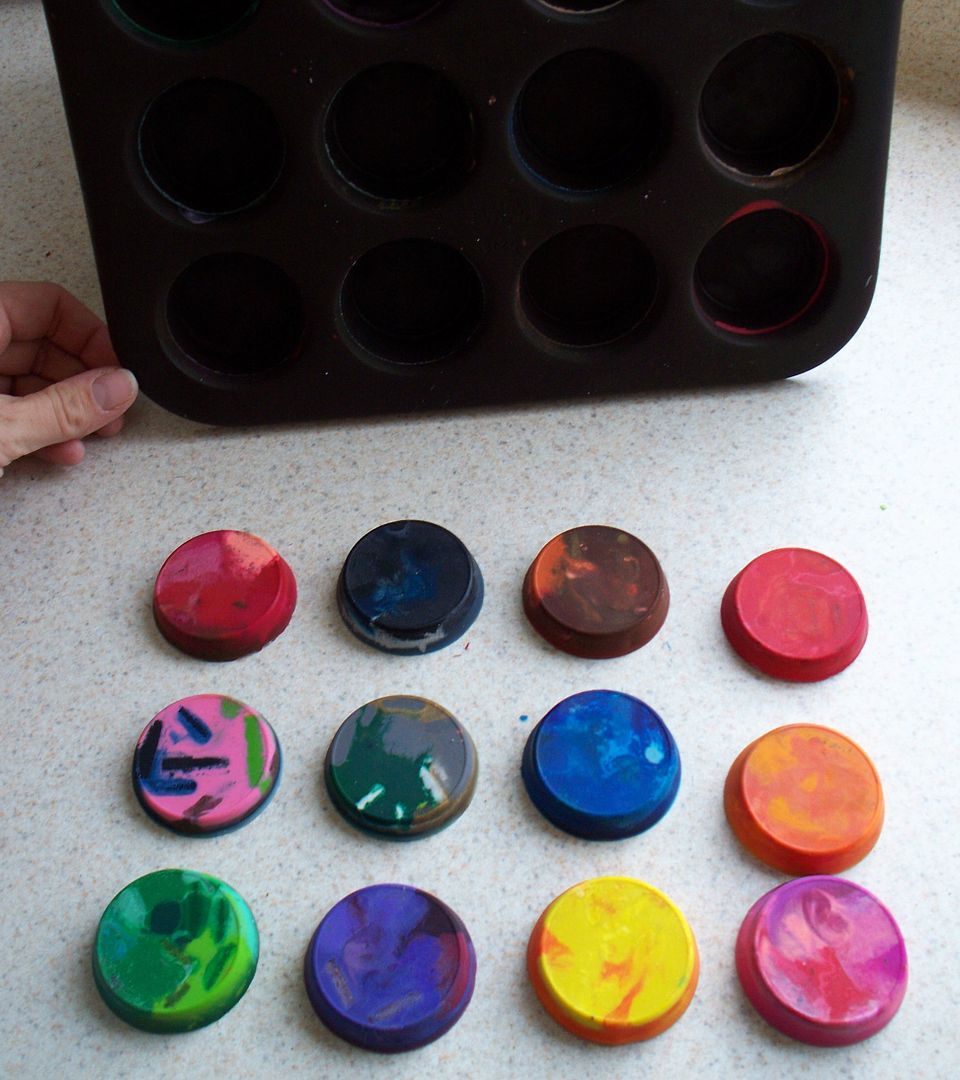
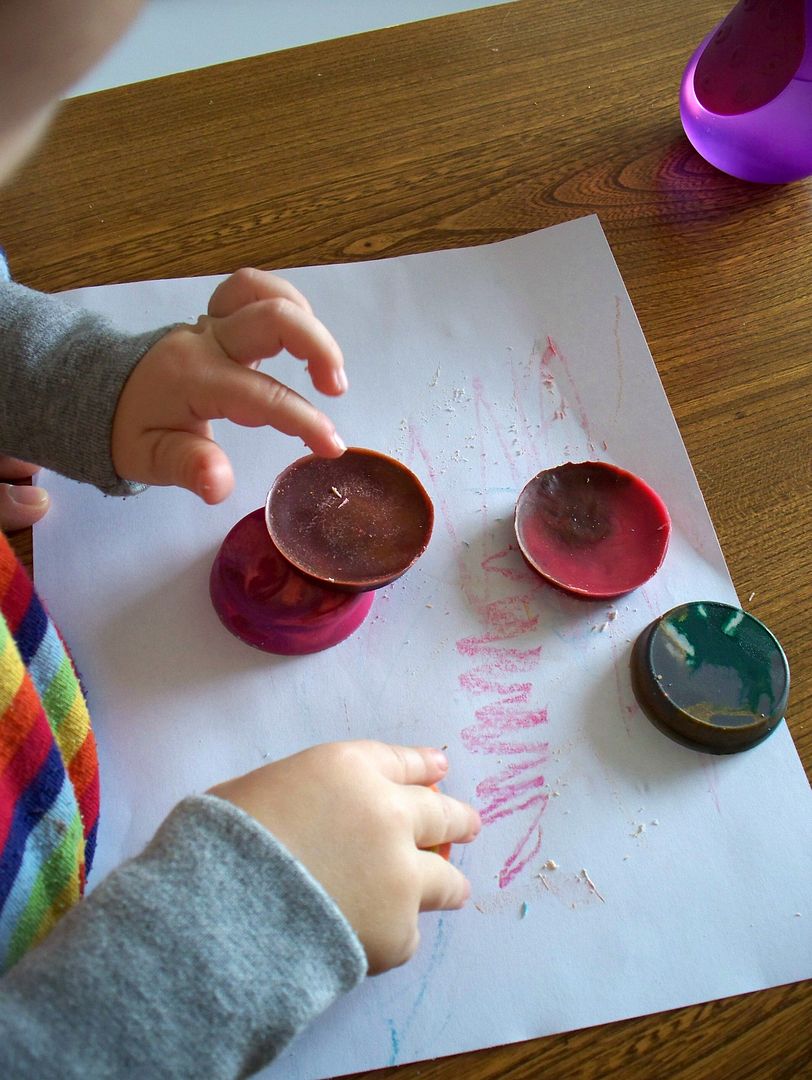
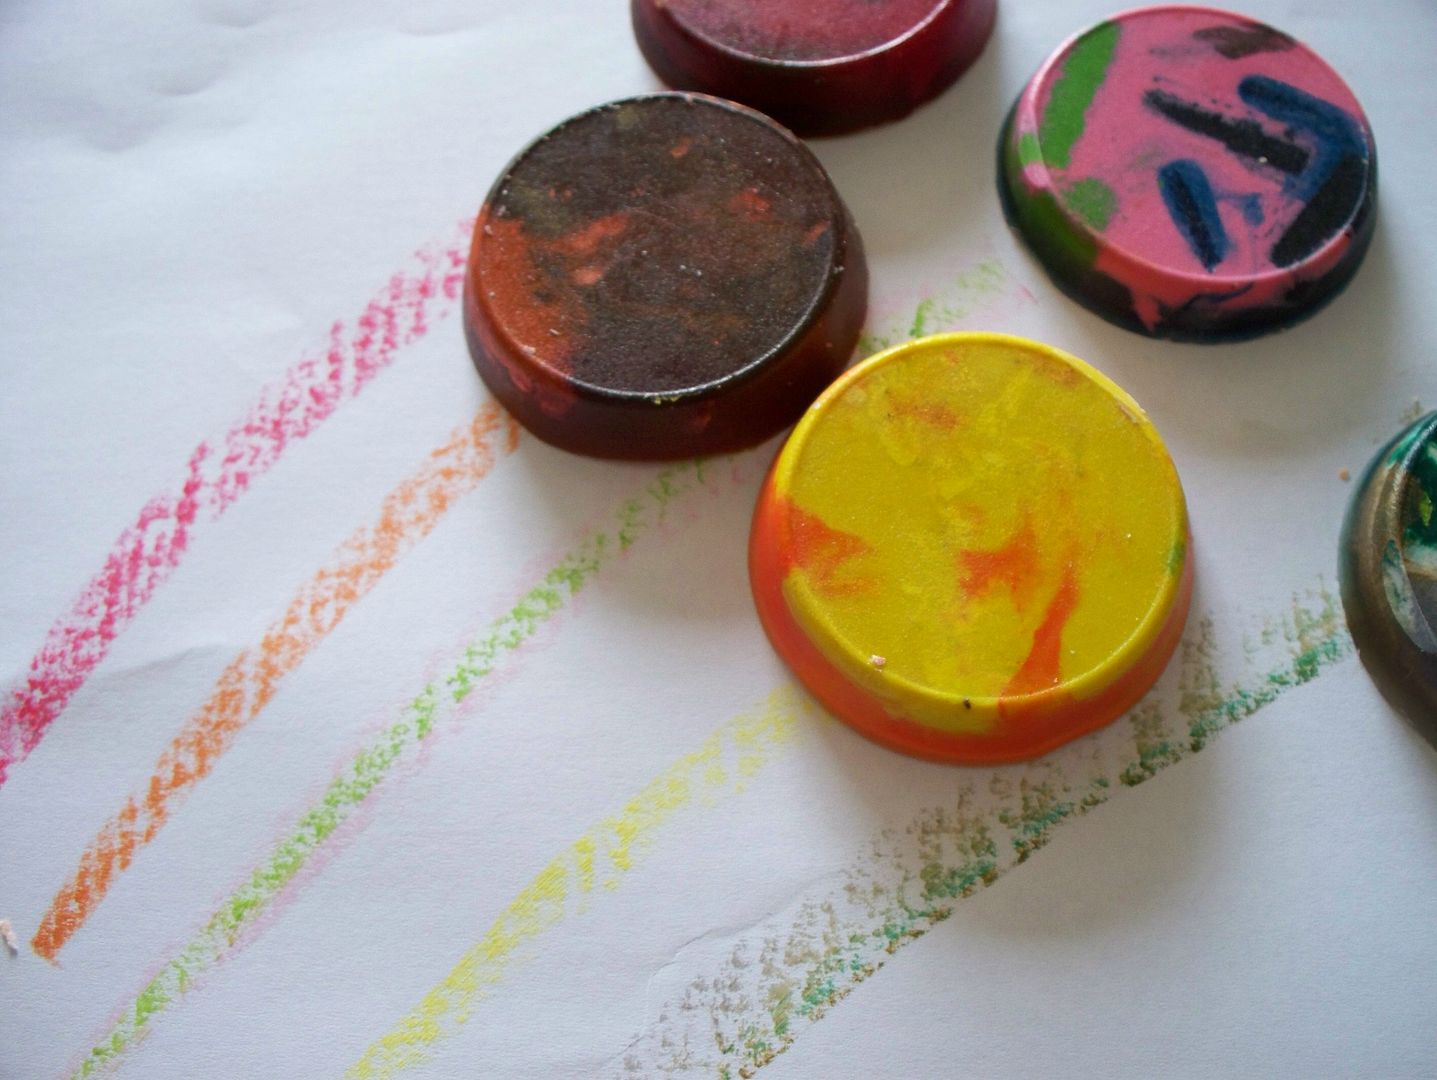
Here is the second part of a birthday gift we are sending to our friend who is turning four next week. The first bit was a rainbow stack of crayon cakes. This is a little less recycled, but much more personal. The artwork was done by The Man and Smootch. I wielded the stapler and duct tape.


Everyone have a great weekend! I'm hoping to have something fun for you to do on monday. Until then...