

I know there are a few tutorials floating out there on how to turn sleeves into pants for children. There are so many because it's such a simple and convenient thing to do, not to mention cute. They make great pajamas from a knit material, winter coverings from a felted sweater, regular pants from almost any shirt, and are perfect using up the extra sleeves from a men's dress shirt when making a cheytown dress. I have made a dozen or so over time and I've gotten the method down to a quick 15 minute pair of pants (even faster if Birdie Boy is napping).

So, here is,
Shirt sleeves to a child's pants (vegbee's way)
Before you start, locate a pair of pants (of the same type of material, either woven or knit, depending on what kind of shirt you are using) of the child's that fits well to use as a guide. You could use a pattern to make these pants, but better to use something that fits well now.
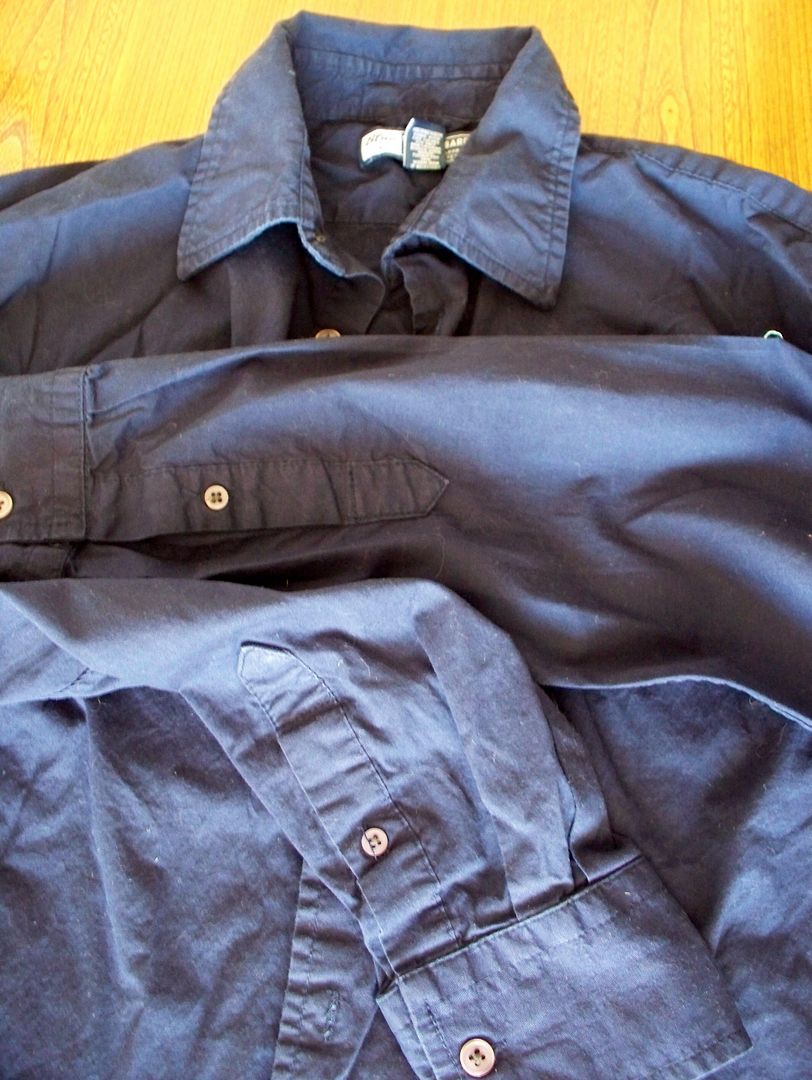
Begin with an adult's long sleeve shirt. The larger the child, the larger the shirt needed.
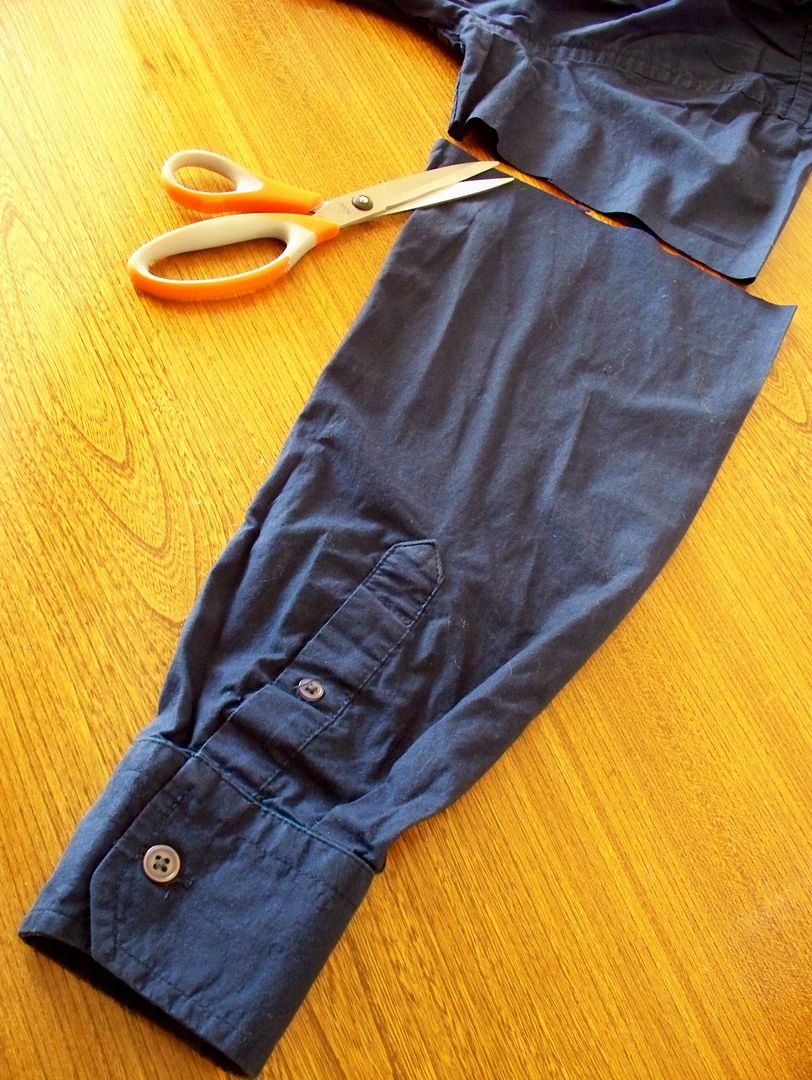
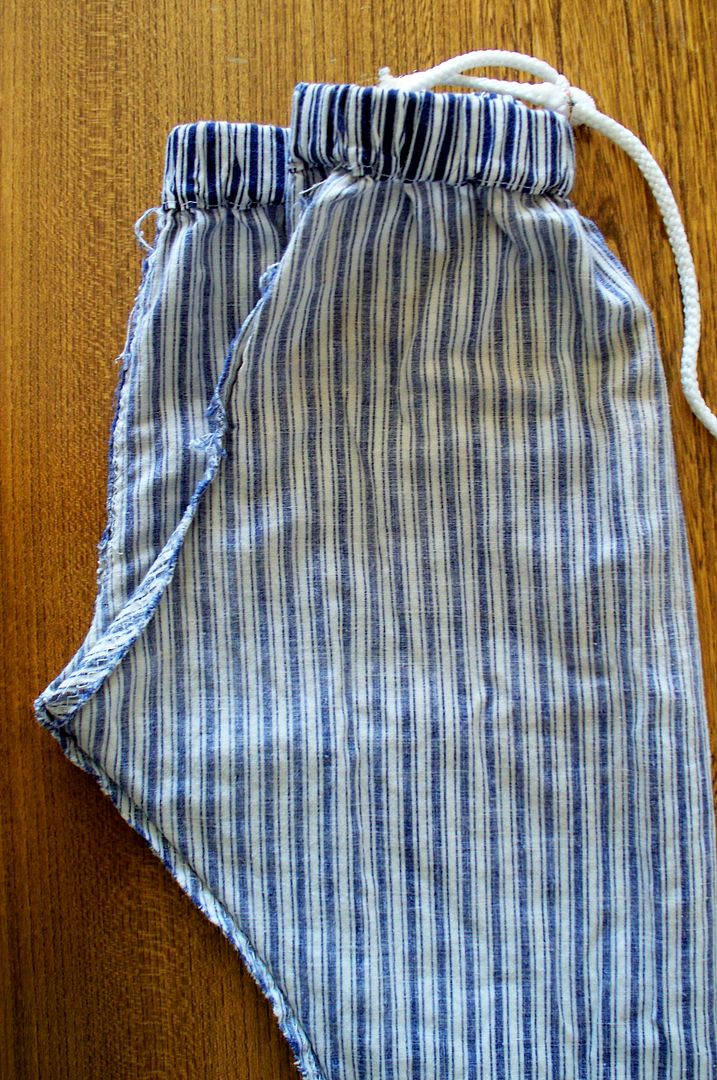
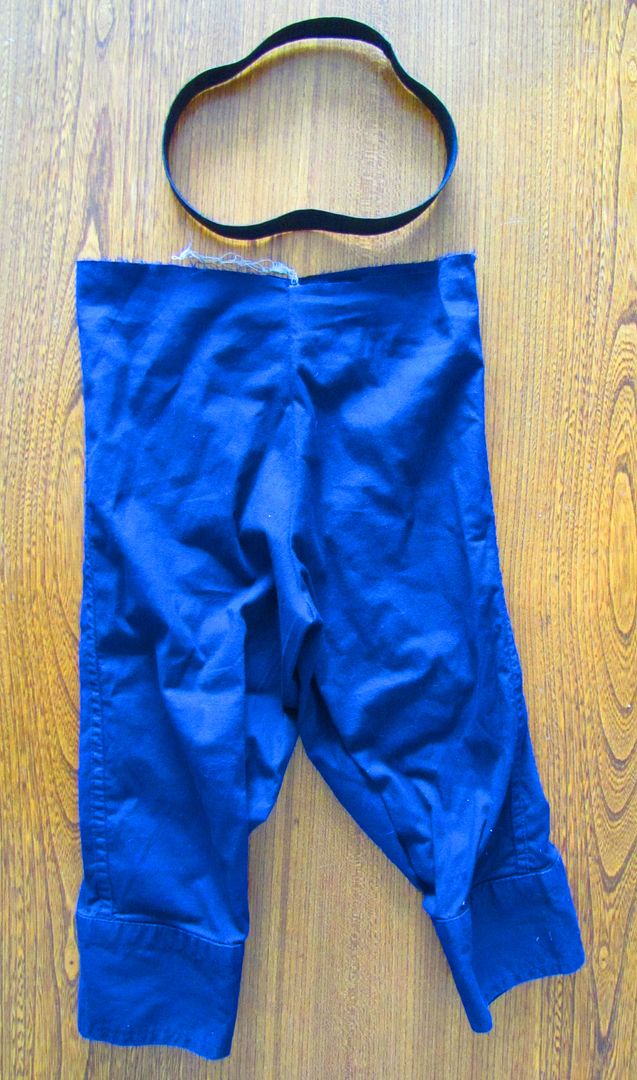
Use the pants as a guide to cut the sleeves off at the appropriate length, noting that there will be no need to hem the bottom, but adding extra room at the top to put in an elastic waist.
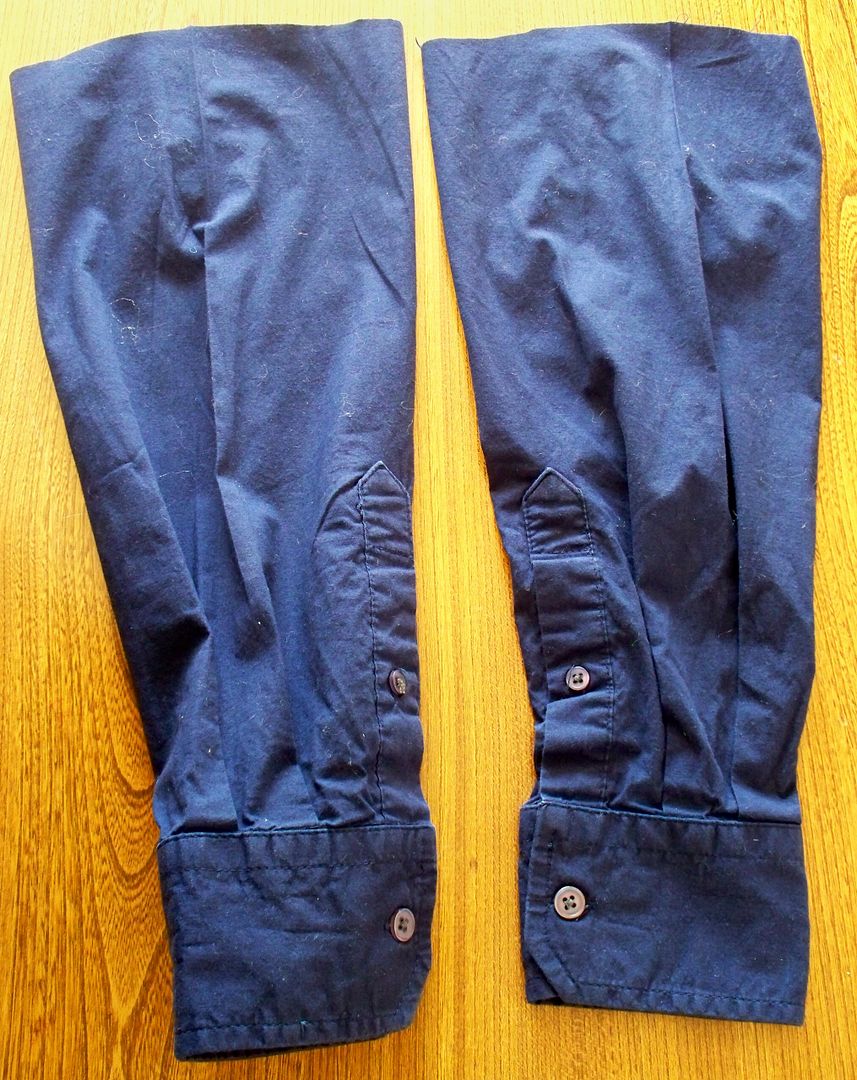
Turn one sleeve inside out. Tuck the rightside out sleeve inside of the wrongside out sleeve, lining up seams and, if necessary, plackets. Also, with plackets or decorative elements, you may also want to note which way should be the back, side, front, or whatever way you would like the sleeve's details to be orientated.
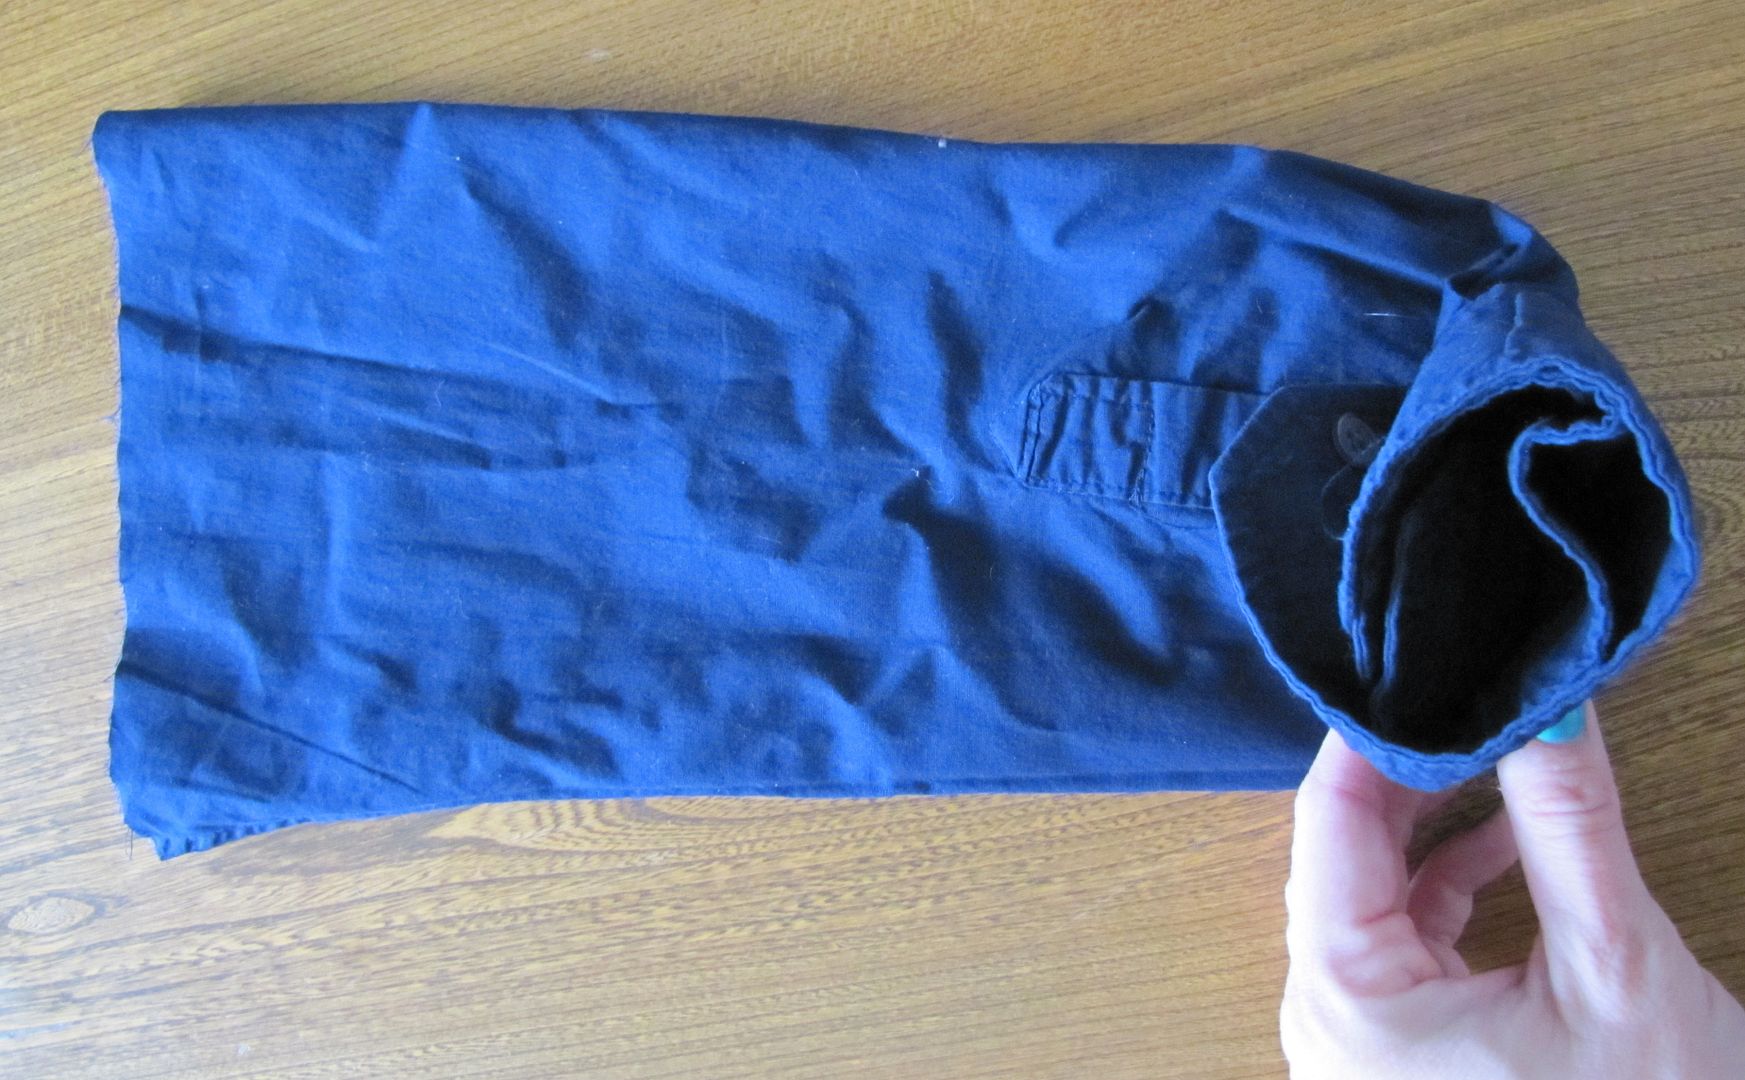
Smooth down and place your sleeves with your desired front side facing up, noting which edge is to be the inside leg and which to be the outside.
Take your well fitting guide pants and turn them inside out. Fold the pants along the center crotch seam. Take note that the center seam allows for more room in the back of the pants.
Lay the guide pants down over top the sleeves in the appropriate orientation. Slip you finger into the sleeves to separate the top parts of each sleeve from the bottom. Cut along the front part of the guide pants center seam, including a seam allowance, of the top two layers of the sleeves only (though, you cut all four layers right now, it's actually no big deal, so don't sweat it).
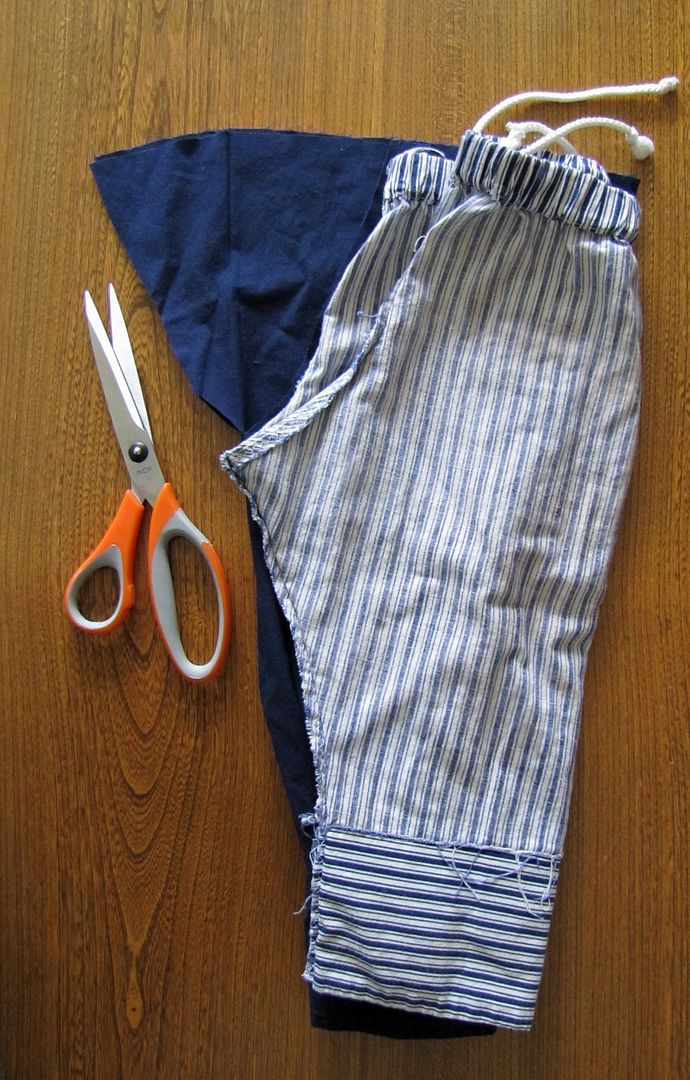
Flip over your sleeves and place the guide pants over once again in the appropriate place. Peel back the front center seam of the guide pants to reveal the back side of the pants. Cut the final two layers out according to the back side of the center seam, adding seam allowance.
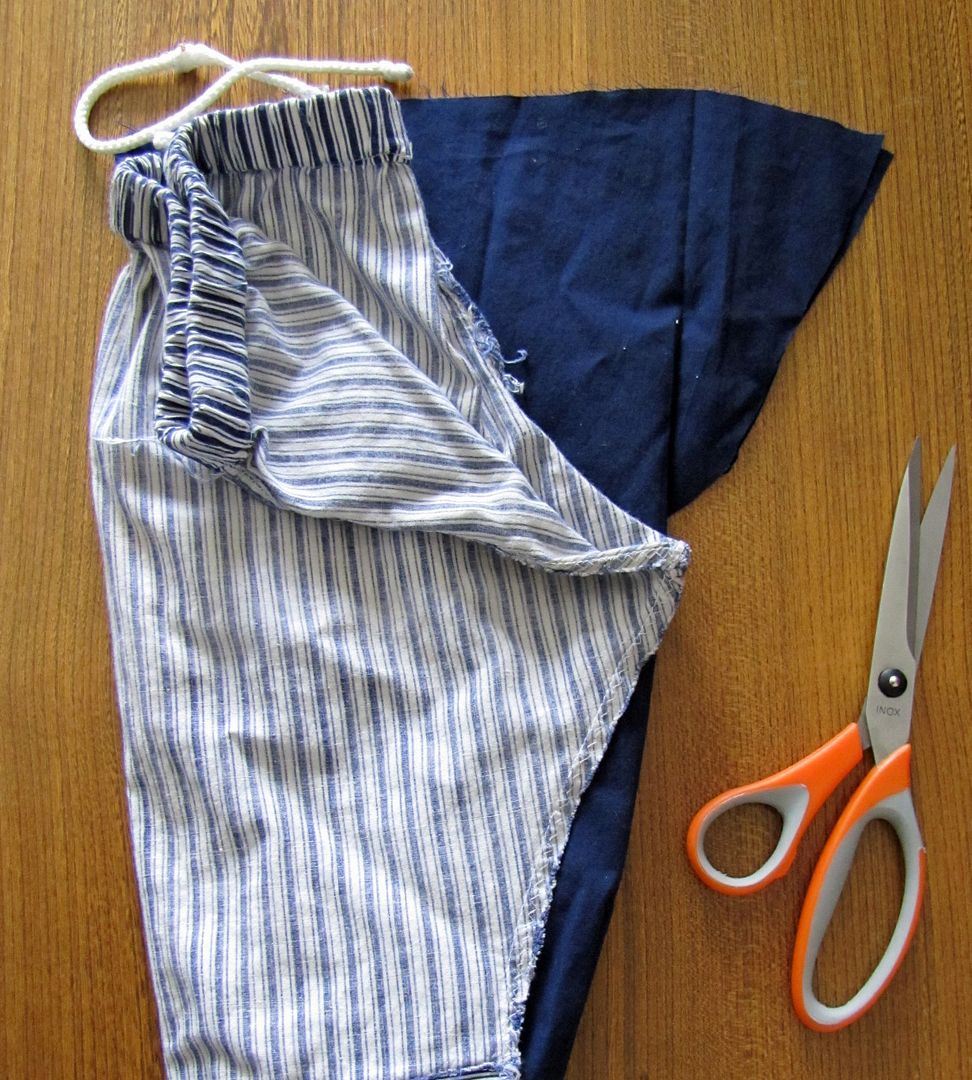

Your sleeve pants now are already in the perfect position to sew up the center seam.
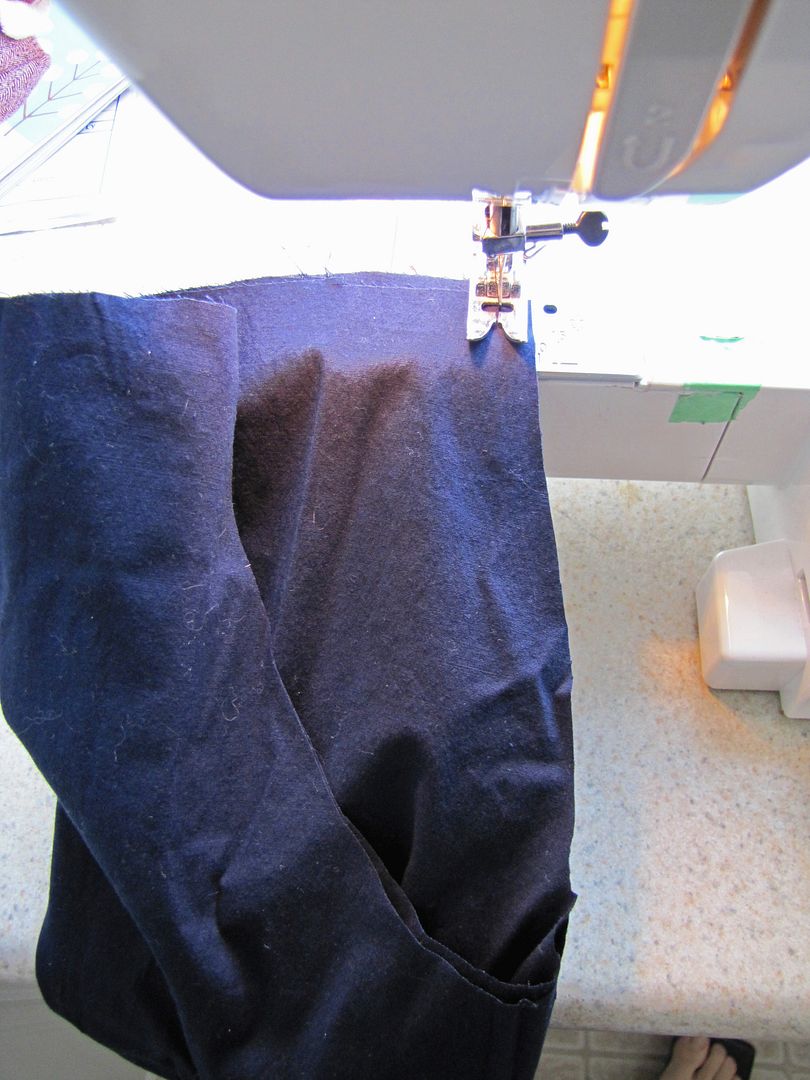
Turn your pants right side out. Add an elastic waistband.
Apply sleeve pants to child.

*****************************************************
This is a free tutorial and I encourage you to use the information in any way you need to (check the disclaimer at the bottom of the page). If it works for you, please consider supporting my etsy shop by purchasing a Little Print Design pattern.
that is so rad. I'm going to have to try this and the dress pattern. I can make things for both my kids from ONE old shirt. Too stinking cool!
ReplyDeleteVery cute. This idea could make cute bloomers that look like they are coming in for spring - so little legs :)
ReplyDeletehttp://yourkloset.com/wp-content/uploads/2009/10/Pink-Tartan-Spring-Summer-2010.jpg
Very nice tutorial. Using a felted sweater sounds like a good idea to wear over jeans or sweat pants for my three year old in the winter. Thanks!
ReplyDeletevery cool! been wondering what to do with a few sets of sleeves ive chopped off recently! Ps. love the dancing in the last photo :P
ReplyDeleteThat is genius! Brilliant! I love how cleverly you cut the crotch shape for both legs simultaneously. Thank you for a great, great tutorial and a darn cool new idea!
ReplyDeleteGenius!! Adding this to my must-sew list!
ReplyDeleteLinked to your tutorial on Craft Gossip Sewing:
http://sewing.craftgossip.com/tutorial-childs-pants-from-adult-shirt-sleeves/2009/11/08/
--Anne
Great idea! Thanks. Now i know what to do with those left over sleeves.
ReplyDeleteLove love love the photo of your little one shakin her bottom!!! Tis so cute and a fantastic idea to boot!!! Thank You.
ReplyDeleteMrsC.x
Thanks for providing some great directions to get me through this project. I laid my sleeve on top of one another instead of putting one inside of the other to cut out the “J,” but the concept is the same. My daughter was ecstatic to have “paratrooper” pants made out of our old uniforms. I love the fact that the elbows on the uniform are reinforced; I just turned them around to make them the pant knees. The buttons on the bottom are great also, so that the cuff can be tighten or loosen. My daughter will wear out grow them long before she out wears them. I could see these being a big hit a craft shows in the military community. I am still perfecting getting the waist band at the right height and size, but I have plenty of old uniforms and two other kids to sew for. Thanks. P.S. Finished product show in my profile picture.
ReplyDeleteI am NOT a sewer of anything other than buttons or holes in socks (no one can see my stitching!) and I think this is a BRILLIANT idea! I am so inspired! I have tons of toddlers in the family that are getting some awesome new pants for X-mas! Thank you SO MUCH! :)
ReplyDeleteThat's awesome... I just turned a men's shirt into a shirt-dress for me... but this is a great idea!
ReplyDeleteThese are just lovely - too bad my son is now taller than me and would no doubt balk at the idea. They look so utterly cute.
ReplyDeleteJust wanted to let you know that we've included this on dabbled.org today for our clothing refashion roundup... thanks for sharing this great idea!
ReplyDeletedot
Link: http://dabbled.org/2010/02/clothes-tutorials-recycle-your-wardrobe.html
I used this tutorial and linked to you on my Blog...http://noggintoppers.wordpress.com/
ReplyDeleteThanks for making this super easy!
Thank you so much for the tutorial! I have a stack of shirts to turn into spring shorts and pants.
ReplyDeleteOne hint, in case anyone is stuck, when you fold the existing pants to mark the pattern, you're also putting one leg inside the other. For some reason that one totally stumped me!
These are just so cool, definately a must have for my little fella.
ReplyDeleteAdoro seus tutoriais. Não sei costurar e me inspiram a tentar, pois você torna tudo tão simples. Parabéns.
ReplyDeleteAwesome Idea!
ReplyDelete