
Rounded pockets, people. They are tougher than they should be.
My chance to finally nail down a smooth curve was a recon from this (rather frightful) pajama top,
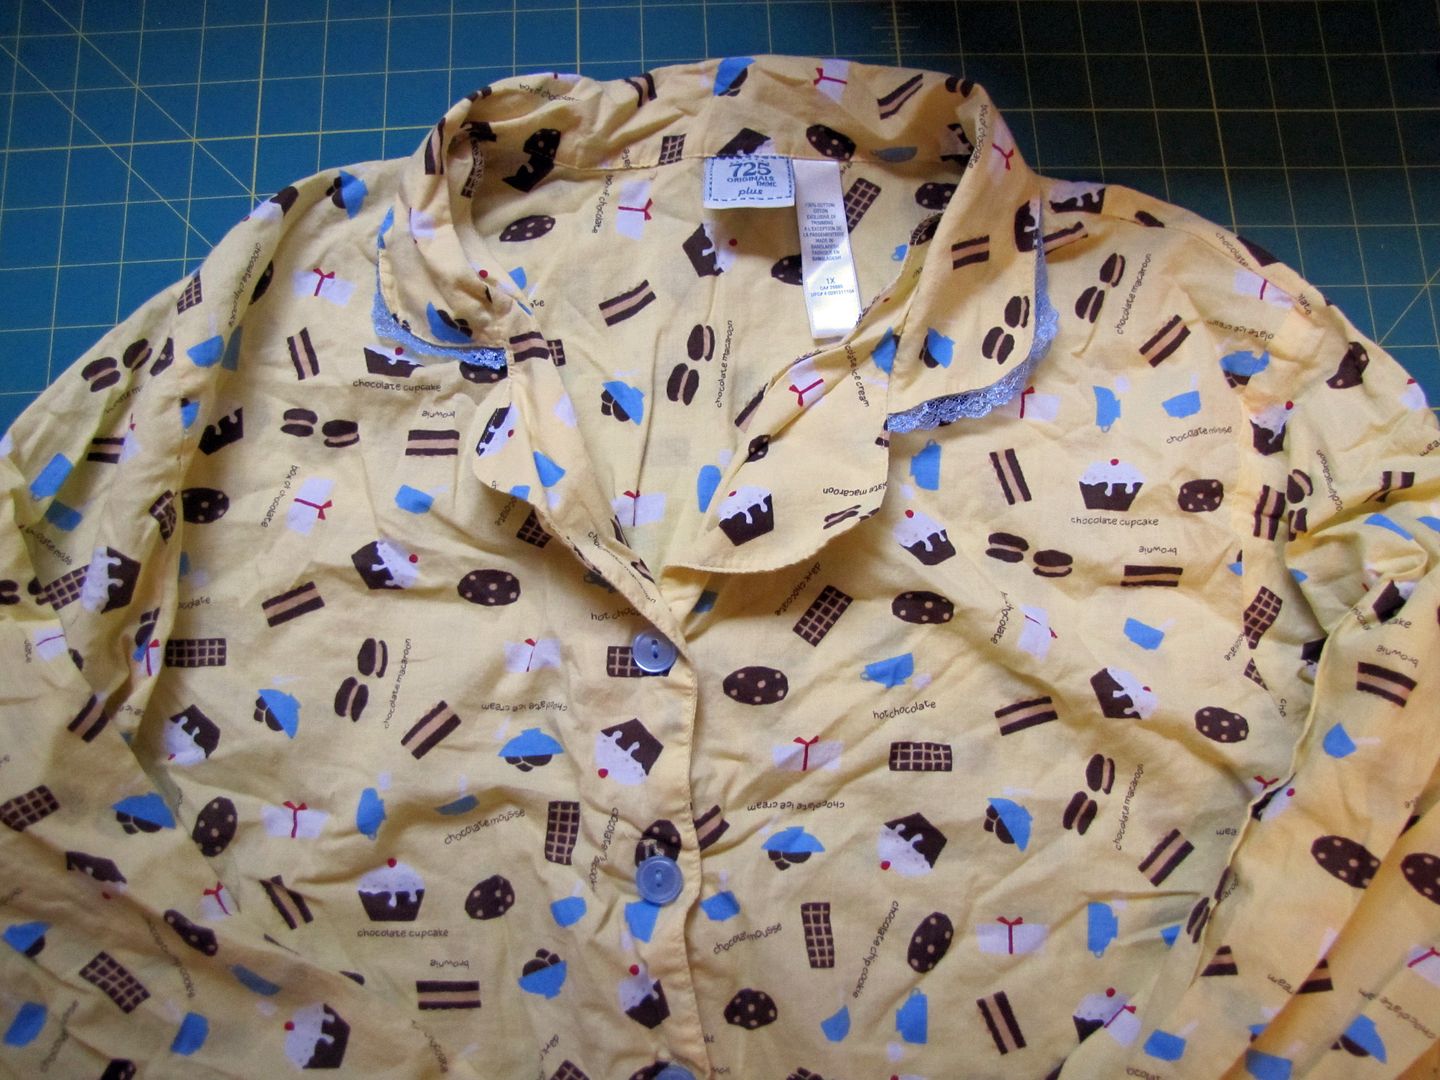
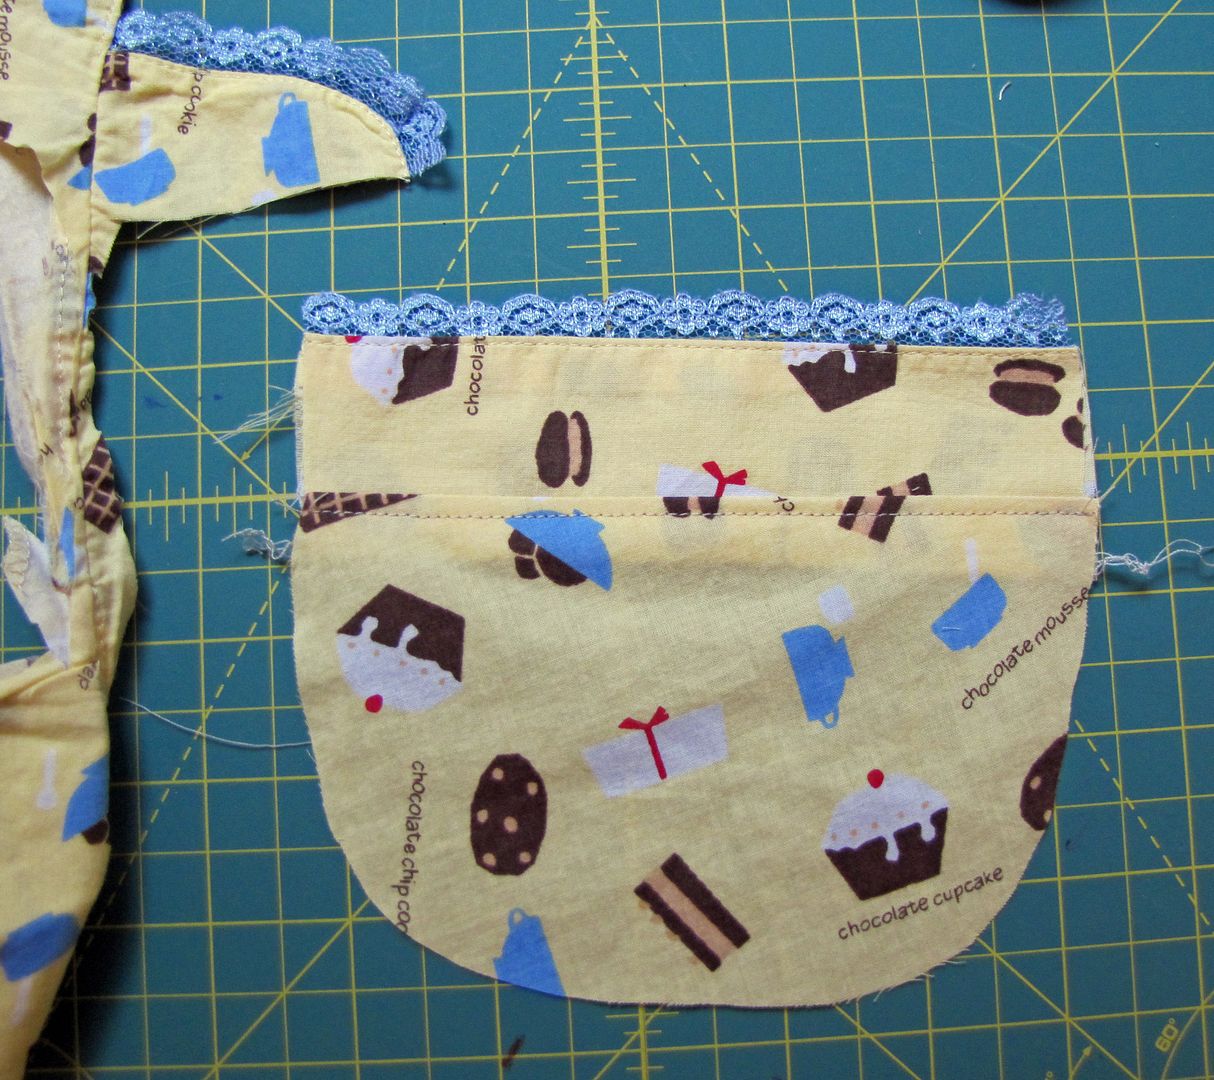
to a smock for Smootch. I used the collar with the lace edging for the top portion of my pocket and sewed it to a semi-circle-ish shape. Viola, a rounded bottom pocket.
Now to tuck the edge in around smoothly. My rounded shapes usually end up looking a bit more like many pointed stars rather than nicely arced curves. Something in the way I've been pressing them.
I sort of half remembered seeing someone's technique of making a cardboard mold to press the fabric into shape around.
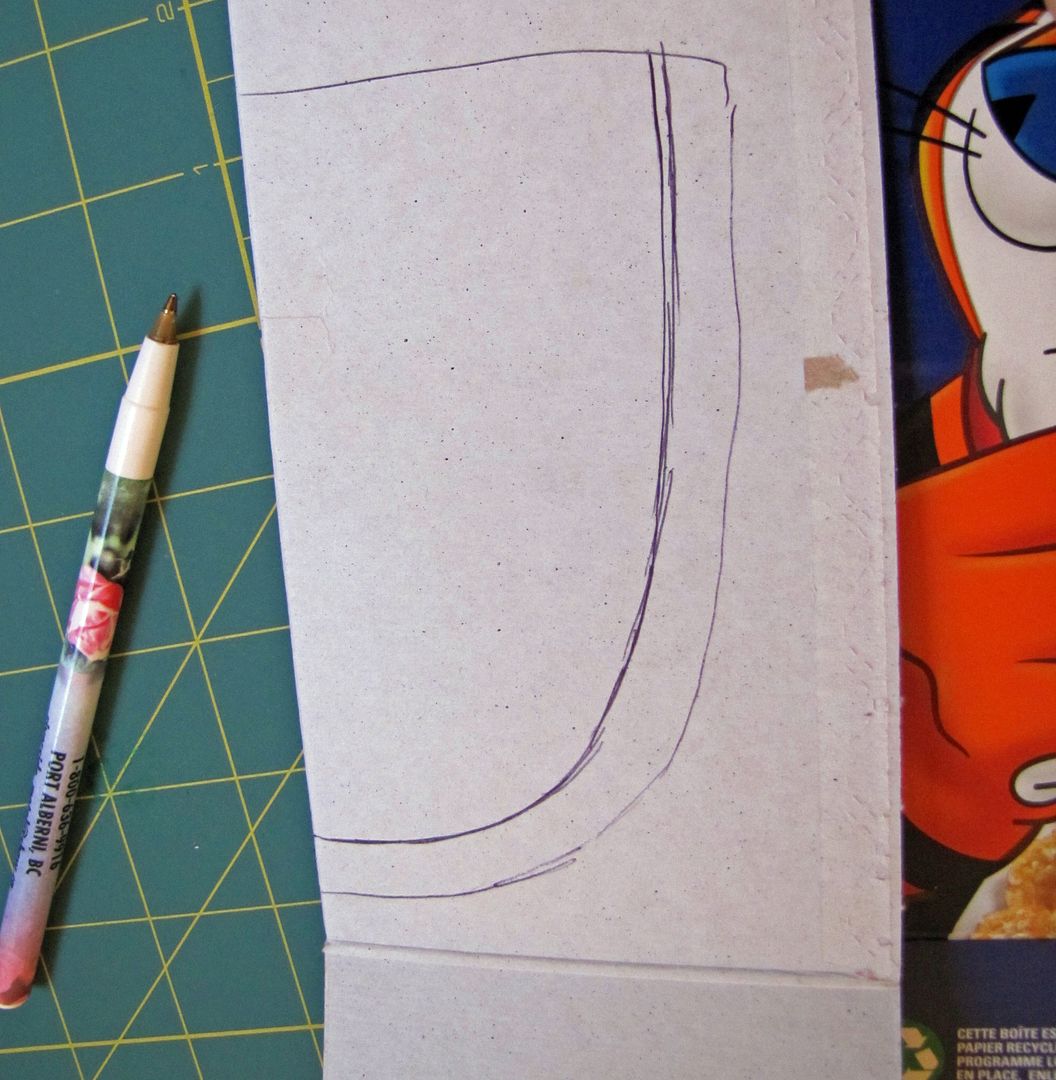
Enter Tony the Tiger and his packaging.
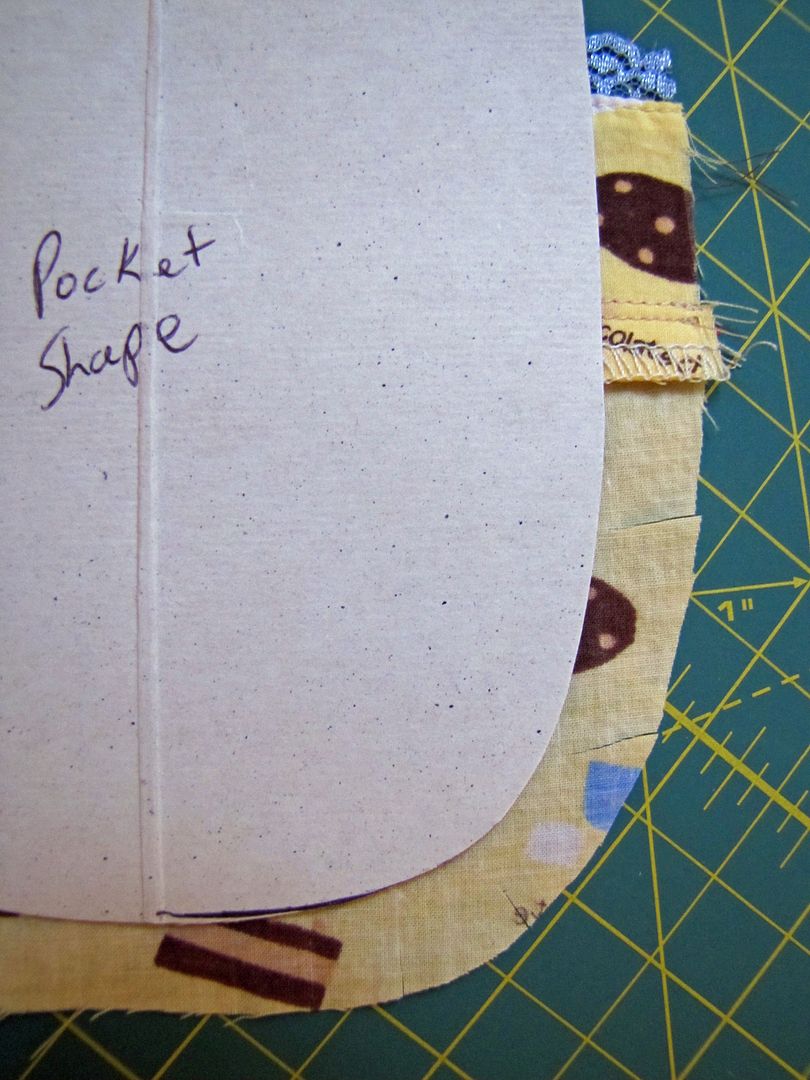
Tracing out my pocket on folded cardboard and then marking out the seam allowance from the traced edge in gave me this:
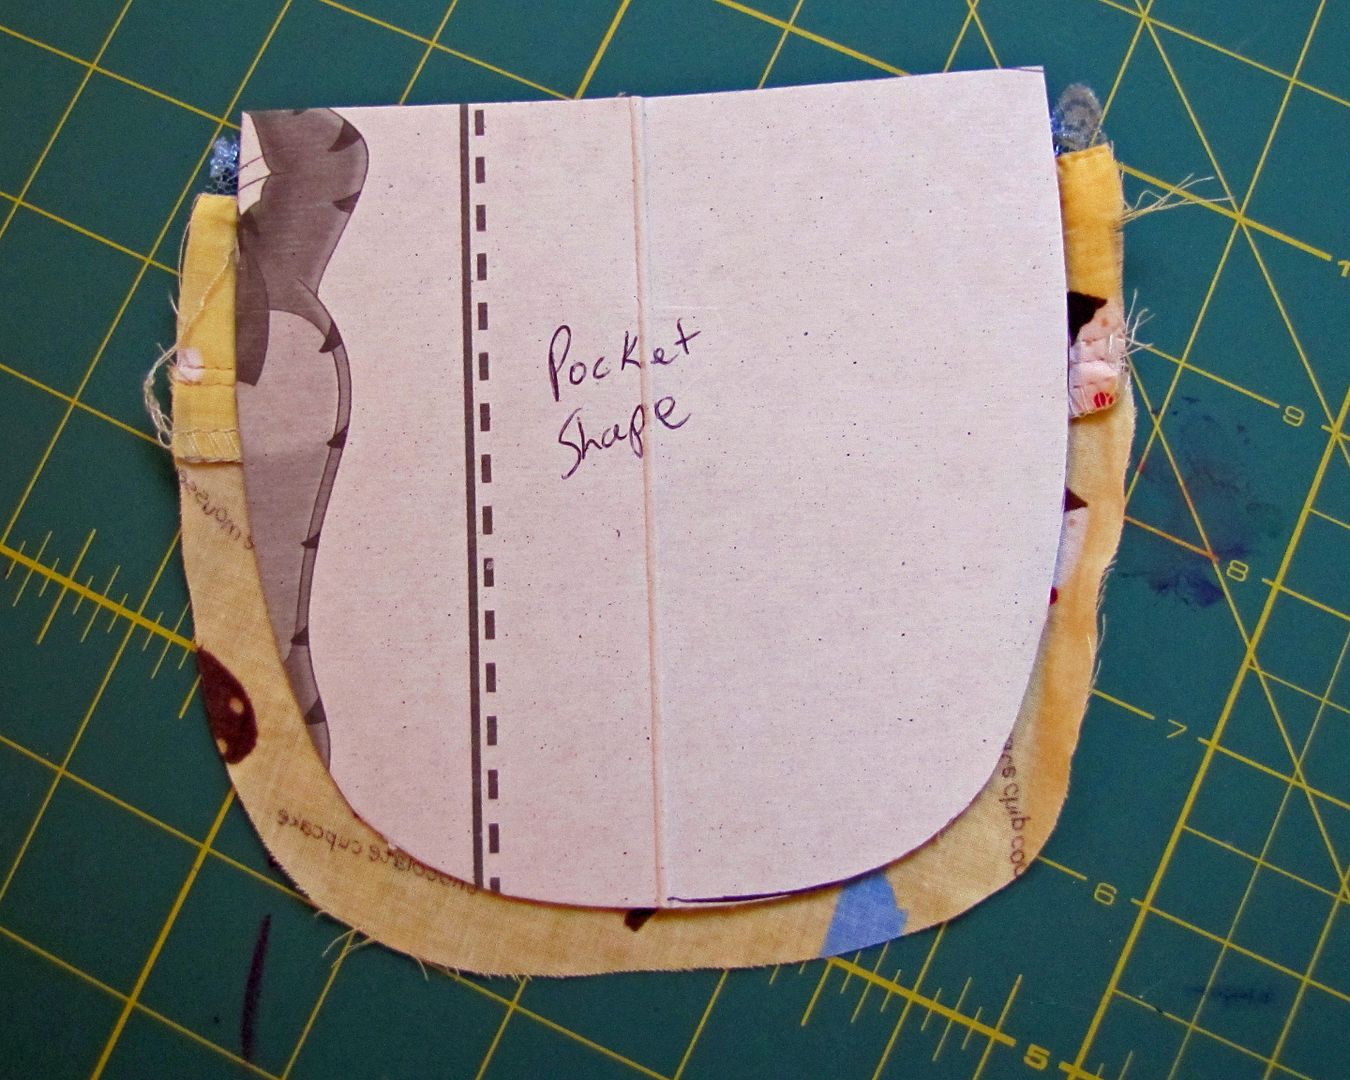
Cut out and unfolded, it fit over my pocket like so:
Clipping the curves,
and then carefully pressing around the cardboard shape,
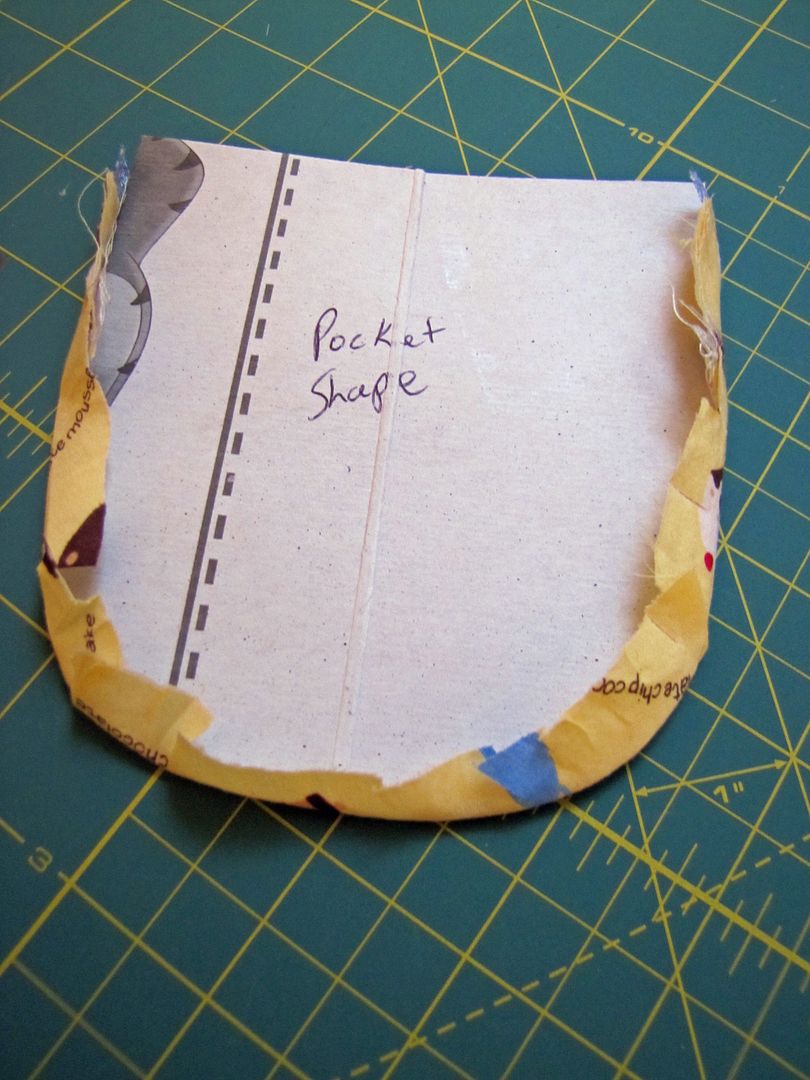
Yielded this rather fine, curved pocket:

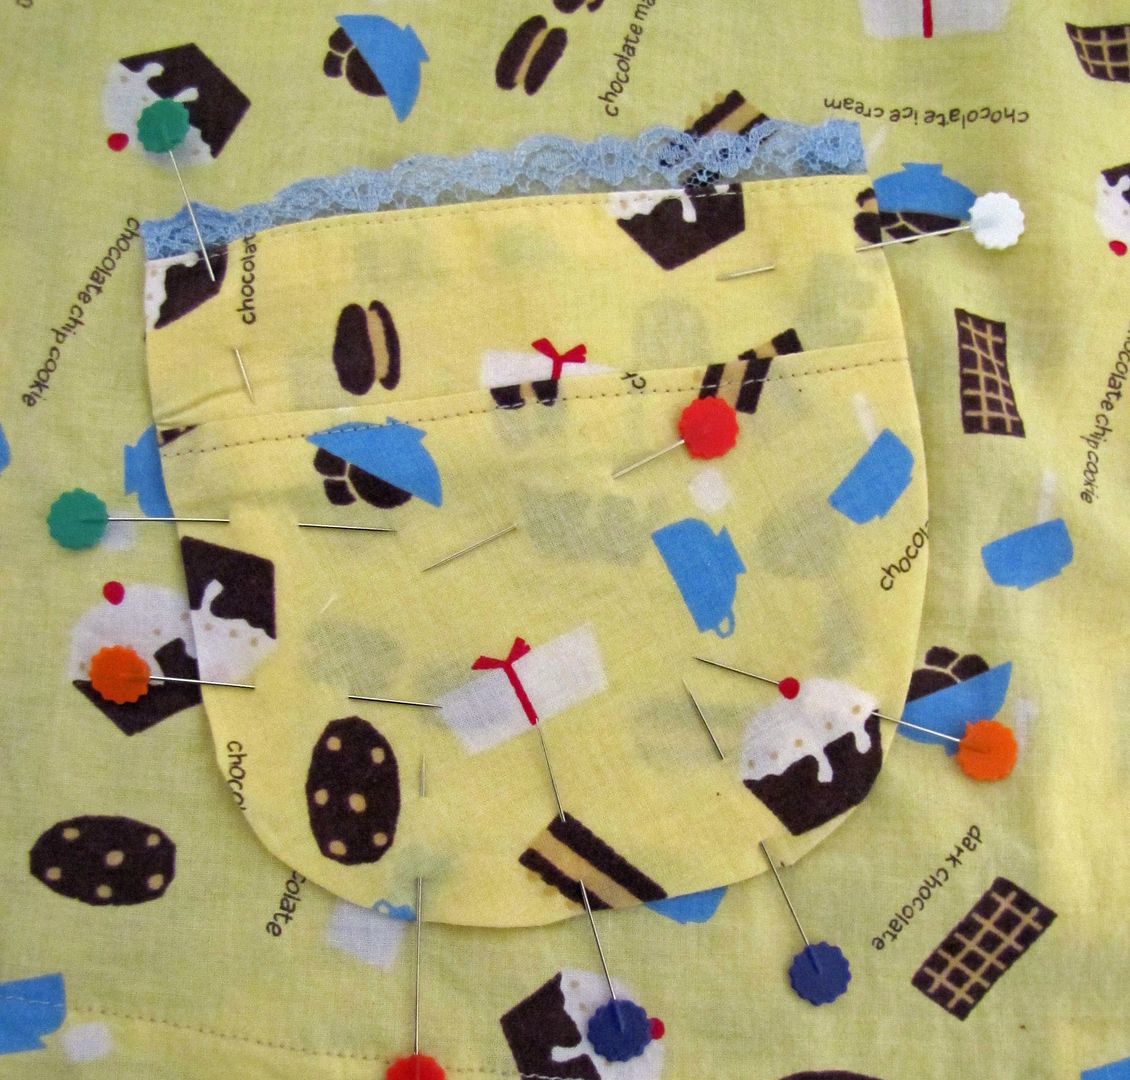
Not perfect, but, believe me, a hell of a lot better than my previous pockets. I can see how making a few more clips or cutting out actual triangles would of made it even smoother.
Over pinning for fun and because I felt so smug, I sewed on the pocket,
and finished Smootch's smock (say five times fast).

Ahhhh. Feels good to accomplish something that has previous eluded me.
(I know I muttered a little bit about a repurposing vinyl packaging tutorial this week, but a slight change of plans. It's still coming, though, promise.)
********************************************************
This is a free tutorial and I encourage you to use the information in any way you need to (check the disclaimer at the bottom of the page). If it works for you, please consider supporting my etsy shop by purchasing a Little Print Design pattern or toss a dollar or two in my paypal to show appreciation and to encourage me to offer up even more quality patterns and tutorials.
Thank you!
Questions about the Donation? FAQ here.
Thank you Thank you. This makes perfect sense, and things are easier (Nice smock too!)
ReplyDeleteGood job, instead of snipping try a gathering stitch around the edge, just pull up around the card and iron, ta da one round pocket
ReplyDeleteI've always had the same problem and I hated pockets.
ReplyDeleteThank you so much!
I second the comment about the gathering stitch. I learned to do that from a Vogue pattern and it makes my round pockets so much smoother, and easier!
ReplyDeleteOne of those "Why didn't I think of that?" tips. Thanks so much! I have always avoided those kind of pockets, but now I think I might be able to do them without throwing anything. :)
ReplyDeleteI'm filing this in the back of my lil brain for when I actually feel brave enough to start sewing clothing. It terrifies me I tell ya.
ReplyDeleteThank you for that tip!!! I hate rounded pockets 'cause I have had soo much trouble perfecting them!
ReplyDeleteSmootch looks great in the new smock!
It looks great. I'm going to have to try this.
ReplyDeleteI third the comment about the gathering stitch. I'm old... I learned to do that in sewing class waaaaaay back in 1970-something when smock tops came in style the first time. :)
ReplyDeleteYay! You guys are so smart! Thanks for the gathering info. I'm definitely trying that next time.
ReplyDeleteMy next challenge will be something for me. I hope I'm up for it :D
this is so great, I love love the final top! I have a hard time visualizing the finished project sometimes (especially when recycling), but you are an amazing inspiration! Thank you!
ReplyDeletetry this:
ReplyDeletestitch around the pocket in the biggest stitches your sewing machine will do,
then pull the ends of the threads gently,
the pocket will ruffle around the thread in any form you will give it.
(oh- i wished i could speak englisch better)
This comment has been removed by the author.
ReplyDeleteI adore reading your posts. I am a hesitant sewer; so cautious of making mistakes. But your creativity inspires me. Thank you.
ReplyDeleteThat looks so much cuter as a smock than it did as a pajama top. Nice work!
ReplyDeleteMay I just add that Smootch's smock looks adorable. So does Smootch. Thanks for the tip and Merry Christmas to you and your family.
ReplyDeleteThat's a great smock! Here's another way of doing rounded pockets that I've found, haven't yet tried though, so I've no clue which would be easiest and/or fastest: http://www.cedesign.com/familyphotos/sewing/info/curvedpocket/index.html
ReplyDeletethat turned out perfectly wonderful! great job too. so worth doing. I did a tutorial on vinyl book covers....great stuff that vinyl. can't wait to see what you come up with!
ReplyDelete10 days 10 winners
http://whosies.blogspot.com
If you have enough fabric, you can also try to make the pocket double sided - i.e. cut out two rounded shapes and sew right sides together, leaving just a bit unsewn for the turn. Then you can tuck the unsewn piece in and it will seal when you sew the now double-thick pocket to the garment.
ReplyDeleteDid that make any sense?
Another trick that helps me with non-straight lines is to do a line of stitching exactly where you want the fabric to turn under, then use that as a guide when you turn your clipped raw edges under. This replaces the need for making a cardboard "mold" and is as accurate as your stitching is, regardless off the shape!
ReplyDelete