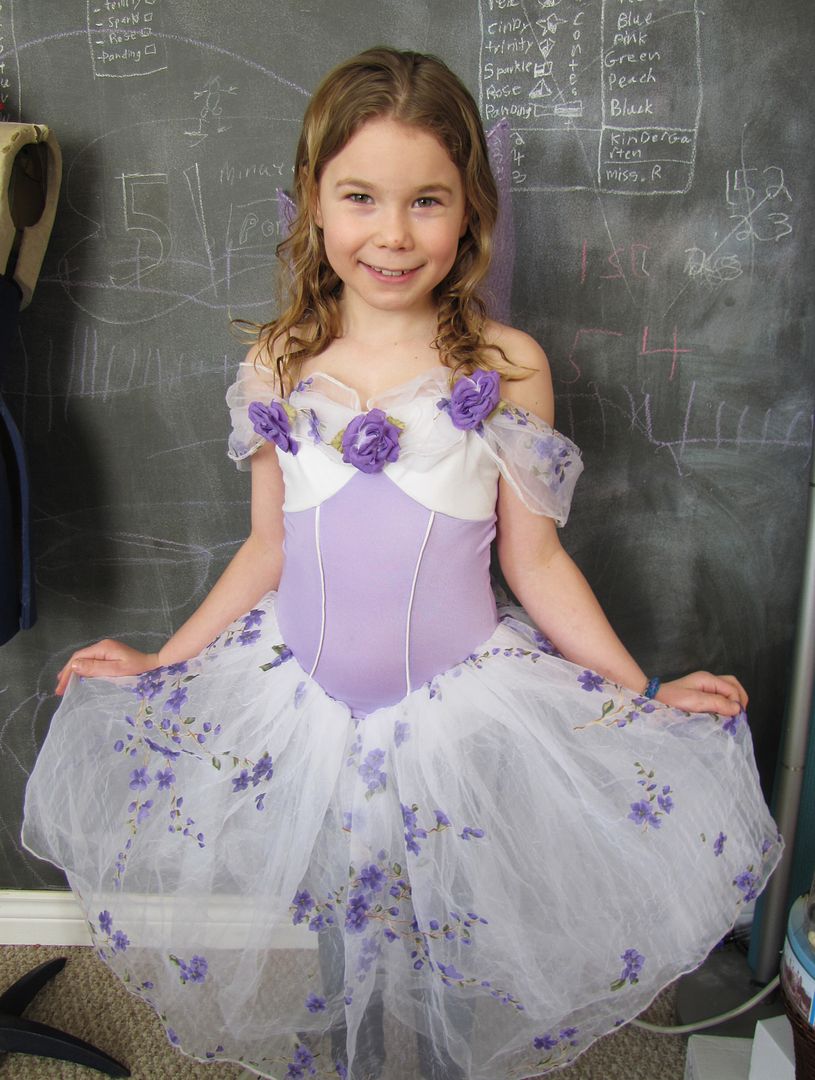
The problem was two fold. First there was the wings, which couldn't be any old wings, given that this is for the theatre and not Halloween dress up (the difference I'm still a bit hazy on but have been assured that they are not the same). The five fairy girls, who are to float around the fairy godmother, are all wearing identical, beautiful, dance dresses.
That is girl child in her costume, looking very much like a urchin who has just stepped out of a rain shower. Seeing her all week in full make up and hair and now in this picture looking like a damp dishrag is creating a little cognitive dissonance in me but since the girl wakes up looking like this in last night's hair:
I think we can all agree she could use some freshening.
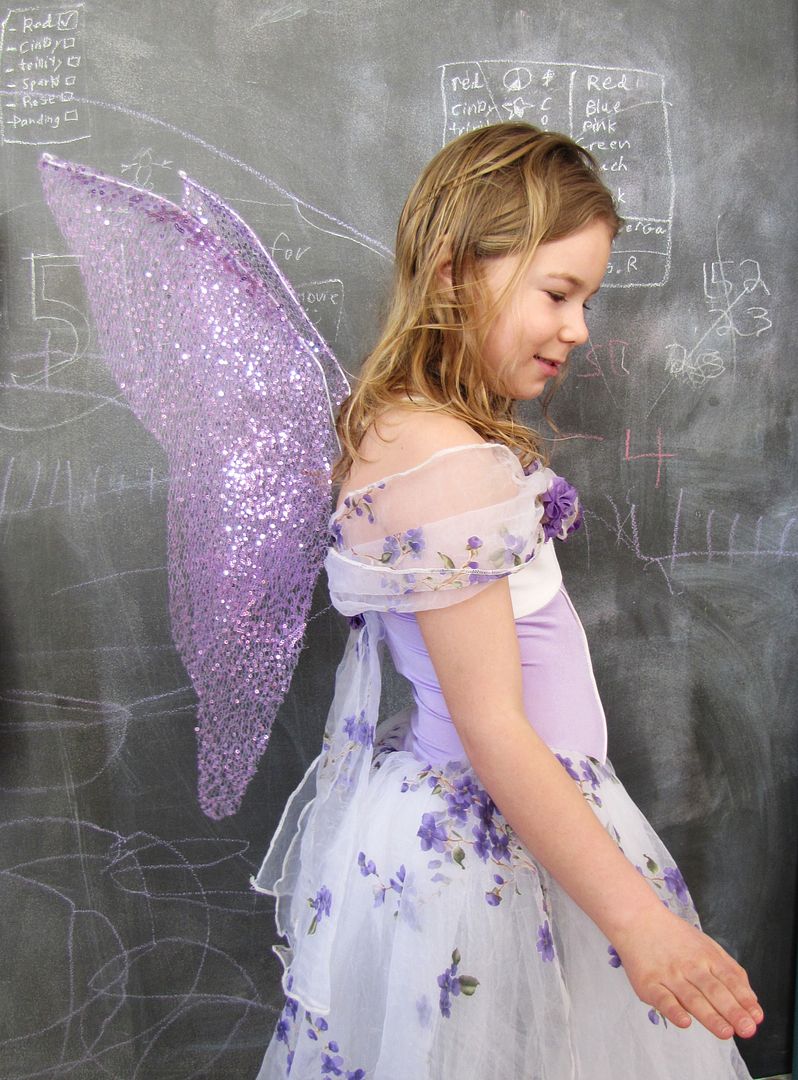
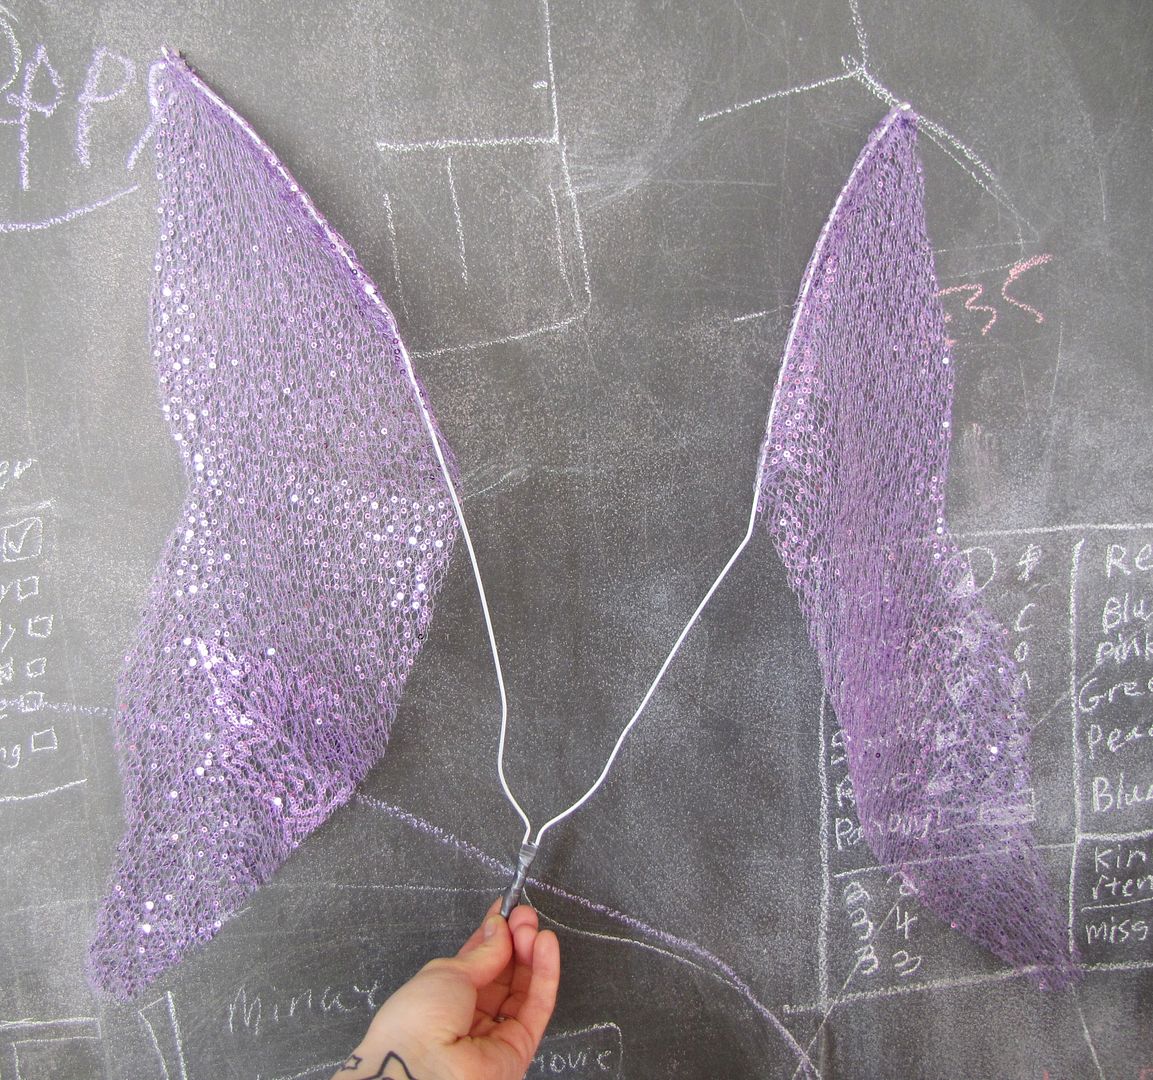
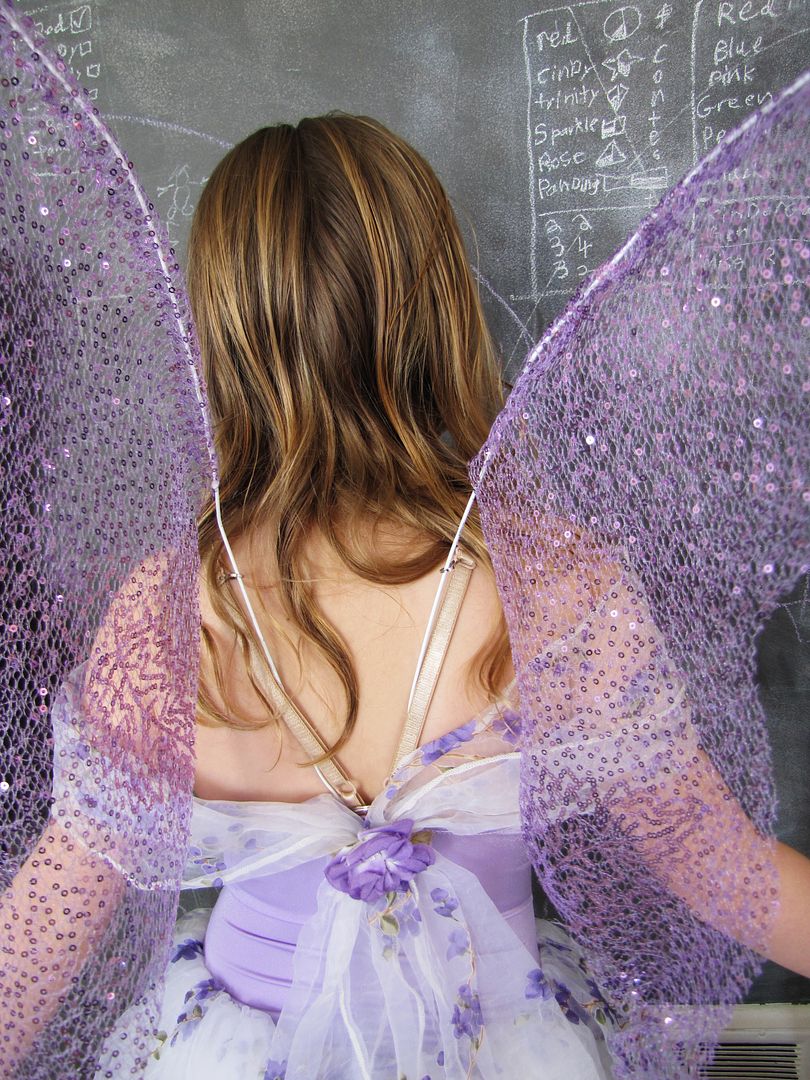
And, here are the wings:
You can see by the style of dress that we could not use straps to secure the wings to the fairies. In fact, given that the fairies do cartwheels, dance and even lay down, having secure, durable yet flexible wings were the only thing that would work for eleven shows. Also, the wings had to be quickly removable during the second act when the fairies would have to be in close proximity with other cast members without taking out some one's eye.
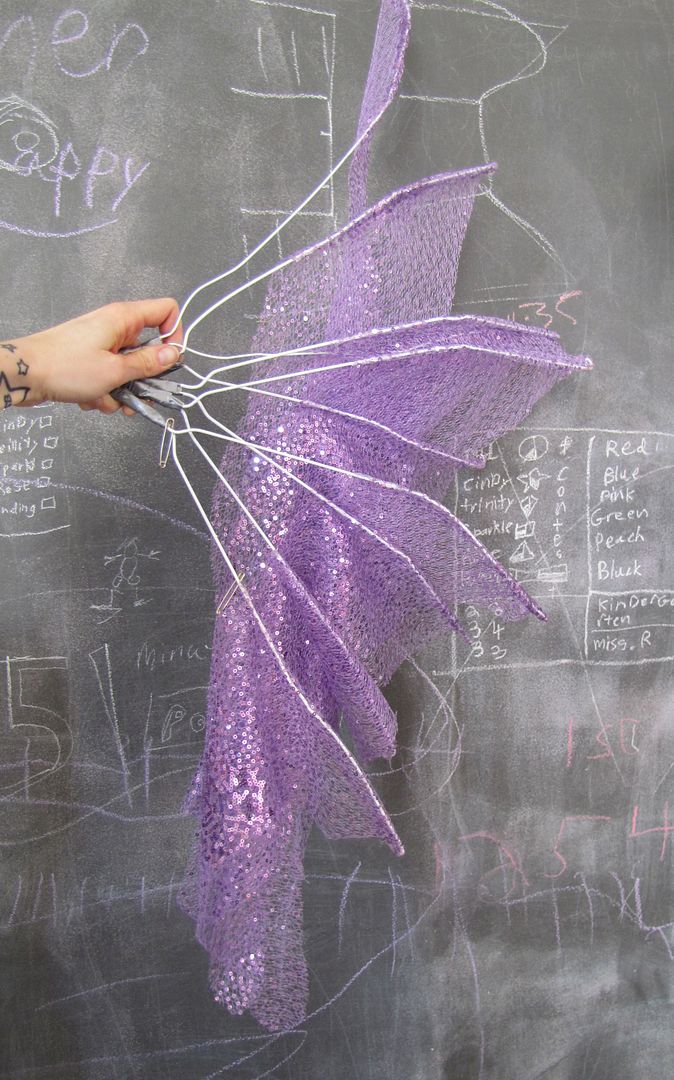
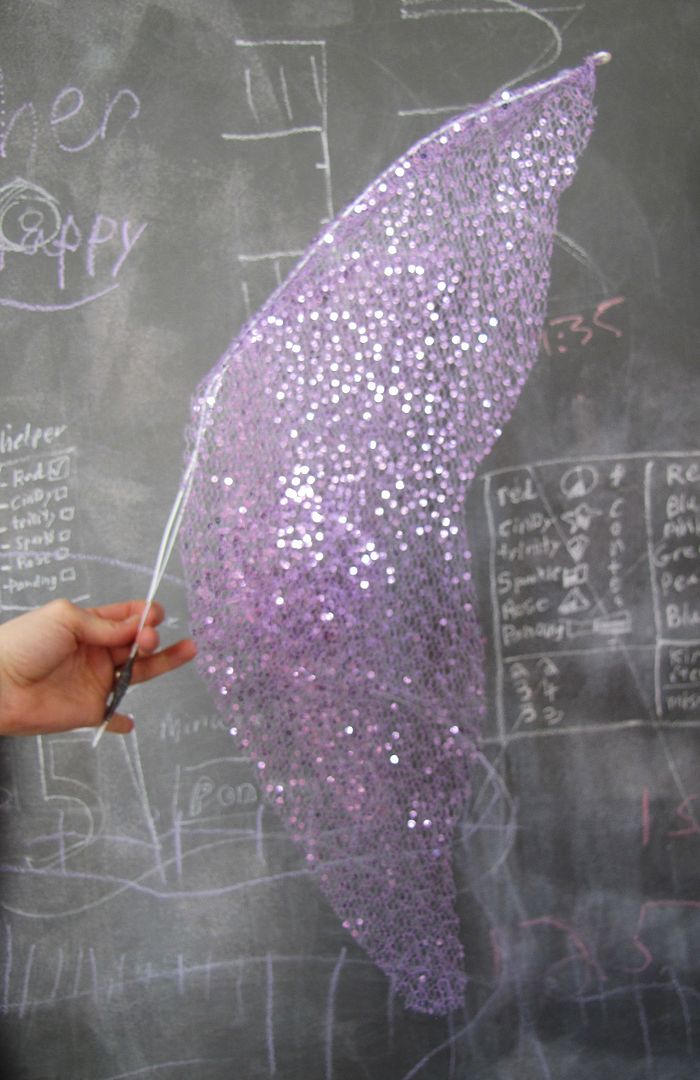
First, was to make the wings. These wings are a cut out of a non-fraying polyester weave, secured to wire only along the top edge. The material has just a bit of weight and it holds the shape well while allowing floaty, ethereal movement. They look incredibly twinkly under theatre lights.
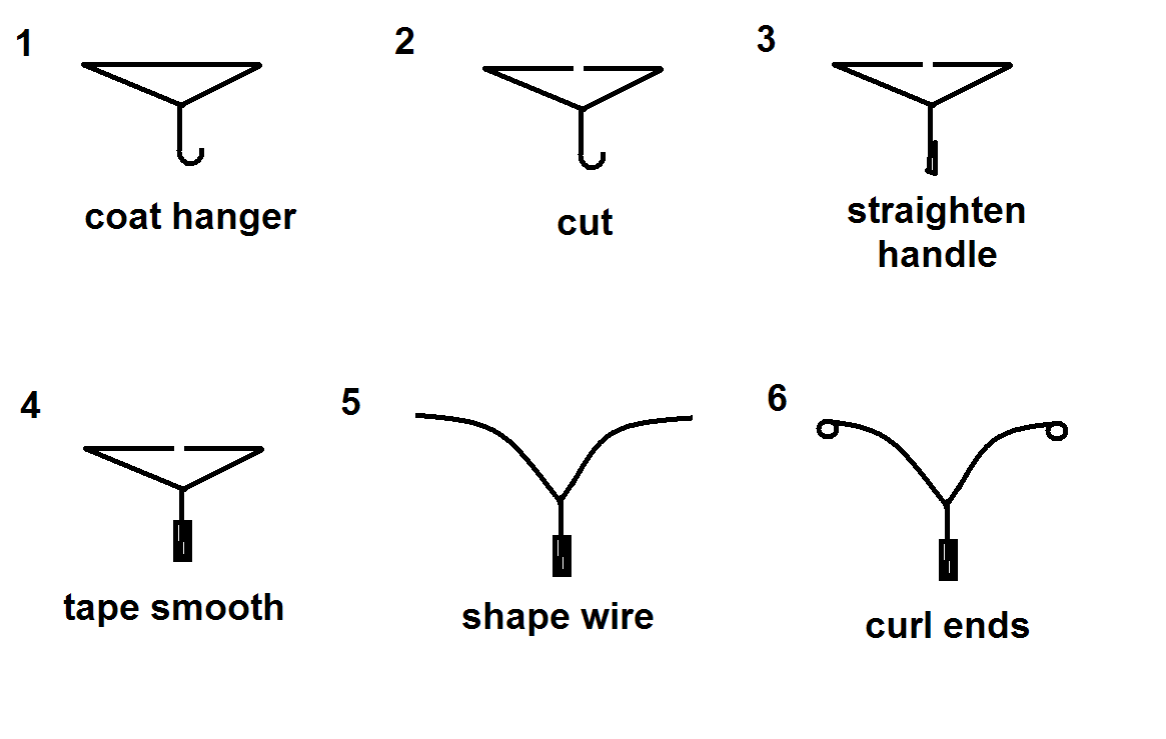
The base of the wing, as you can see, is a coat hanger. To make a fairy wing base,
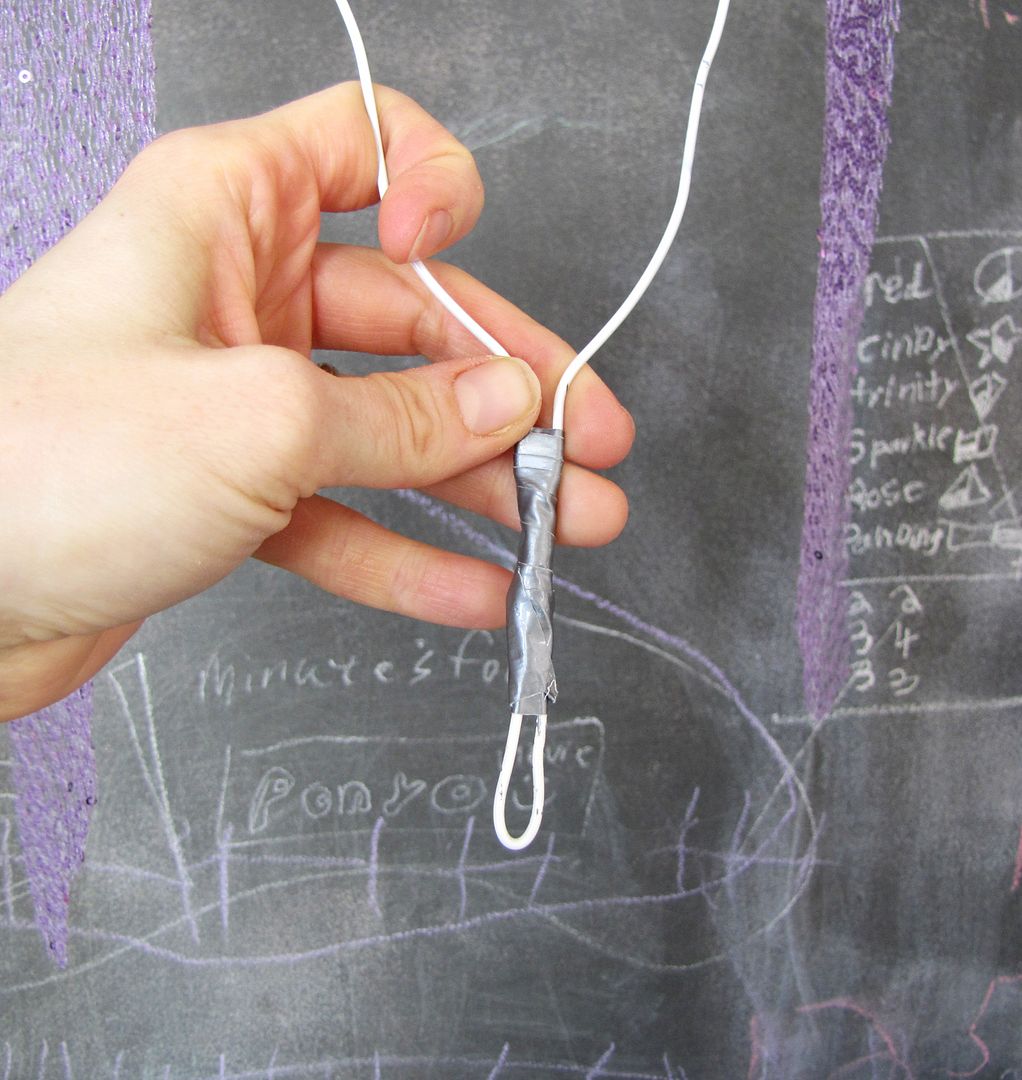
Duct tape worked well to tape the sharp end of the the bent hook end of the hanger and add a bit of strength to that post, which is important for securing the wings into position.
To attach the wing, cut your desired shape of wing out times two and then either sew down a fold on the top portion of the wing to create a tube to slip over the wire frame or use a glue gun to secure the material. I did both.
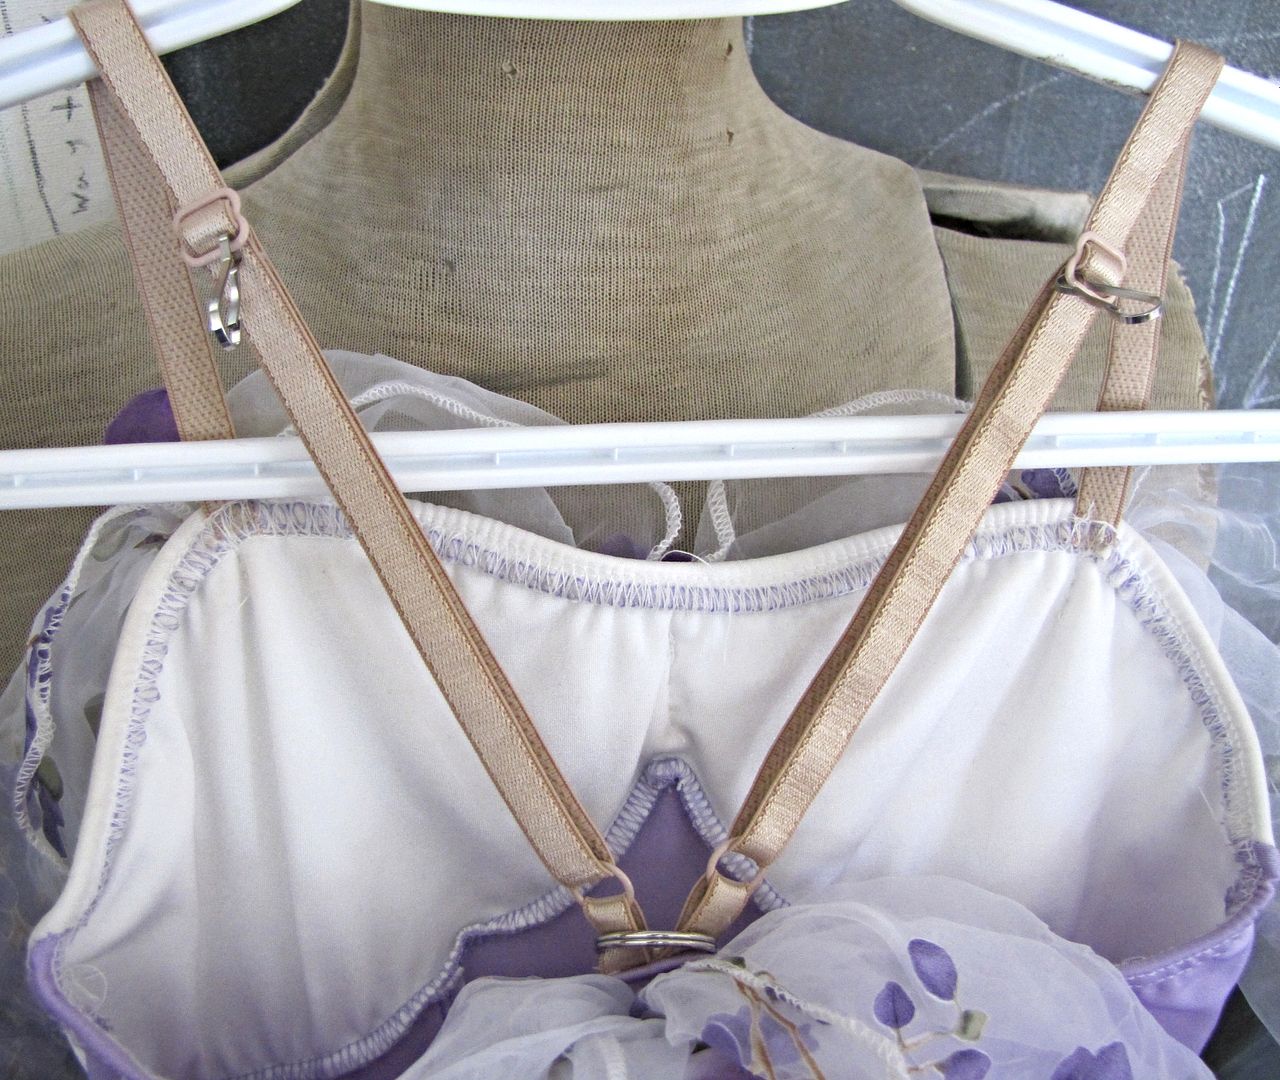
For rigging the wings to the dresses, I used a double ring looped around the base of the straps in the back. The straps are attached in the middle of the back. If you have your own dress or top where straps are not attached in the middle, you can sew on your double ring or, even better, a D-ring in the center. The post of the wings are inserted down through the ring between the dress and the back. A tight dress is best.
The wings are prevented from twisting or shifting by a couple of small lanyard hooks that hook directly to the wire arms of the wings.
And there you have it, fairy wings, attached without straps. Times five.


Simply fabulous!
ReplyDeleteThis is beautiful!!! The dress is gorgeous, the wings are fairier looking than anything I ever saw, the ensemble is just great!
ReplyDeleteI love the fabric for the skirt, really great idea.
;o)
Thank you for sharing this tutorial it is really appreciated
ReplyDelete