Pages
▼
4.17.2011
Bunny Bottoms (free pants pattern)
I have gotten a request for a beginner-friendly pants pattern for a child who isn't growing according to the standardized charts.
(Does any child grow like the charts say? Mine certainly do not. Mine are thin, Birdie is long, Smootch won't wear anything above her hipbones, and both despise anything they can't climb the monkey bars in. So, I've never paid much attention to the charts anyway.)
The youngun' I was asked to fit happens to be about one size too big for the Birdie Britches, which is too bad because it would of been about perfect. I was feeling bad about cutting the sizes a touch too short (the pattern only goes to 24 months) and the toddler years are so finicky to set a limit on, I thought I would add a little supplement to the pattern in the 2T and 3T sizes. Good for the solid one year old, comfortable enough for older toddlers who are sometimes in diapers, sometimes not and usually somewhere between.
And, as it also happens to be Bunny Time around here, may I present to you:
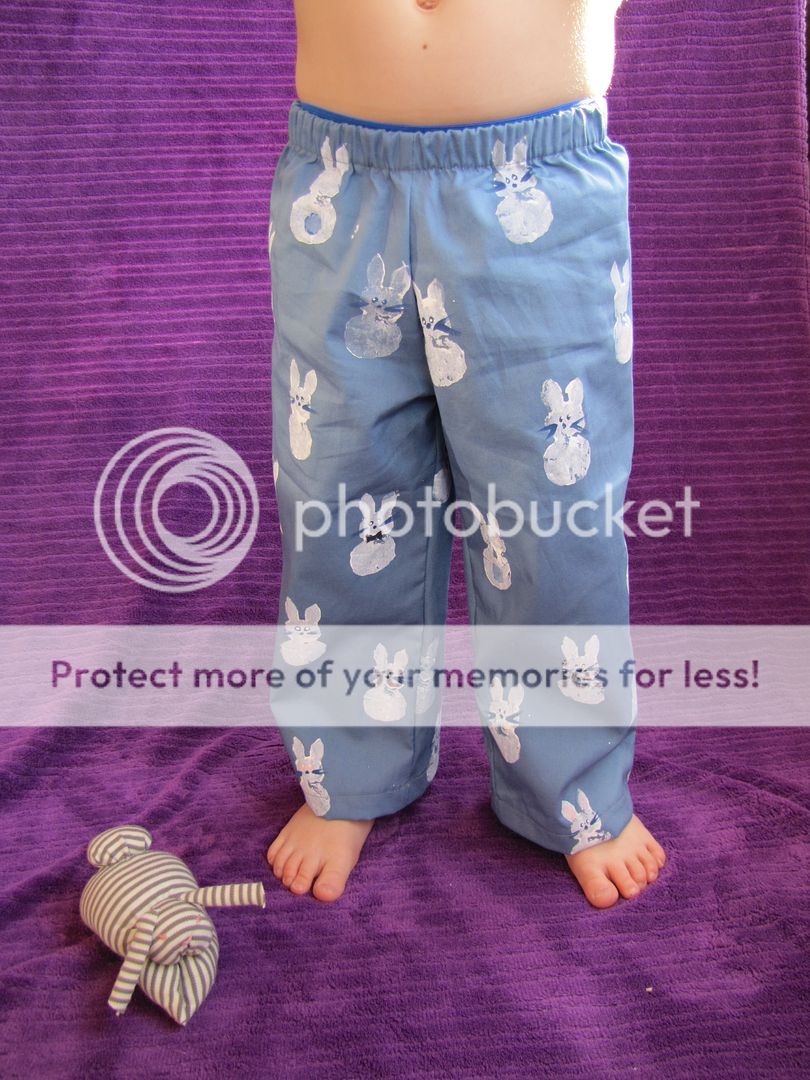
Bunny Bottoms for Betweens are classic elastic waisted pants for toddlers, but in a one piece pattern, meaning you have the bare minimum of seams and they are super quick to make up (aim for one nap time - if you can get the little mite down).
Download the Bunny Bottoms for Betweens ePattern here.
A couple of things to know before we start:
1. To get the pattern, click the above link and save a copy of the epattern to your computer. Print the pattern in colour using the 'no scaling' or 'actual size' option on your printer. You will be printing off 8 sheets of paper, on which both sizes are printed. To make sure the pattern was printed in the correct size, measure the blue line ending in an arrow on page 7 - it should be just a hair shorter than 4". (I typically use 1" squares for measuring, but I was a bit of a hare brain today. I apologise for this less than idealsizing check.)
2. The paper pattern is assembled according to a simple grid (check page 2 for the legend) with pieces numbers 1-9. The yellow lines are to be joined together, while the green and red lines are the actual pattern lines. I suggest folding the paper back along the yellow lines and using tape or glue to join them together.
Just as a clarification on the grid shown on page 2, the top row of the pattern is numbers 1-3, the second row is numbers 4-6, and the third row is 7-9. Make sure to line up the green and red lines and it will turn out just fine.
3. Once the paper pattern is assembled, you can choose the most appropriate size for your child. The 2T is based upon a child with a 19 1/2" waist and is 15" from hip bone to ankle bone. The 3T is for a 20 1/2" waist and 18" from hip bone to ankle bone. Don't get too hung up on exact waist measurements. This is an elasticized waist pant for people who generally do not have hips, so you can go an inch to either size and it will not matter much. You want to get the length right, however, since a child with his or her ankles hanging out is a sad, sad sight.
One quarter inch seam allowance is included in the pattern. Cut out the desired size.
4. While you are preparing, find yourself a length of elastic, about 3/4" wide or so. Cut it about 3" shorter than your child's waist. Put this aside for now.
Now begins the fun stuff!
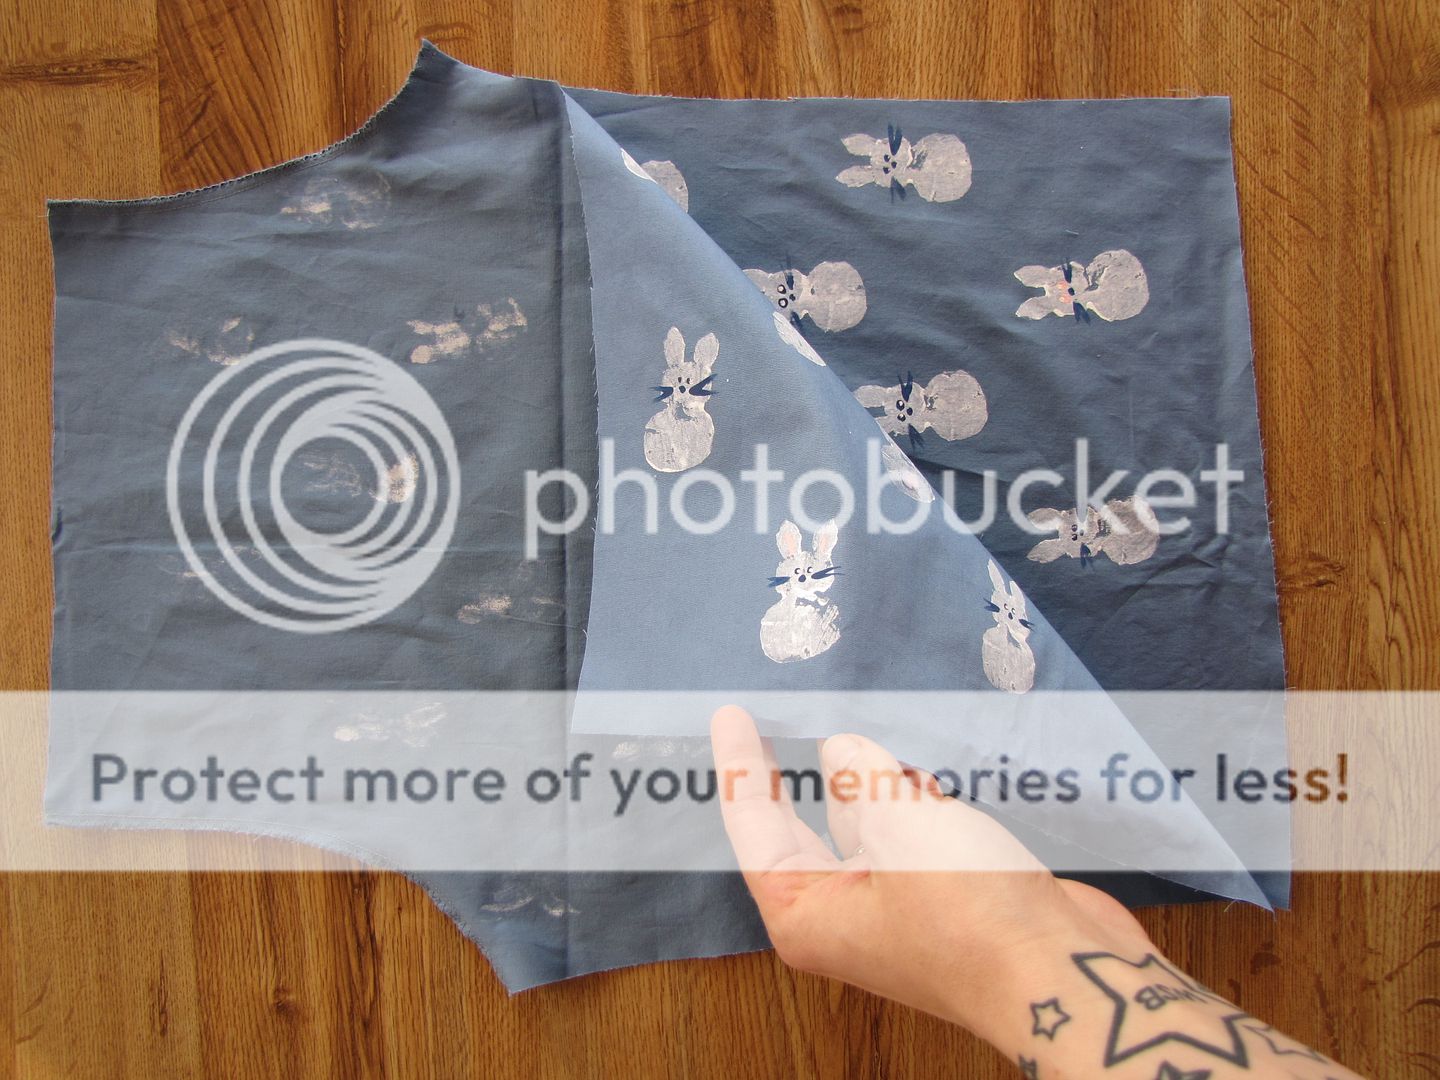
This one piece pattern is cut out just one time on fabric that is folded in half with selvages aligned (to make a double layer), with the Right Sides of the fabric facing each other. This creates two pants pieces that are mirror images of each other.
(Right Side of the fabric is the nice side that you want to see, the Wrong Side is the back that you do not want to see.)
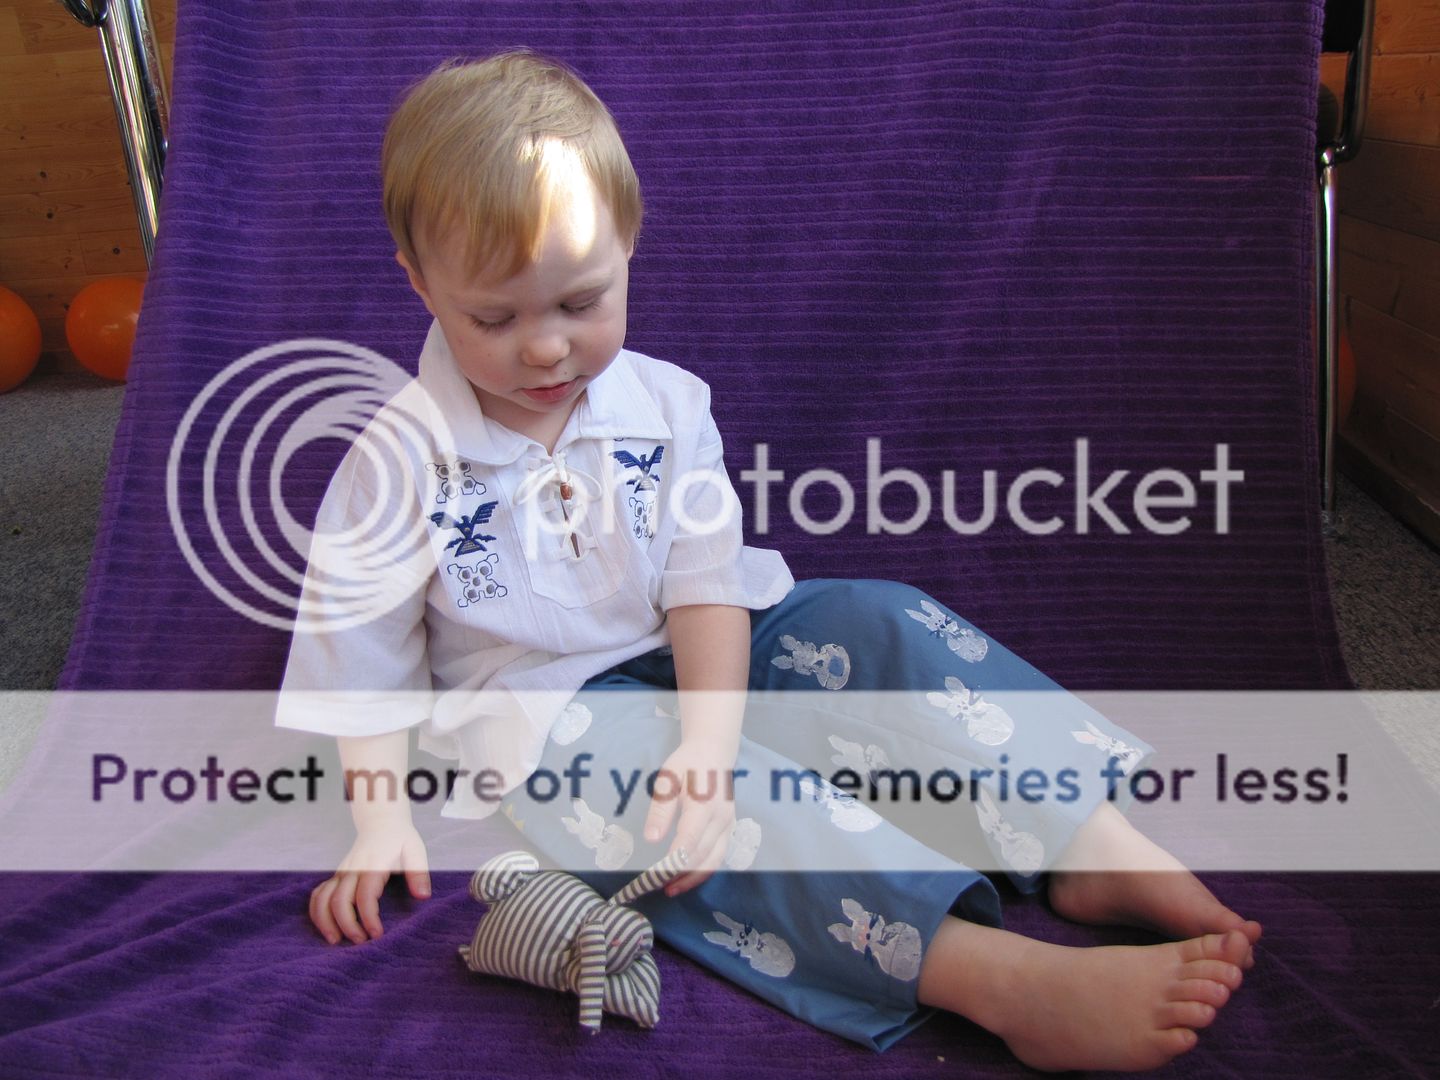
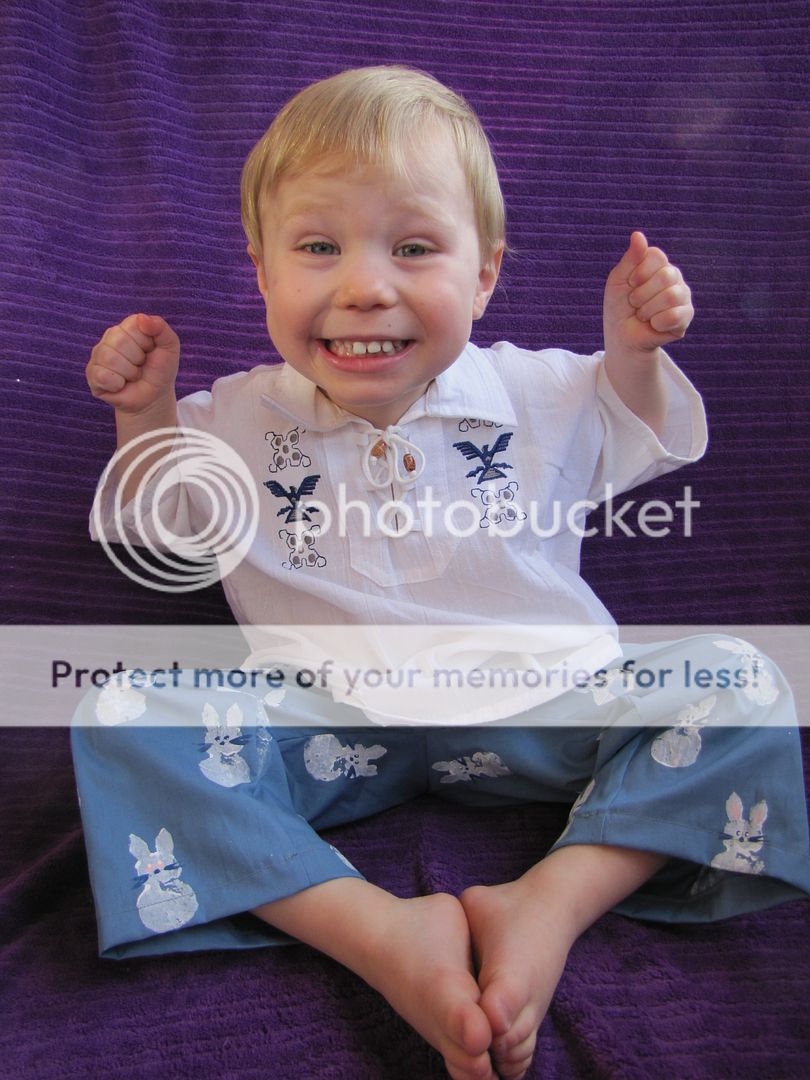
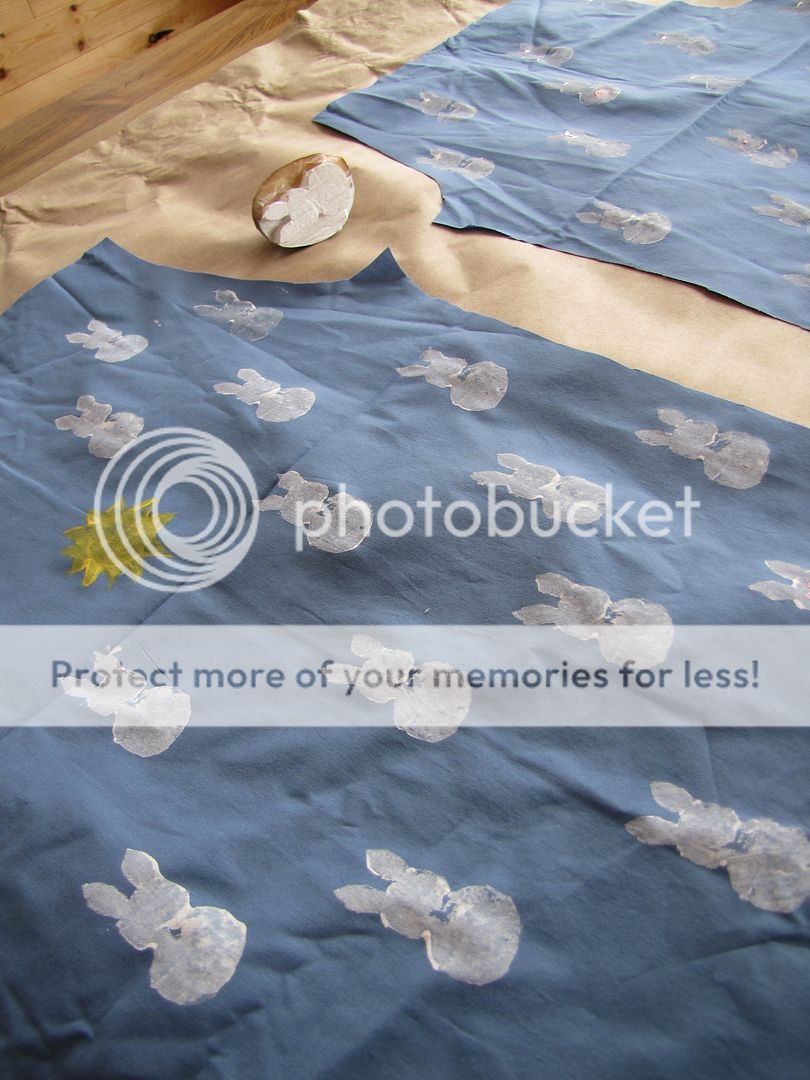
Potato stamped rabbits are optional.
With your two pants pieces aligned, Right Sides together, sew the Fronts together with a 1/4" seam allowance. Then sew the Backs together. (These are the curviest seams shown in the picture below, also marked 'Front' and 'Back' on the paper pattern).
Finish the raw edges of each seam (so they do not fray) using a serger or with a zig-zag stitch along the edge.
Next, open the pants,
and arrange them so that the Front and Back seams are aligned, meeting at the bottoms, creating the crotch region (someone give me a better word please than 'crotch' because the word gives me the heebie jebbies).
Pin the Front and Back seams together at the crotch and align the raw edges of the legs. Sew the inside leg seam by starting at the bottom cuff of one leg and sew up the leg, past the crotch (make a few backstitches to reinforce the stitching across the seam) and down the other leg. Finish the raw edges.
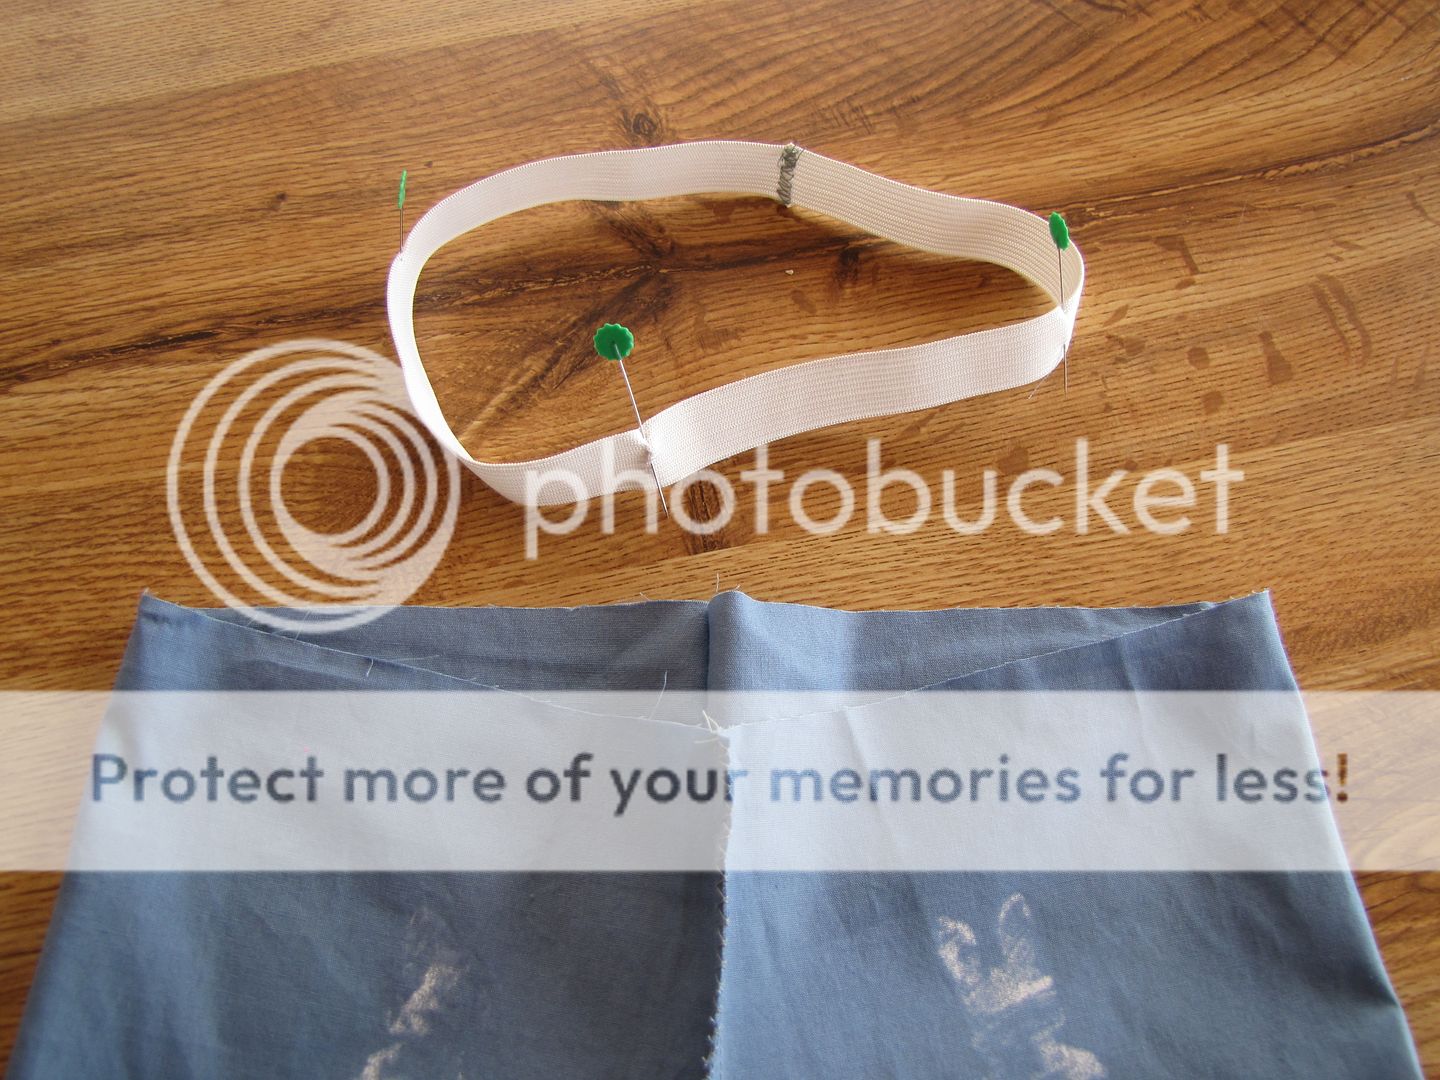
Take your elastic that you had previously cut to be 3" smaller than your child's waist measurement and sew the ends together using a zig-zag stitch. Because the waistband is elasticized and will be sewn in the pants directly, it is important to divide the elastic into equal portions in order to evenly sew it onto the pants. I do this by folding it in half, marking the two ends with pins, and then folding it once more and marking the new folds with pins. And if that didn't make much sens, just look at the picture below:
The waist of the pants also need to be portioned into equal sections.
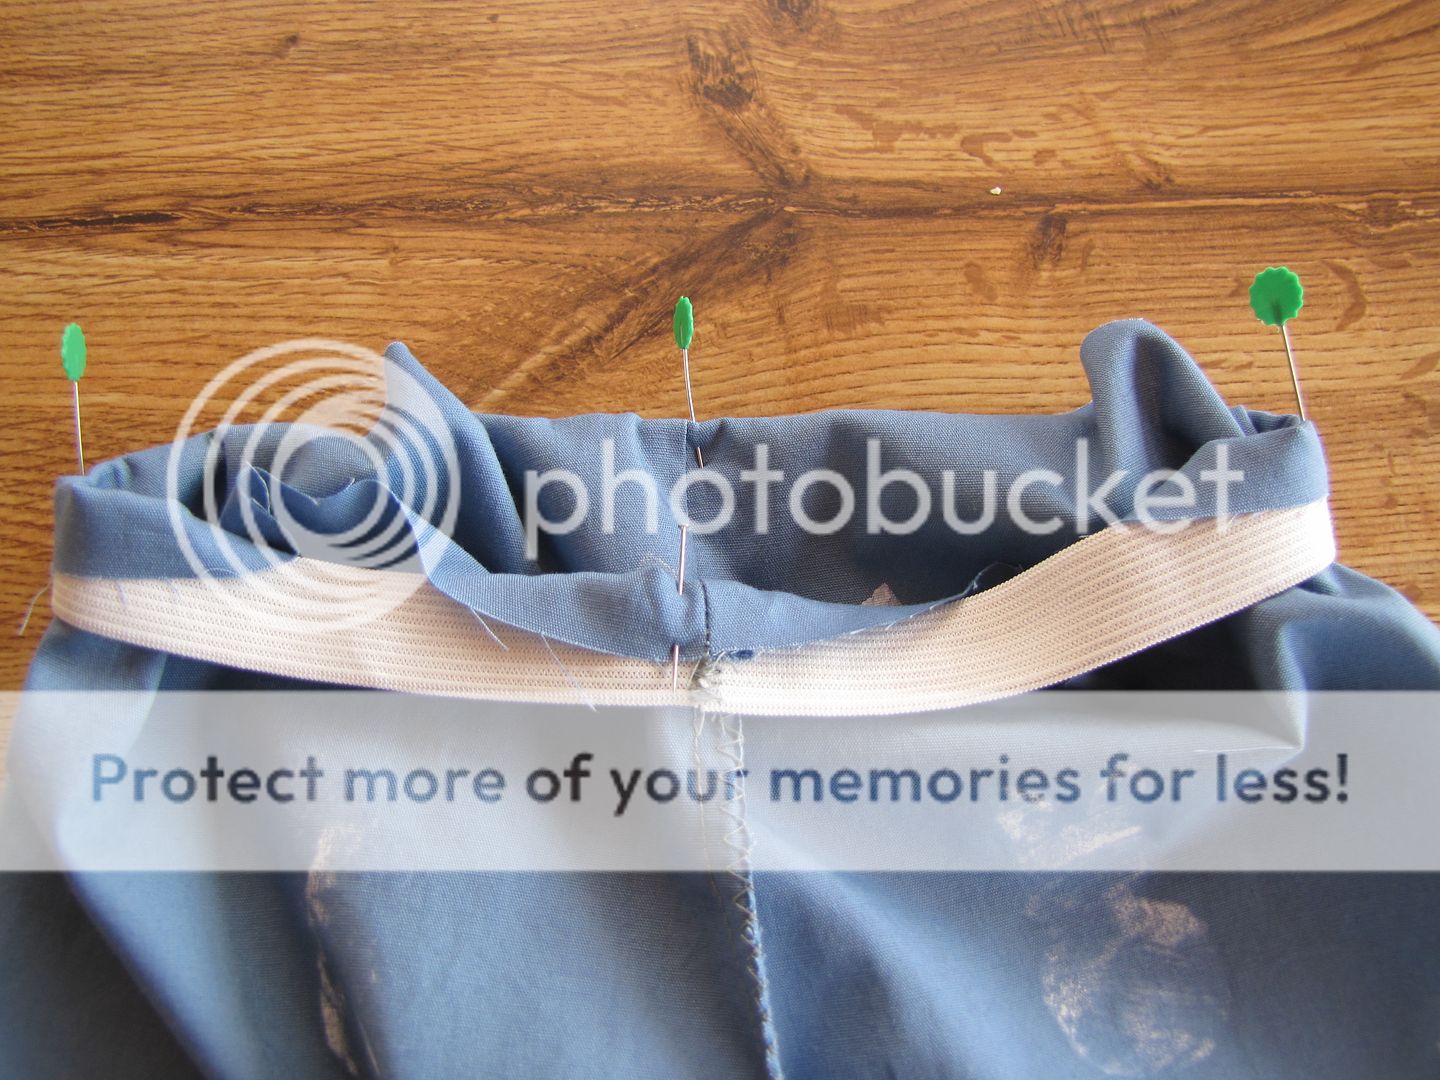
Pin the elastic to the Wrong Side of the pants, approximately 1/2" down from the raw edge of the pants waist, matching the elastic pins and the pants pins one to one. As you pin, fold down the extra 1/2" of fabric over top the elastic.
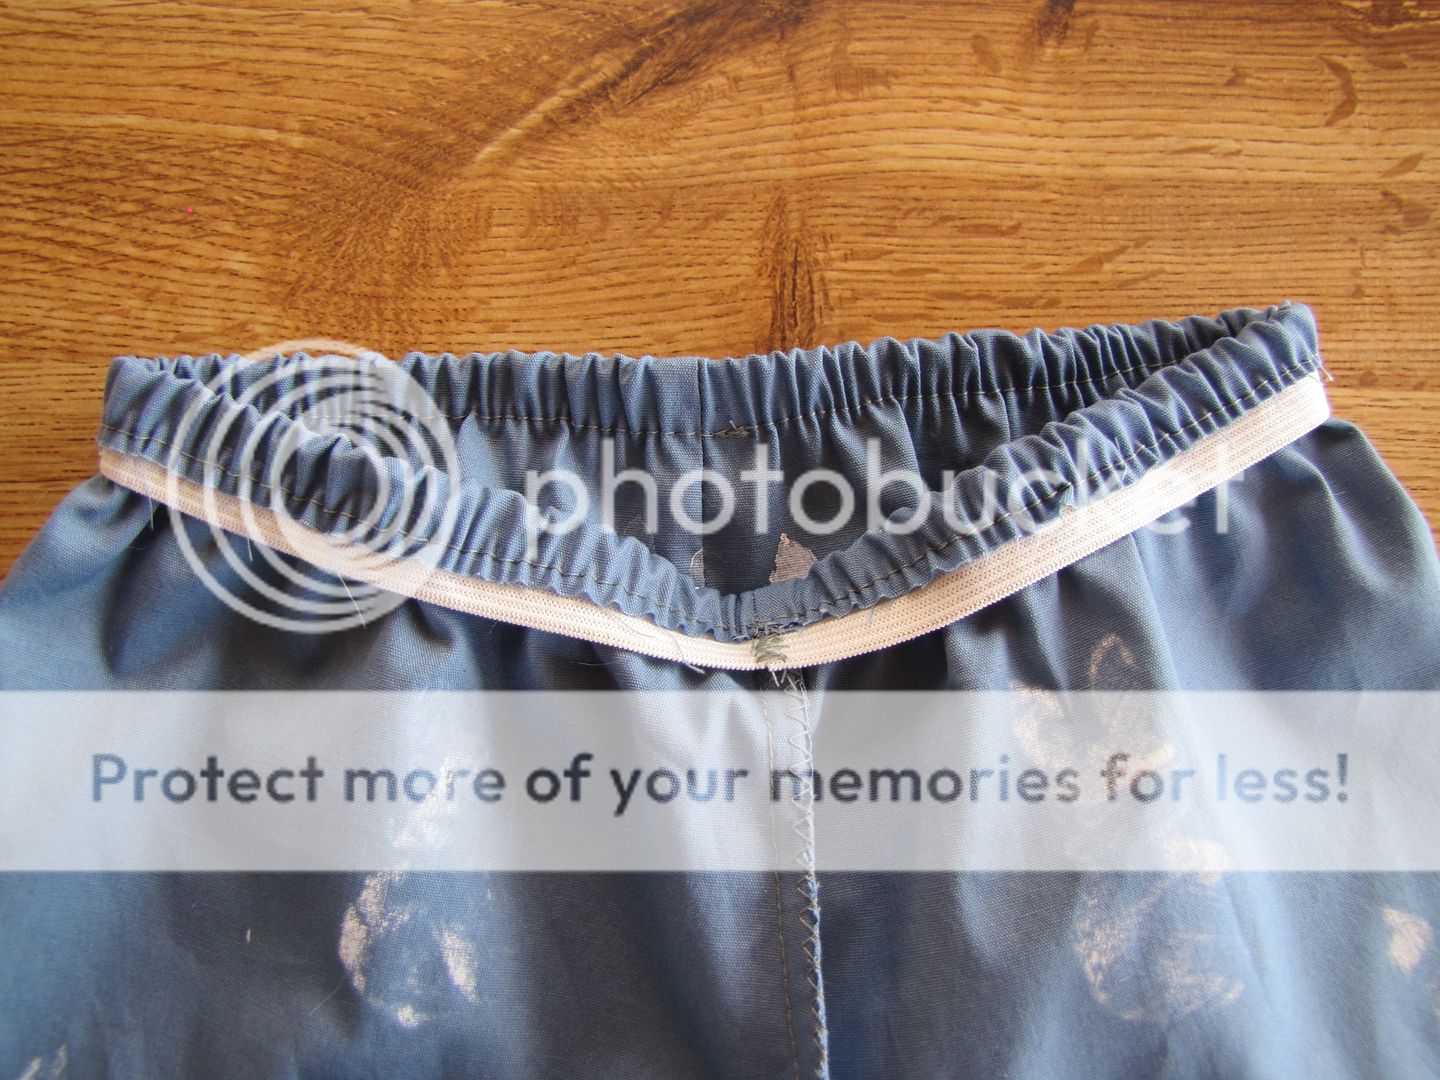
Sew the elastic to the pants, stretching the elastic as you sew. I like to use a machine basting stitch for this part to minimize bulk, though it is not strictly necessary.
To finish the waistband, fold the elasticized waist down about 1" on the Wrong Side to completely sandwich the elastic. Stitch close the bottom edge of the fold.
Hem the bottom of the legs with a double fold, each fold approximately 1" wide.
(Before you do so, however, if you can manage to get the pants onto the toddler and check for a preferable length, do so. I like to plan for pants a little bit longer than needed at the moment, since a toddler can grow half an inch over night while losing an inch around their tummy. They are tricky this way.)
Apply pants to child. Photograph endlessly.







Fabulously cute!! I love the printing, totally inspiring!
ReplyDeleteAwesome! I think I need to hit up the scrap bin at Joannes. My son needs some shorts. Should I just take a current pair of shorts and measure it up to the pattern with a little seam allowance?
ReplyDeleteSuper!!! I'm going for shorts :)
ReplyDeletemaomaocrafts.blogspot.com
OMG THANK YOU just for the elastic tutorial alone. I HATE putting in elastic and this week has been designated for summer clothes sewing. I never knew there was a better way.
ReplyDeleteMe, sounds like a good idea.
ReplyDeleteI haven't even thought about shorts yet - outside my window everything is covered with hoar frost. It looks like a winter wonderland and we're all bummed out. Where's spring?!
Crystal, I dislike the make-a-channel, pull-the-elastic-thru method. It just seems to take forever and I somehow usually end up twisting the elastic, despite my best intentions. This is the method I use 99% of the time.
Love the printing. What kind of paint did you use?
ReplyDeleteI totally understand not being able to think up a less colorful word in your description. My suggestion is to just go with inseam region- instead of crotch. I would assume that those sewing even the simplest pattern could figure out which area you are referring because they have pants/trousers/jeans for themselves.
ReplyDeleteThank you! My long skinny 2 yr old needs some playground pants! And I'm always short on time.
ReplyDeleteWish I had a better word for "crotch", but the only thing I can think of is Intersection which isn't quite right.
Yay! Thanks a ton for the free pattern and tute! My girls have always been on the smallish size and I have had a hard time finding pants that actually "fit" them. Thankyouthankyouthankyou!
ReplyDeleteThanks for a great pattern!
ReplyDeleteI have been complaining for weeks that my super tall 3 and 5 year old boy's pants were too big at waist and way too short. I came across this pattern and tutorial and voila! they each have a new pair of pants made up in a naptime!( I didnt check my email first,lol) I added 3 inches to the bottom and they are perfect at the waist. Bless you for such a simple pattern for us stressed out mom's with no time.
ReplyDeleteI can not download the file anymore!
ReplyDeleteI can not download the file. HELP
ReplyDeleteUpdated. Please try again :)
DeleteHi! I have updated the host site for the pattern which means the link works again. Try it out, let me know if there is an issue.
ReplyDeletehello. can you tell me how much material would need for a tall 2 year old please?
ReplyDelete