
******************************************************
Due to popular demand, pattern pieces to this bush hat now available to purchase in
my etsy shop. Check it out!
******************************************************
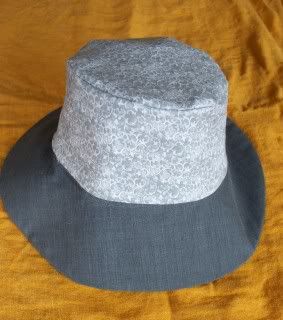
This design comes by way of a request for a sunhat tutorial, similar in style to the red gingham hat Smootch frequently wears. Smootch's hat is a rtw, but it is my favorite style of hat, one that I have always called a bush hat.

With a snap or button on each side of the hat, the brim can be worn up or down, depending on need and fashion sense. Worn down it provides excellent sun coverage (for your phantom of the opera type fellow).

And worn up it's stylishly cowboy.
This hat can be made to fit anyone, all you need is their head measurement (or noodle number, if measuring a four year old with a penchant for word games). I've made hats for my kids, but ones for myself and The Man are also in the works.
The tutorial below contains the steps I took to create the pattern for the hat, and below those are the assembly instructions. Before you look over the pattern creation, keep in mind that this curved hat does not need exact or precise curves in order to look fabulous. An approximation of the curves, and an understanding that you may need to tweak your pattern from the first try, will save your mental health. Basically, I'm saying, don't use the good fabric on the first go. But it will work. Trust me ;)
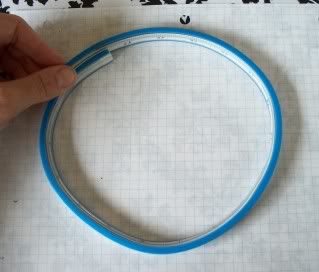
I have me one of those long rulers that can be curved and flexed any which way. I really don't know what they are called, if you do, please share. This flexy, bendy ruler is the tool of choice for creating this hat pattern, so if you have one, here we go!
Creating the pattern
Begin with some graph paper, your flexy ruler, a pencil, scissors for paper, and a head measurement. This hat has three pattern pieces: the crown, the side, and the brim.
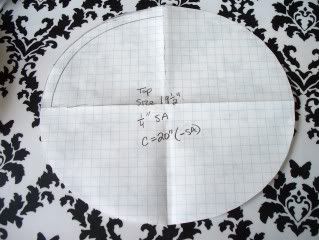
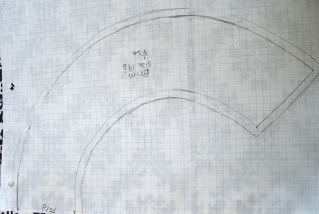
The first piece to make is the crown, which is an oval shape.
Smootch's noodle number is 19 1/2", which I rounded up to 20" to not have to hurt my head with extra fractions and to accomodate all her crazy curls.
Take your noodle number (example number is 20") and divide by 4 (20"/4 =5). Curl your flexy ruler into a tightish circle to make a nice smootch curve.
Uncurl the ruler a bit to make an oval. Find the length you need (the head measure divided by 4) somewhere in your curve. Follow the curve with your pencil to the lengh needed.

Draw lines at 90 degree angles from the ends of your curved length to intersect and create a little pie piece. This is 1/4 of your crown.
(I know there are whizzy math ways to figure this out, but I don't know what they are. What we are working with is the 'looks good to me' method, which I've found to be every bit as effective as a technical geometric formula. But feel free to share the math way if you know, I always enjoy learning something new.)
Add a seam allowance to your pie piece.
Use your intersecting lines as a guide to folding your paper in half one time, and then another. With the paper folded, cut along the seam allowance.
Unfold you paper and there is your crown piece. Mark it with relevant info.
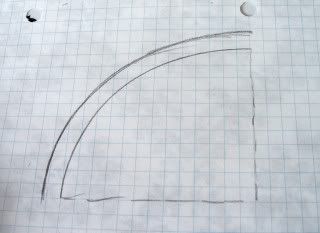
Next piece to do is the side. This piece could be just a straight rectangle, but to make it easier to sew and sit naturally a slight curve is helpful.
First determine how much depth is desired. Both my hats are 3 1/4" wide, and I'm pretty sure this will work for all toddler and preschooler sizes. But you decide.
Mark your desired depth on the side of a piece of paper. I've marked mine with a 'fold' before all else to remind me which end is which.
Put a slight bend in your flexy ruler, position one end on a mark, with the curve of the ruler directed away from other mark, and measure out your head measurement divided by 2 (example 20"/2 = 10").
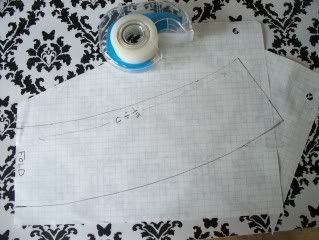
Measure out your desired width several times from your curved line to indicate where to lay down the flexy ruler again, using the same curve. Mark out the other side of the piece, adding a 1/4" at the end.
Join the ends of the curves with a straight line.
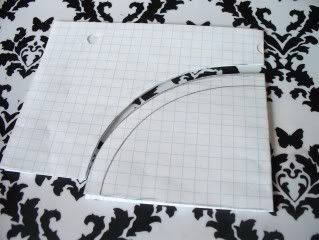
(As you can see in the above photo, I ended up having to add a bit of paper to the end to accomodate the piece - and in case you are wondering, all pros do this :D)
So here's your side piece, to which you will add a seam allowance:
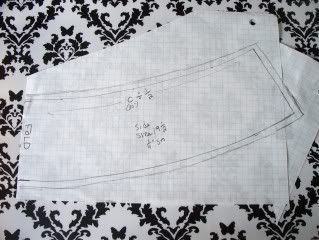
For the brim piece, the measurement of the longer curve of the side piece will be our base number, which should be your head measurement divide by 2 plus a 1/4" (example: 20"/2 + 1/4" =10 1/4").

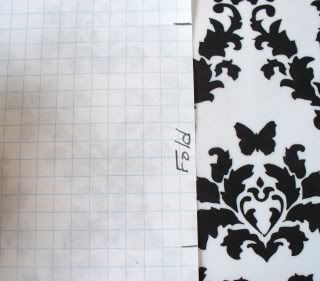
To determine the brims's width, I just knocked 1/2" off the brim depth, leaving me with 2 3/4" width. Mark this width in the same way as done with the side piece, on the edge of a paper, indicating that that edge is to be placed on a fold. I should also mention that this piece is actually going to take up two pieces of paper, so now's a good time to tape them together.
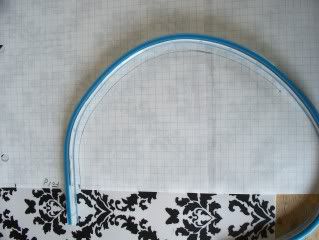
Once again, curl up your ruler into a circle, this time as large as you can make it:
Pull the circle out until you get a ram's horn shape. Find your base measurement (head measurement divided by 2 plus 1/4") and trace the curve from one mark away from the other mark.
Measure out your width from several points along the curve, and then draw a corresponding curve, rounding it out to a sweet little rainbow shape.
Add seam allowances and jot down the revelant info.
Cutting out the pieces
crown: cut 1 shell fabric, cut 1 fusible interfacing, cut 1 lining fabric
side (cut on fold): cut 1 shell fabric, cut 1 fusible interfacing, cut 1 lining fabric
brim (cut on fold): cut 2 shell fabric, cut 1 fusible interfacing
Assembling the hat
First thing is to iron in your fusible interfacing. Follow the manufacturer's instructions and fuse the crown interfacing to the wrong side of the shell crown fabric. Fuse the side interfacing to the wrong side of the shell side fabric. And fuse the brim interfacing to the wrong side of one of the one of the brim in shell fabric.
With wrong sides together, stitch together the width-wise ends of the shell side piece to make a loop. Pin side piece, wrong sides together, all around the crown, aligning the seam with the top (or bottom) of the oval. Stitch slowly around the crown, adjusting the fabric to tuck along the curve smoothly.
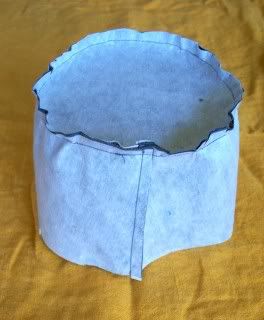
Make notches in the seam allowance around the crown to allow it to curve smoothy. Press seam allowance towards the crown. Turn top right sides out. Top stitch around the top of the crown.
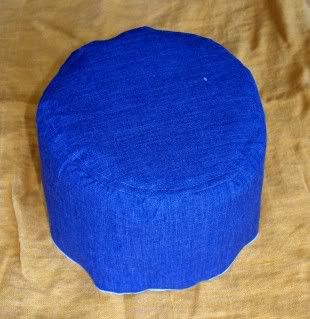
Repeat the above instructions for the lining pieces, nixing the bit of top stitch. Put lining aside.
For each brim piece, stitch together the width-wise ends, right sides together. Place the two brim pieces right sides together and stitch along the outside curve (stitch with the piece that
does not have the fusible interfacing on it against the feed dogs, otherwise you'll end up with one piece longer than the other).
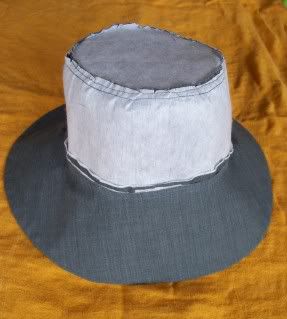
Turn the brim piece right sides out and press the stitched curve. Top stitch along seamed edge if desired. Machine baste the inside curve.
Loop and pin the side of the brim with the interfacing against the right side of the hat. Make sure the brim seam meets the side seam (this is the back of the hat). Stitch brim to hat. Notch the seam allowance and press it towards the side. Top stitch around the side of the hat, close to the seam.
Turn the hat wrong side out.
With right side out, position the lining over the hat, matching the seams. Use a slip stitch or ladder stitch to hand sew the lining to the hat.
(Oh, I just slipped in some hand sewing - I think at once time I promised never to do that. It's definitely worth hand stitching this part, it looks pretty sloppy if you try to stitch in that liner with the side top stitch. It only takes me about 10 minutes, though, and I'm extremely slow at it, not to mention have bandaids on my fingers from various kitchen injuries [including the deep cut from trying to open up the first aid box].)
Turn hat right side out again and apply snaps or buttons to side of hat (mine are located at exactly mid-point, but you can play with it a bit if you like.)
Place hat on people and just try to get a picture.


 Nothing is more inspiring than an empty room


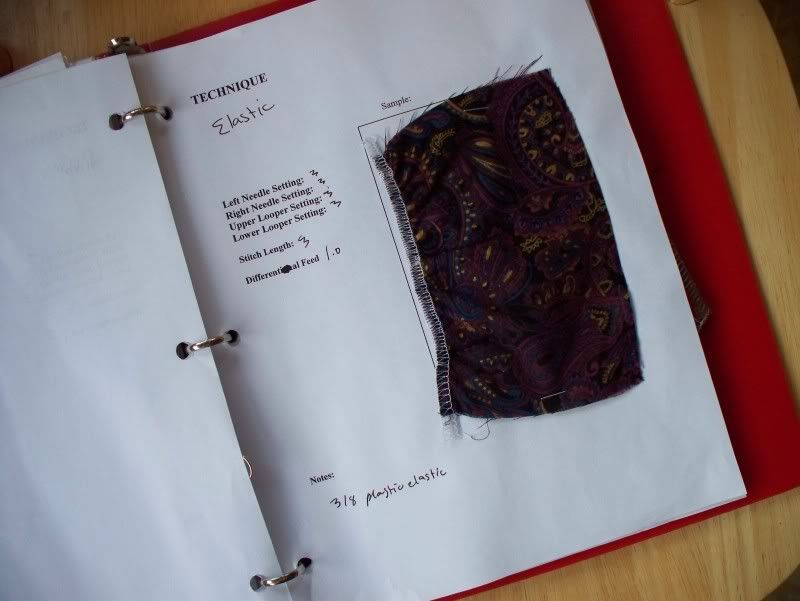
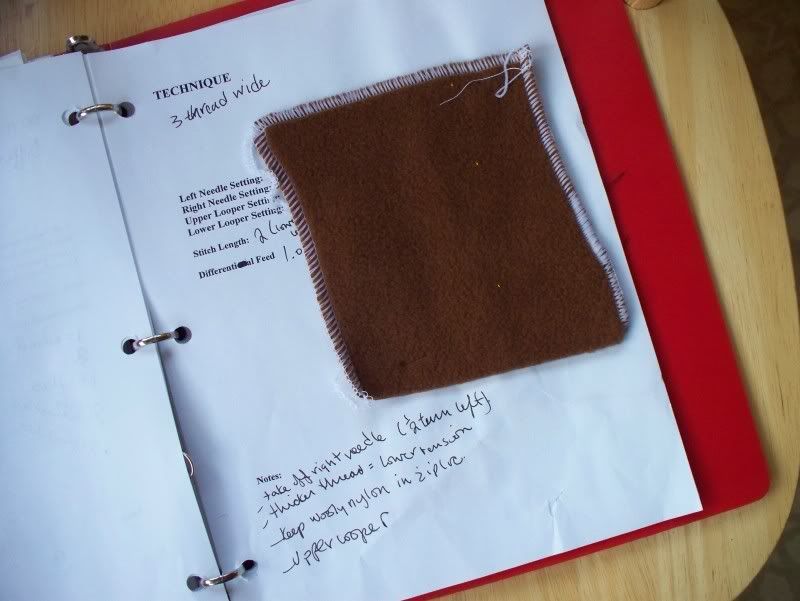
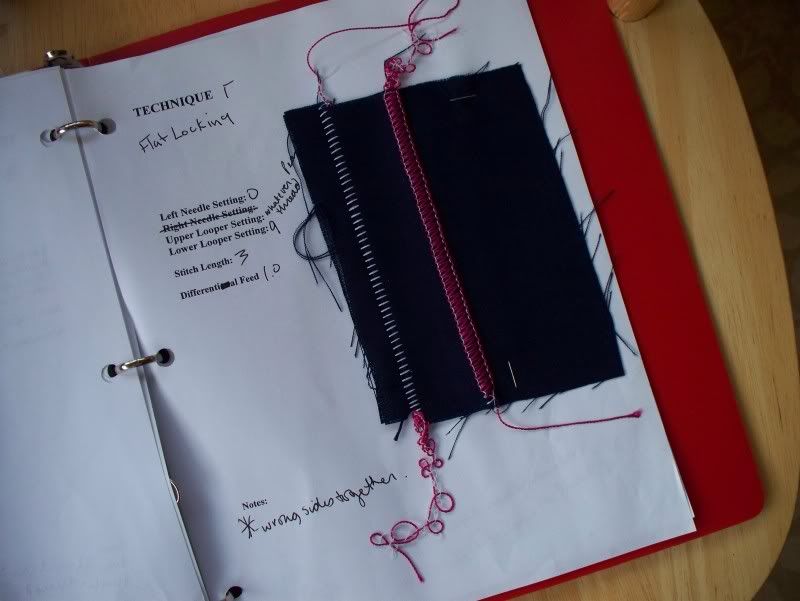
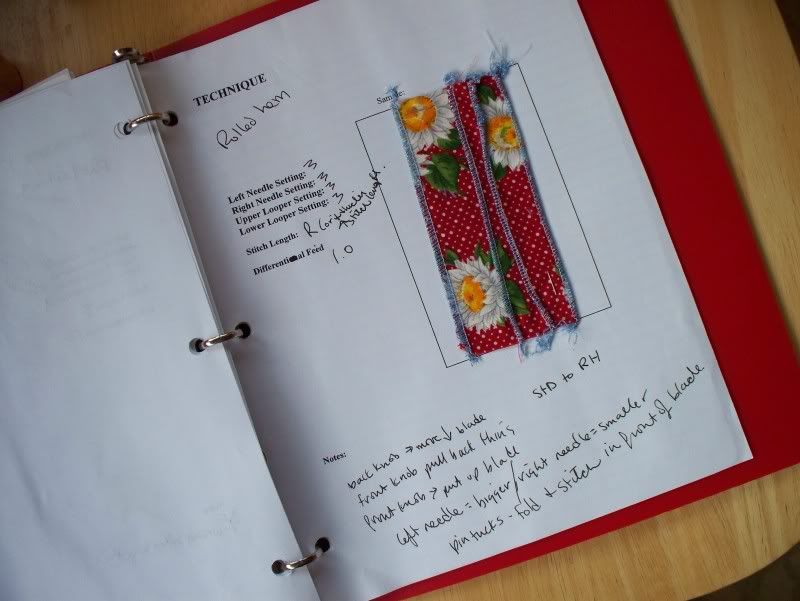
 Keep in mind that even if you have the same brand serger as I, you will have to make your own cheat book because every machine is set slightly different. As I said, if you have specific questions about any technique or the serger book set up, leave a comment and I will do my best to help you out :)


 While I've got you here, reading my sad excuses for blog neglect, I should also mention that the infrequency of the posting will continue for awhile. In about 2 or 3 weeks my little family and I will be moving our worldly possessions - after selling or donating 90% of the bulk - into a hovel on wheels and beginning an extended scouting mission in the next province over to see if we can hear a place calling to us. I expect our motorcoach living to be four weeks minimum. It shall be an experiment in finding joy. And patience. And laundrymats.


